Front layers are shorter pieces of hair cut around the face to frame it, add movement, and soften the transition from face to hairline. This article gives you 18 front layer ideas — spanning cutting technique, length, styling, and finish — chosen specifically for how they read on mature faces and textures.
Worn well, front layers feel like an instant lift. They catch light along the cheekbone, soften the jawline, and move when you do instead of sitting flat against your face. There’s an ease to them too — a well-cut layer falls back into place after a workout or a windy walk without much fuss. Front layers, done right, read as intentional rather than accidental.
Here are 18 ideas worth saving — and showing your stylist.
Why Front Layers Work So Well After 40
Front layers are face-framing pieces, typically cut from chin to collarbone length, that blend into the rest of the haircut rather than existing as a separate section. They trace back to the “shag” and “feathered” cuts of the 1970s, and unlike a blunt fringe, they’re built to move and taper rather than sit in one straight line — which is what separates true face-framing layers from a simple curtain fringe.
The core technique is point-cutting or razor-cutting the ends rather than blunt-cutting them, which removes weight and creates soft, feathered tips instead of a heavy line. Stylists typically start the layer at cheekbone or jaw length and taper it upward toward the part, often using a slide-cutting technique to blend it invisibly into the rest of the hair. Finishing products lean toward lightweight — a volumizing mousse or a light-hold texturizing spray rather than anything stiff or greasy, since front layers are meant to move.
Front layers are having a moment because they solve a problem a lot of women over 40 are actively looking to solve: hair that has thinned slightly at the crown or hairline, or a face shape that’s shifted with age, can look instantly softer and more lifted with the right framing. Search interest in “face-framing layers” and “curtain bangs over 40” has climbed steadily as more women return to layered cuts after years of one-length styles, and stylists on social media have been vocal about layers being one of the lowest-commitment, highest-impact changes available.
They work across nearly every hair type — straight, wavy, and curly hair all take face-framing layers well, though the layer length and cutting angle need to adjust. Fine, straight hair benefits from shorter, more numerous layers for the illusion of density, while curly and coily textures need layers cut dry, since curl shrinkage can make a layer look several inches shorter once it springs up. The one honest limitation: very thin, fragile hair can sometimes look wispier than intended with heavy layering, so a lighter hand is usually the safer starting point.
| Element | Face-Framing | Texture-Driven |
| Philosophy | Sculpt light and movement around the face | Use natural texture to soften the cut |
| Technique | Point-cutting, slide-cutting, feathered tapering | Diffusing, dry-cutting, texturizing spray |
| Best for | Softening angular features, camouflaging thinning | Wavy and curly hair, low-maintenance routines |
1. Curtain Bangs
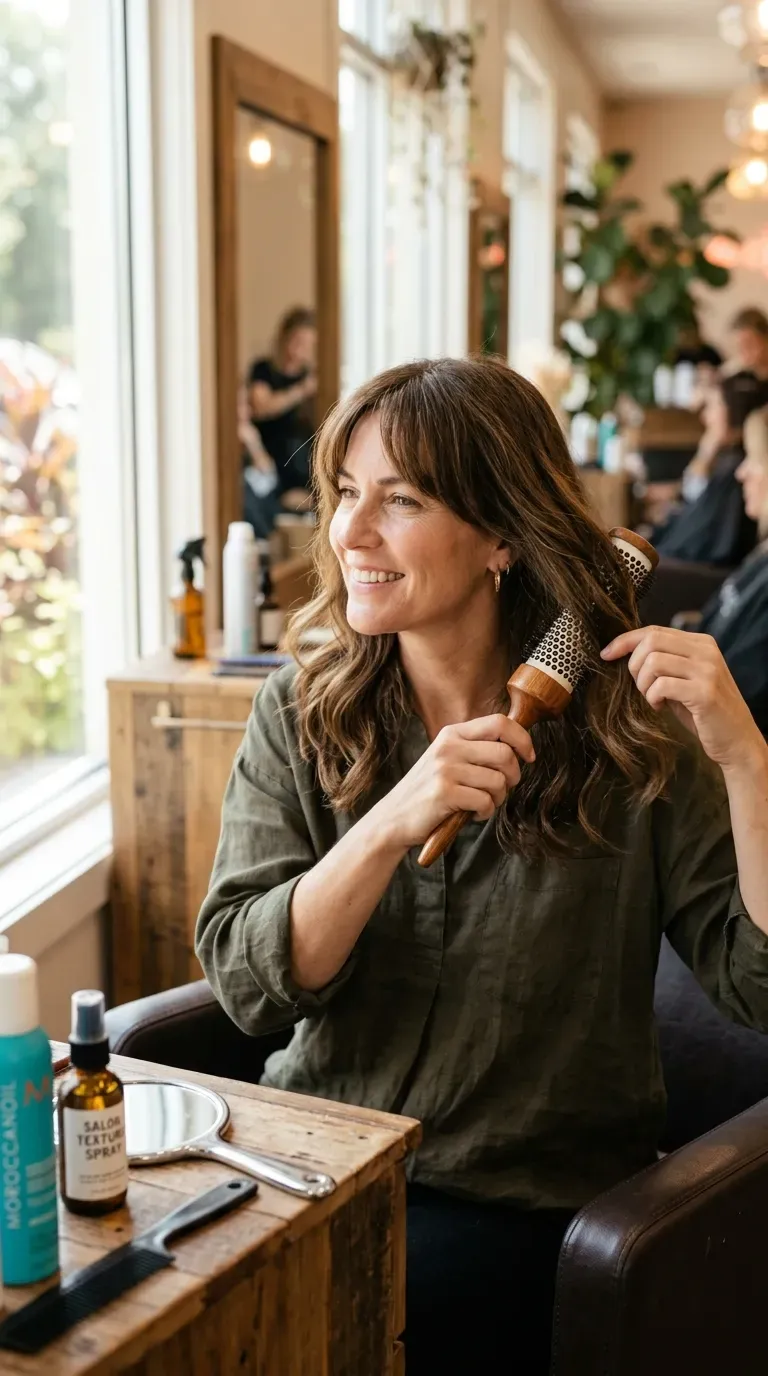
The vibe: Effortless.
Curtain bangs part naturally down the center and sweep outward, framing both sides of the face without a hard edge. The soft parting draws the eye toward the cheekbones rather than the forehead, which is exactly why it works so well as women’s face shapes shift with age — it lifts rather than shortens.
How to get it: Ask your stylist for “long curtain bangs cut to cheekbone length, point-cut at the ends, parted in the center.” Bring a photo — the exact angle of the part matters more than the length.
💡 Quick Win: A round brush and 15 seconds of blow-drying per side is enough to reset the curtain shape each morning.
Shop the Look
- Lightweight volumizing mousse for fine hair
- Small round boar-bristle brush for blowout curl
- Heat-protectant spray for daily styling
- Flexible-hold hairspray, non-stiff finish
- Ceramic 1-inch curling wand for soft bends
2. Short Choppy Front Layers
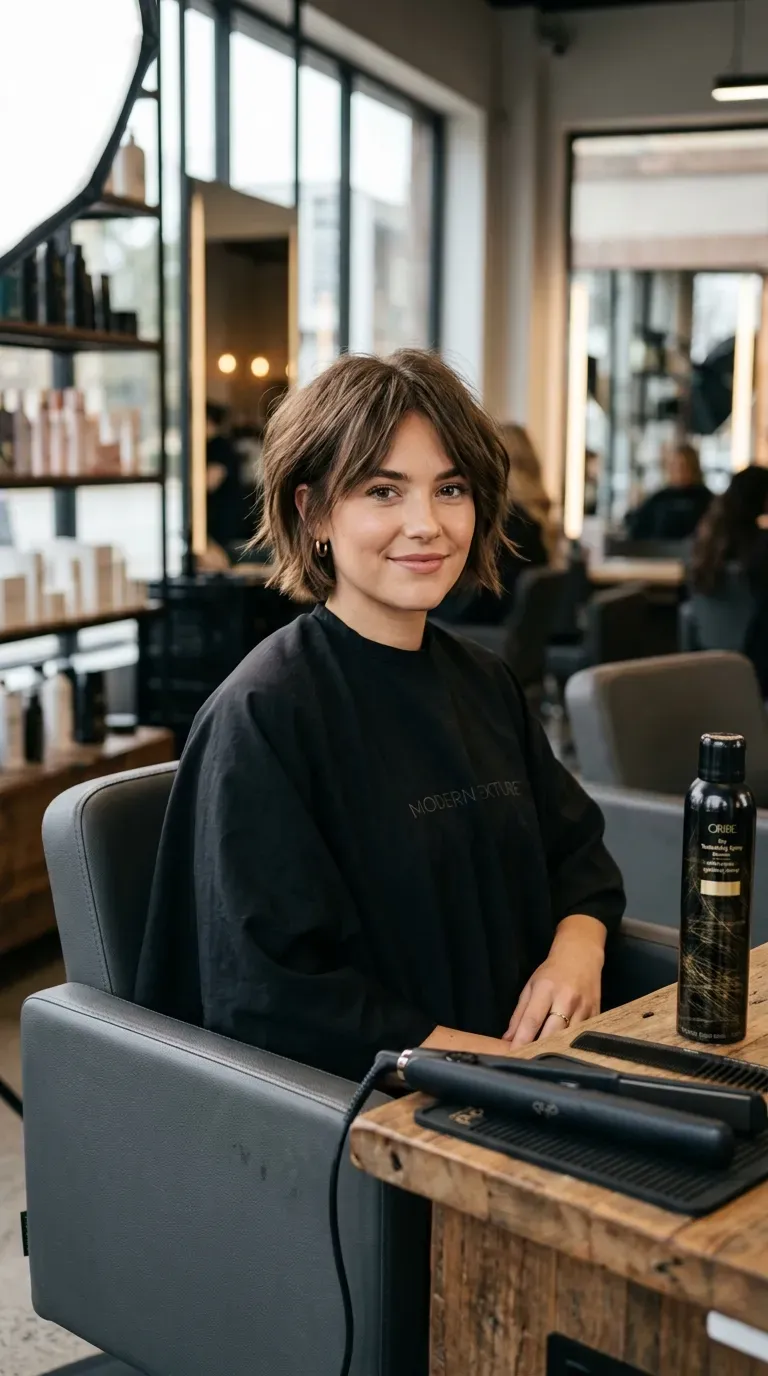
The vibe: Bold.
Short, choppy layers around the front create instant texture and movement at chin length, breaking up density that can otherwise read as heavy or flat. The choppy, uneven ends are cut with a razor rather than shears, which removes bulk without thinning the hair out.
How to get it: Request “point-cut, choppy layers from jaw to chin, razor finished, no blunt ends.” Ask your stylist to keep the layers asymmetrical rather than mirrored for a more natural finish.
Shop the Look
- Texturizing sea salt spray for definition
- Matte finishing paste, lightweight hold
- Diffuser attachment for curly or wavy blowouts
- Wide-tooth detangling comb
- Fine-mist finishing spray for hold without stiffness
3. Blown-Out Voluminous Layers
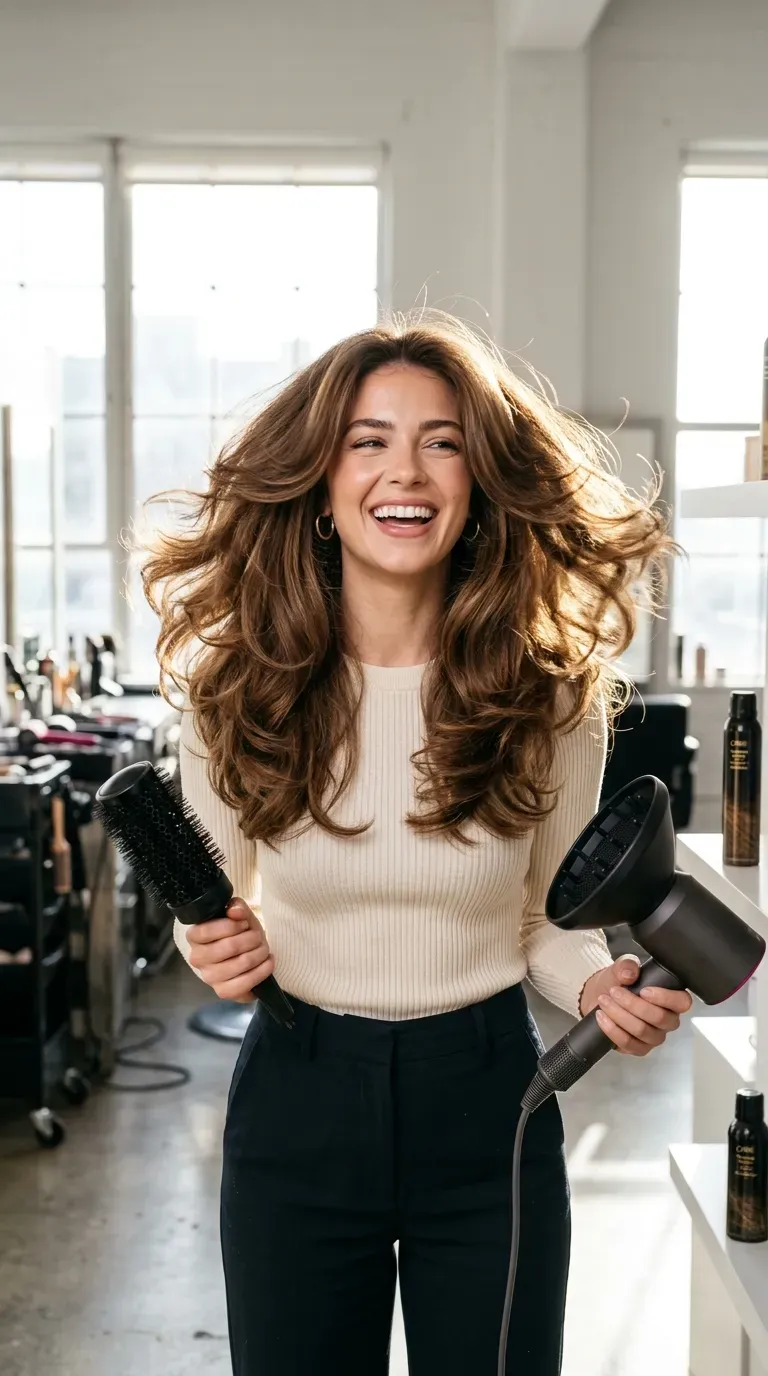
The vibe: Commanding.
Voluminous, blown-out front layers create height and lift at the root, which counters the flattening effect gravity has on hair over time. The technique relies on rolling the layers under with a large round brush while the hair is still slightly damp, then locking the shape with cool air.
How to get it: Use a 2-inch round brush and blow-dry the front layers section by section, rolling under at the ends. A volumizing mousse applied at the root — not the ends — is what actually creates the lift.
💡 Quick Win: Flip your head upside down for the first 30 seconds of drying to build volume at the root before styling the front layers into place.
Shop the Look
- 2-inch ceramic-barrel round brush
- Root-lifting volumizing mousse
- Ionic blow dryer with concentrator nozzle
- Firm-hold finishing hairspray
- Heat-protectant thermal styling spray
4. Side-Swept Highlighted Layers
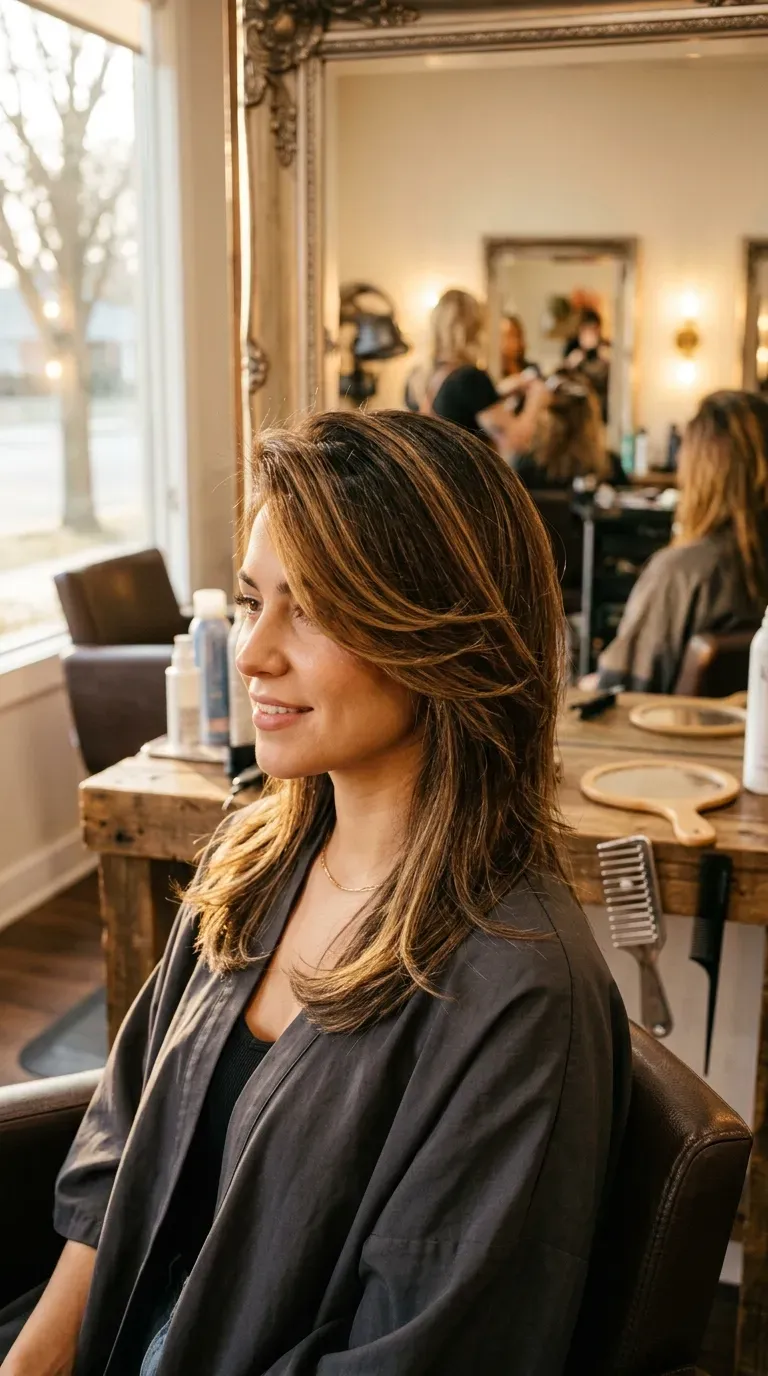
The vibe: Polished.
Side-swept layers combined with strategic highlighting draw the eye along a diagonal line across the face rather than straight down, which is a proven technique for softening a squarer or more angular jaw. The highlights are placed specifically along the layer’s outer edge so they catch light as the hair moves.
How to get it: Ask for “face-framing highlights concentrated on the front layer pieces, swept to one side, balayage rather than foiled for a softer grow-out.” Request a deep side part to anchor the sweep.
Shop the Look
- Color-safe sulfate-free shampoo
- Purple toning shampoo for warm blondes
- Glossing serum for shine on highlighted ends
- Silk pillowcase to reduce color fade
- UV-protectant hair spray for color longevity
5. Mousse-Defined Tousled Layers
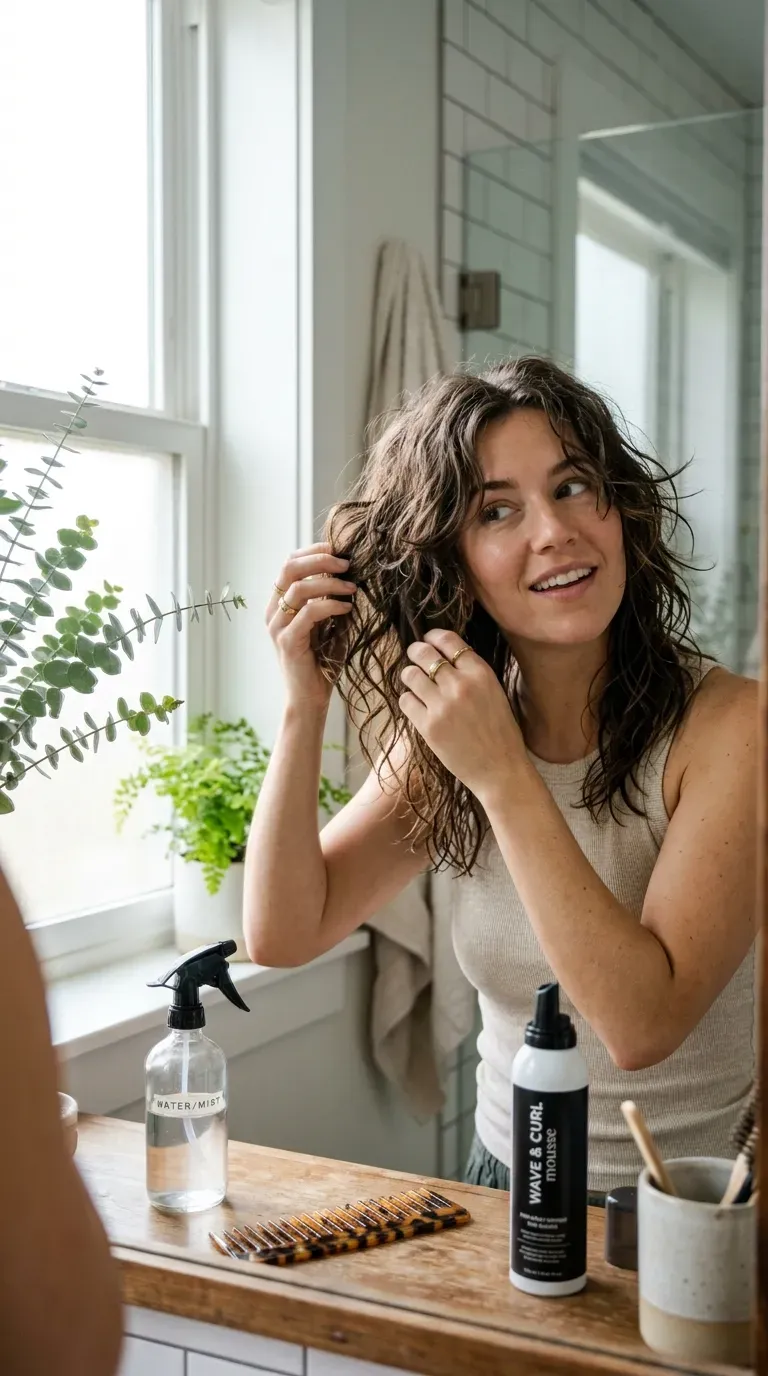
The vibe: Effortless.
Tousled layers rely on the front pieces being cut with enough separation that mousse alone can define them without heat styling. This works because the layers are cut at varied lengths rather than one uniform length, giving the product something to grip and separate.
How to get it: Apply a golf-ball-sized amount of mousse to damp front layers, scrunch upward toward the root, and air-dry or diffuse on low heat. Avoid brushing once dry — finger-comb only to preserve the definition.
💡 Quick Win: Scrunch in a small amount of curl-defining cream at the very ends only, leaving the roots product-free for natural lift.
Shop the Look
- Curl-defining mousse for soft hold
- Diffuser attachment, low-heat setting
- Curl cream for ends and definition
- Microfiber hair towel to reduce frizz
- Leave-in conditioner for tousled texture
6. Round-Face Flattering Layers
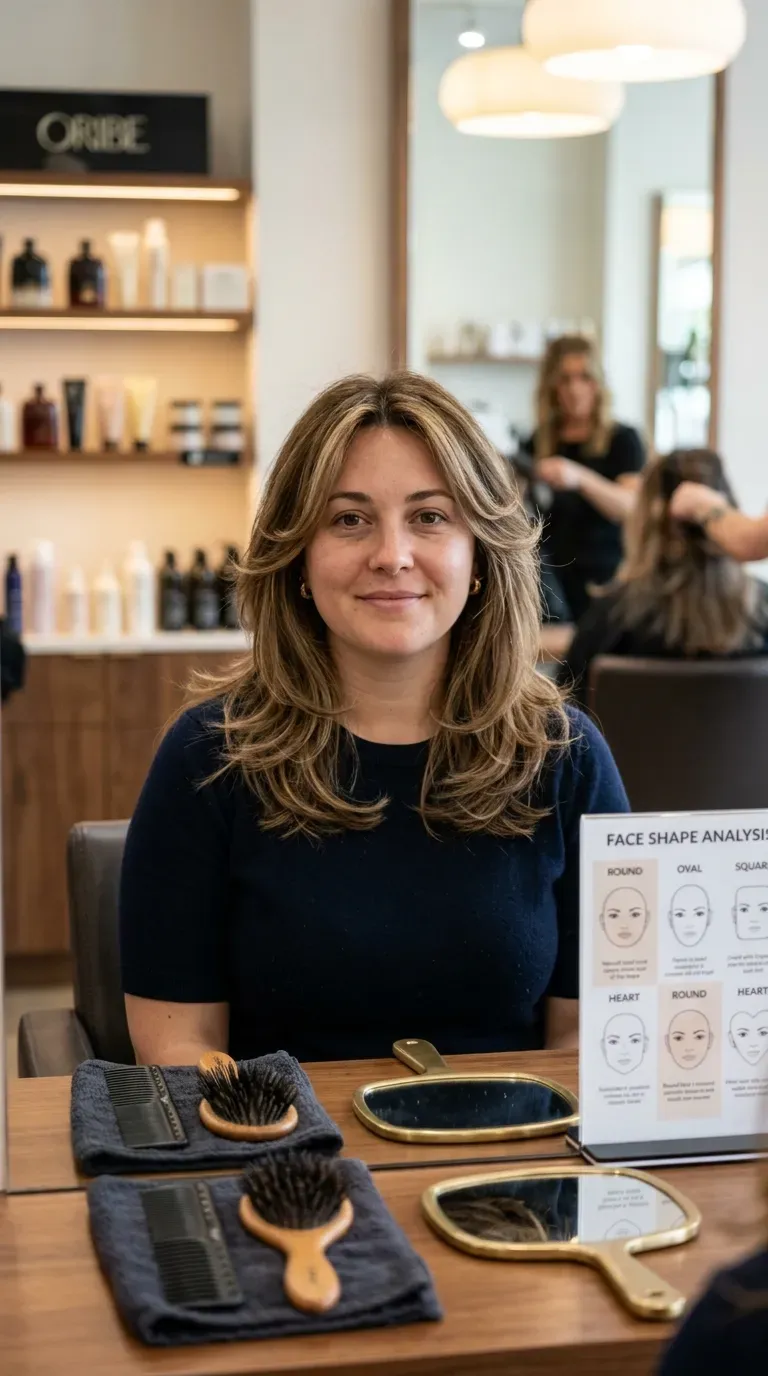
The vibe: Sharp.
Layers cut to fall just below the chin, with extra length and lift at the crown, elongate a rounder face shape rather than adding width at the cheek. The key technique is keeping the shortest layer below the widest part of the cheek, not at it.
How to get it: Request “layers starting at least an inch below the cheekbone, with volume built at the crown rather than the sides.” Avoid layers that end precisely at the widest point of your face.
Shop the Look
- Root-lifting spray for crown volume
- Vented styling brush for smooth blowouts
- Anti-humidity finishing spray
- Long-handled tail comb for precise parting
- Lightweight shine serum for polish
7. Razor-Cut Face-Framing Layers
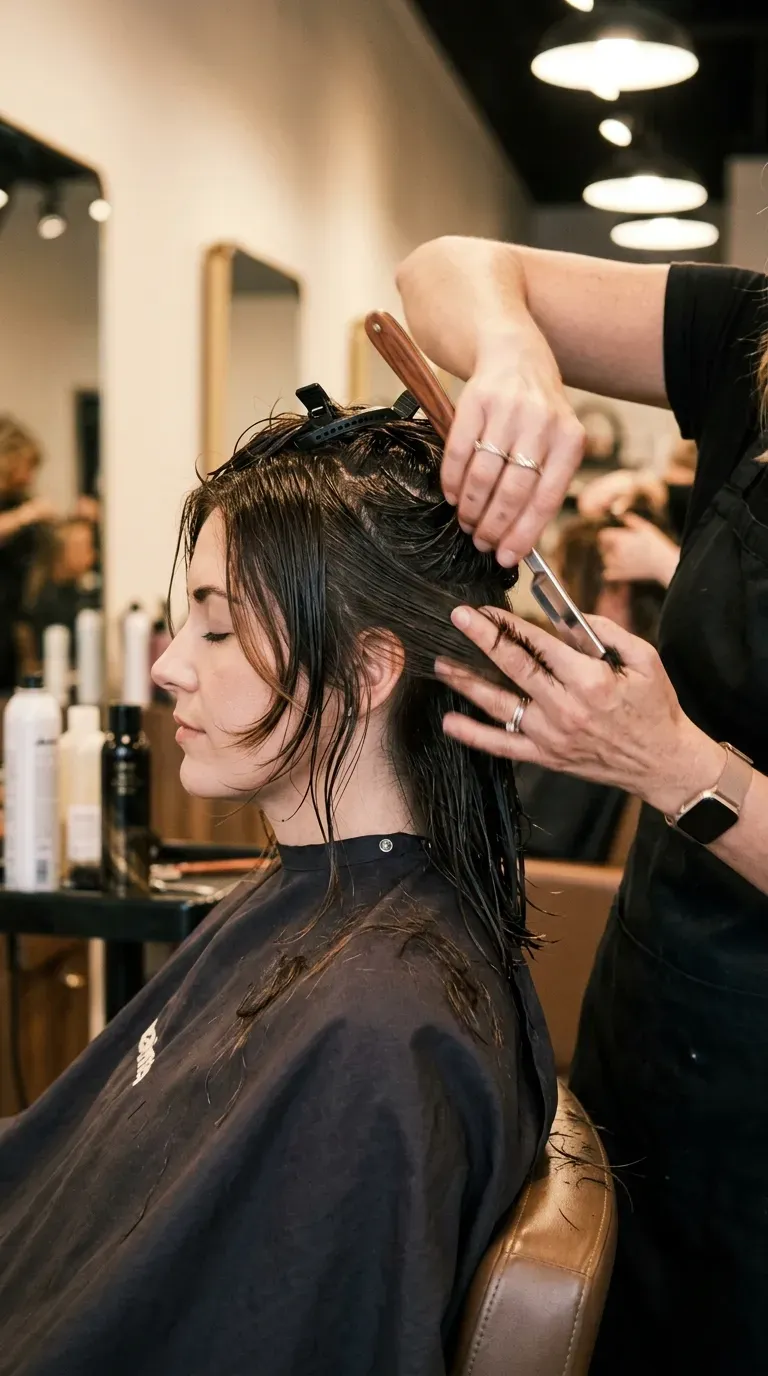
The vibe: Polished.
A true razor cut removes weight from the ends of the front layers gradually rather than in one blunt line, producing a feathered, almost airbrushed edge. This technique is specifically chosen over scissor-cutting when hair needs softness without losing overall length.
How to get it: Ask specifically for “razor-cut face-framing layers, not scissor point-cut” — the difference in texture is noticeable, especially on finer hair where a razor creates a wispier result.
💡 Quick Win: Request the razor work concentrated only on the front two inches of each layer, keeping the interior length fuller for volume.
Shop the Look
- Lightweight texturizing cream
- Flat iron with narrow 3/4-inch plates for ends
- Smoothing serum for feathered tips
- Fine-mist working spray, flexible hold
- Boar-bristle finishing brush
8. Long Face-Framing Layers

The vibe: Effortless.
Long face-framing layers reaching collarbone length preserve overall length while still softening the face, making them a popular middle-ground choice for women transitioning from a one-length cut. The layer is cut long enough to blend seamlessly rather than standing apart from the rest of the hair.
How to get it: Ask for “the shortest layer at collarbone length, blended gradually into the rest of the hair over several inches” rather than a sharp, defined layer line.
Shop the Look
- Lightweight hair oil for length and shine
- Wide-tooth detangling comb
- Heat-protectant spray for length
- Silk scrunchie for gentle overnight wear
- Volumizing root spray for lift at the crown
9. Beachy Wave Layers
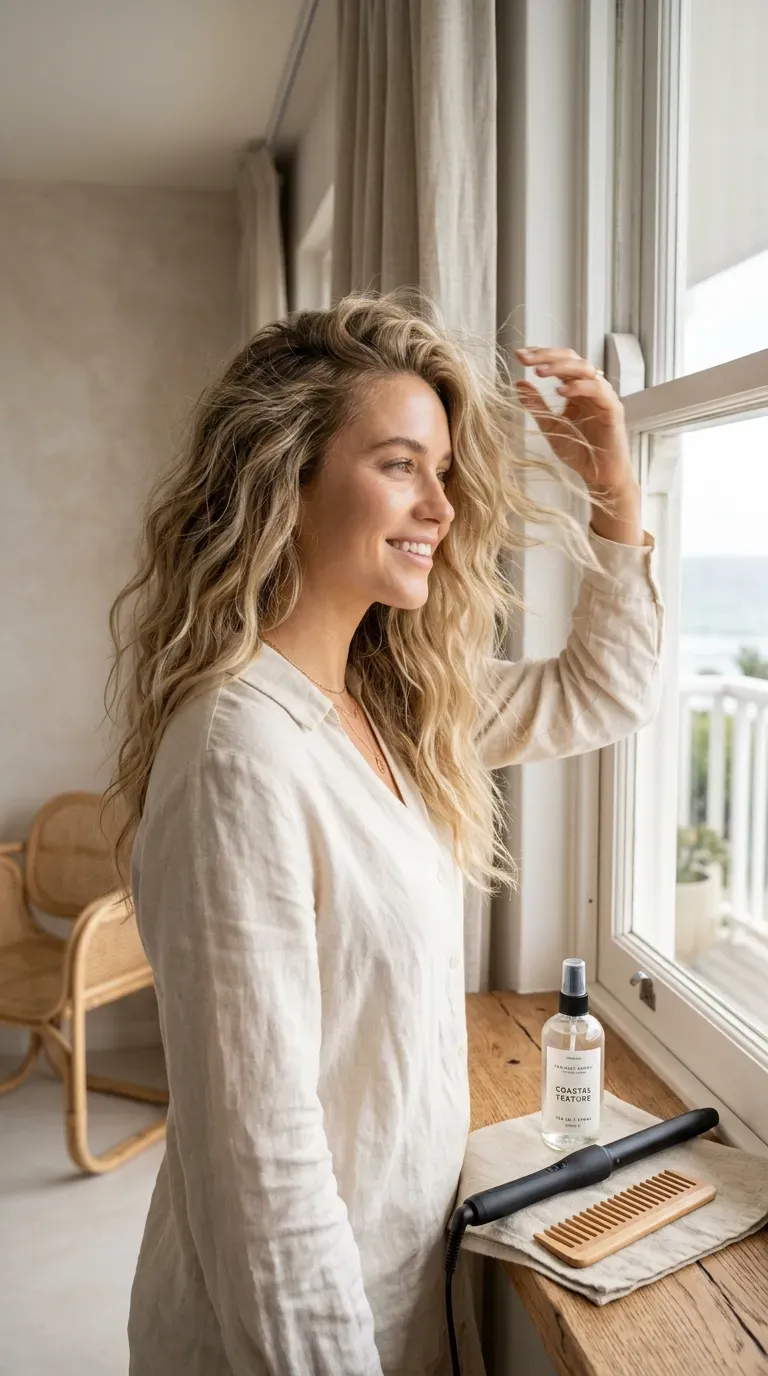
The vibe: Effortless.
Beachy waves in the front layers use a loose, alternating curl pattern rather than uniform curls, which reads as more natural and youthful than a tight, matched wave set. The layers are curled away from the face on alternating sections to avoid a “helmet” effect.
How to get it: Use a 1.25-inch curling wand, wrapping each front-layer section away from the face and leaving the last inch of the ends unclamped for a looser tail.
💡 Quick Win: Spray texturizing salt spray onto dry waves and scrunch gently at the roots to break up any curl uniformity.
Shop the Look
- 1.25-inch curling wand with cool-tip
- Texturizing sea salt spray
- Heat-protectant spray for waves
- Flexible-hold hairspray for beachy finish
- Wide-tooth comb for loosening curls
10. Deep Side-Part Layers
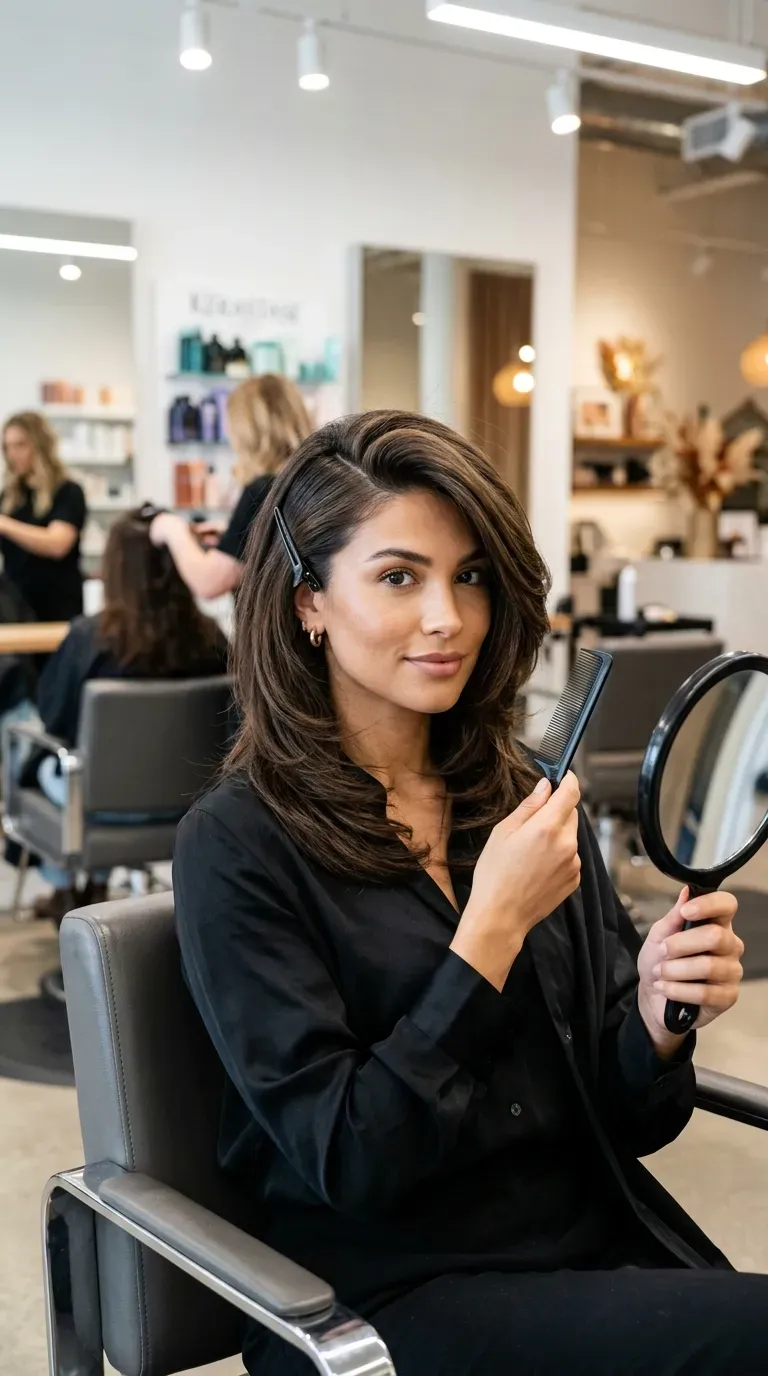
The vibe: Sharp.
A deep side part shifts more weight and length to one side of the front layers, which visually lengthens the face and can minimize the appearance of a receding hairline or thinning part. The technique depends on parting at least two inches to one side of center, not just an inch.
How to get it: Part your hair with a tail comb starting from the highest point of your eyebrow arch and angling backward — this creates a deeper, more deliberate part than parting straight back from center.
Shop the Look
- Long-handled tail comb for precision parting
- Root-concealer powder for part-line coverage
- Flexible-hold hairspray for all-day part hold
- Boar-bristle brush for smoothing
- Volumizing root spray for part-line lift
11. Texturizing Spray Piece-y Layers
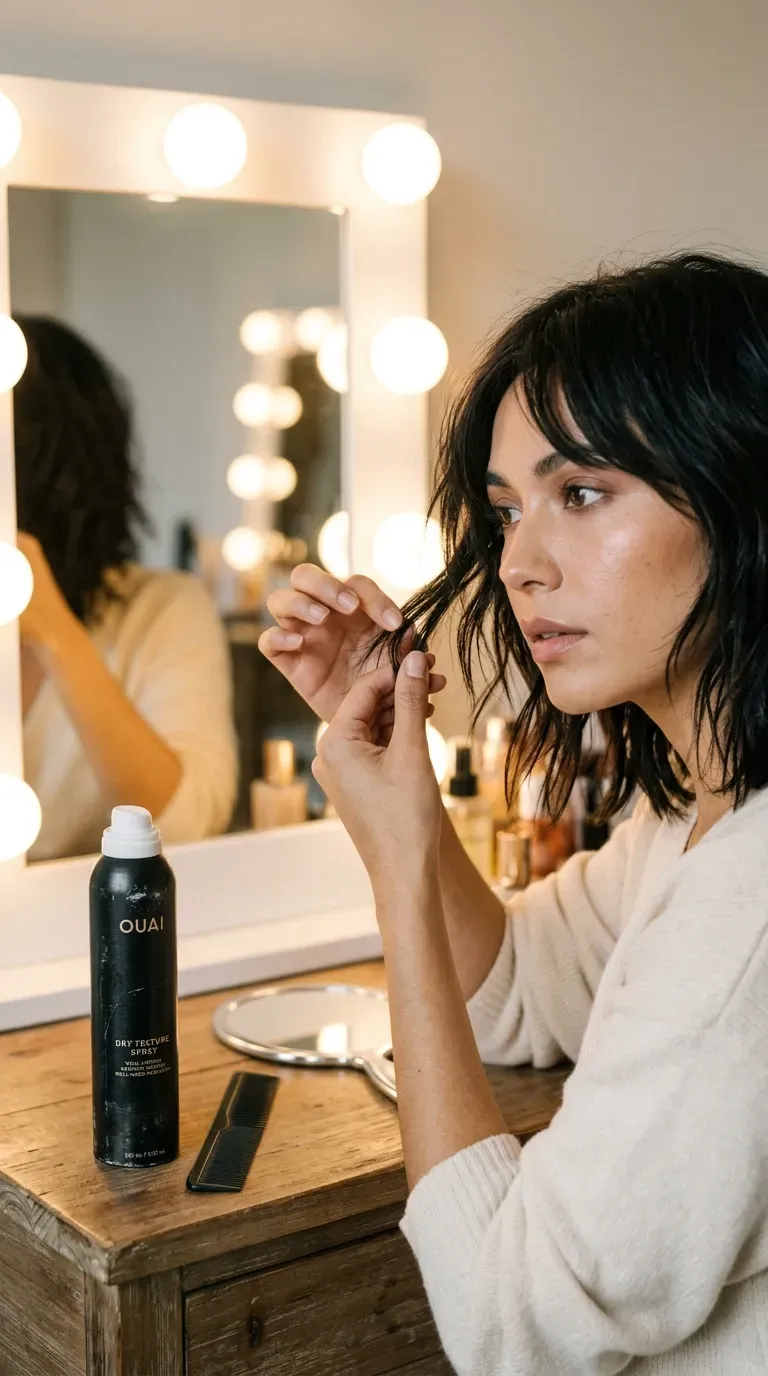
The vibe: Edgy.
Piece-y layers rely on a light texturizing spray applied section by section, using fingers rather than a brush to separate individual strands. This creates visible definition between each layer instead of one smooth mass, which reads as more modern and less “done.”
How to get it: Spray texturizing product directly onto dry front layers, then twist small one-inch sections between your fingers before releasing — this builds separation without frizz.
💡 Quick Win: Keep a travel-size texturizing spray in your bag to refresh piece-y definition midday without a full restyle.
Shop the Look
- Texturizing spray for piece-y separation
- Fine-tooth styling comb
- Matte texturizing paste for ends
- Travel-size finishing spray
- Anti-frizz serum for humid days
12. Grow-Out-Friendly Low-Maintenance Layers
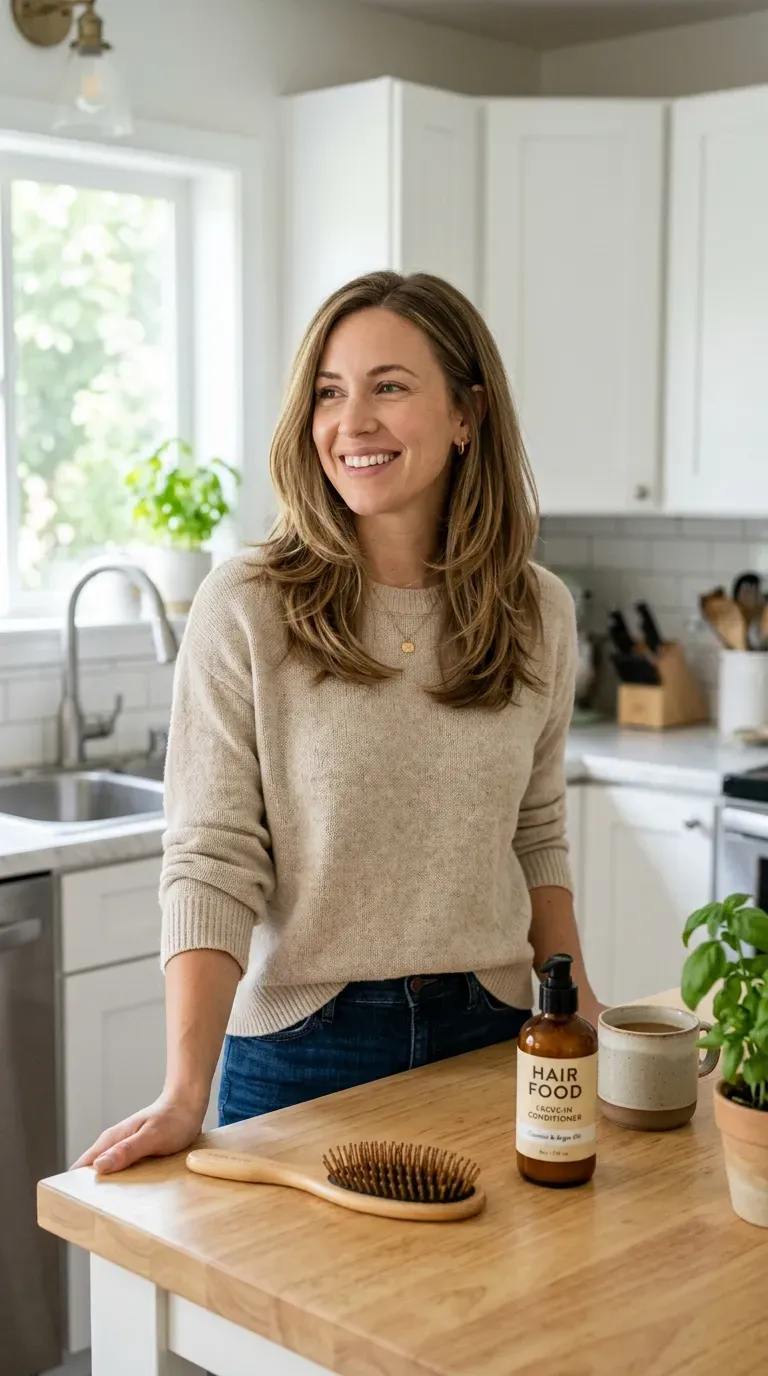
The vibe: Effortless.
Long, subtly blended layers with minimal contrast between lengths grow out gracefully over several months without needing a reshaping trim. The technique prioritizes gradual, long layers over short, dramatic ones so the grow-out line stays soft rather than obvious.
How to get it: Ask for “long, soft layers blended over at least four inches, no short pieces near the crown” — this is the single biggest factor in how well a layered cut grows out.
Shop the Look
- Leave-in conditioner for length maintenance
- Wide-tooth detangling comb
- Trim scissors for at-home split-end maintenance
- Hair mask for monthly deep conditioning
- Silk pillowcase to reduce breakage
13. Feathered Wispy Layers
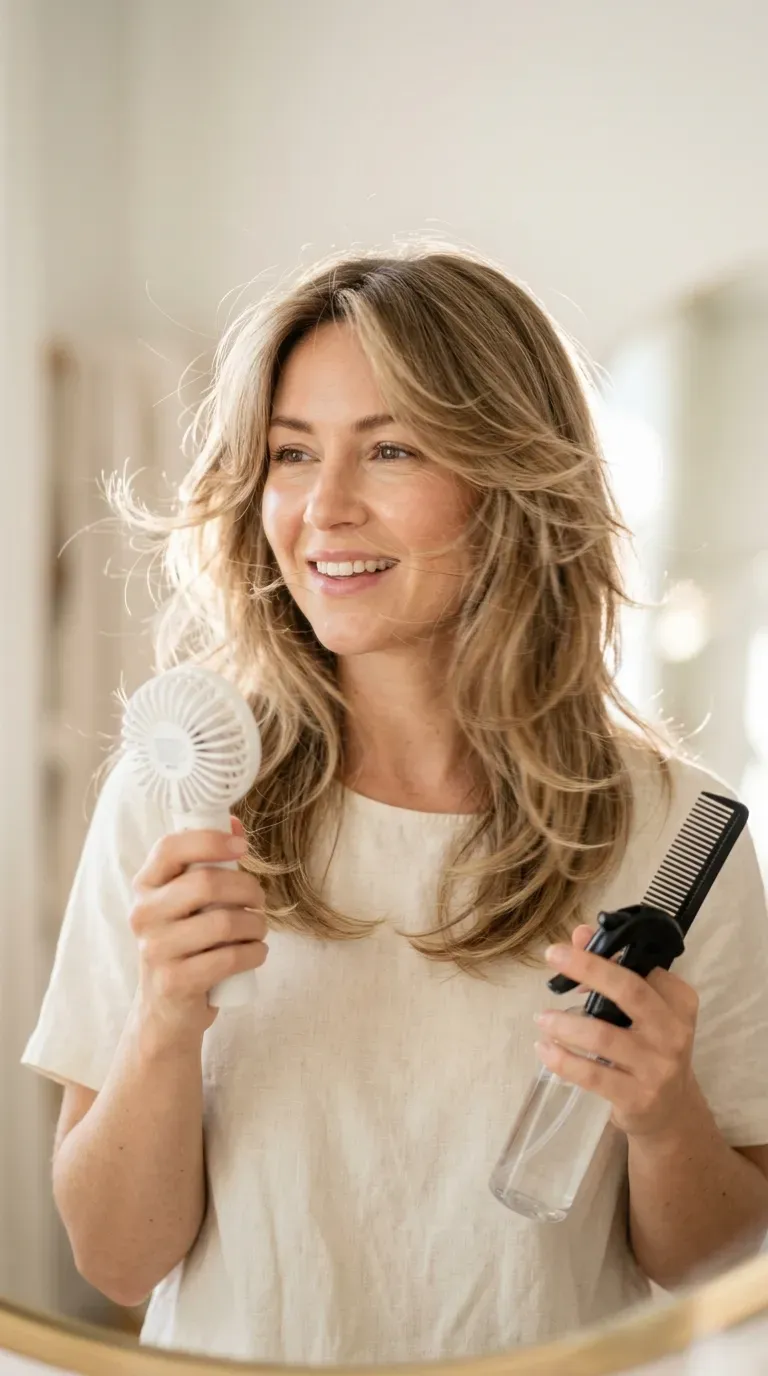
The vibe: Effortless.
Wispy, feathered layers use thin, tapered pieces cut close to the face, giving the impression of movement even when hair is still. The technique thins the very ends of the layer using thinning shears rather than a razor, which creates a lighter, airier result than a razor cut alone.
How to get it: Ask for “wispy feathered pieces around the face, thinned at the tips with texturizing shears” — this differs from a razor cut in that it targets only the last half-inch of hair.
Shop the Look
- Lightweight finishing spray for airy hold
- Small paddle brush for smoothing wisps
- Anti-frizz smoothing cream
- Heat-protectant mist for daily styling
- Fine-mist shine spray
14. Curly Front Layers
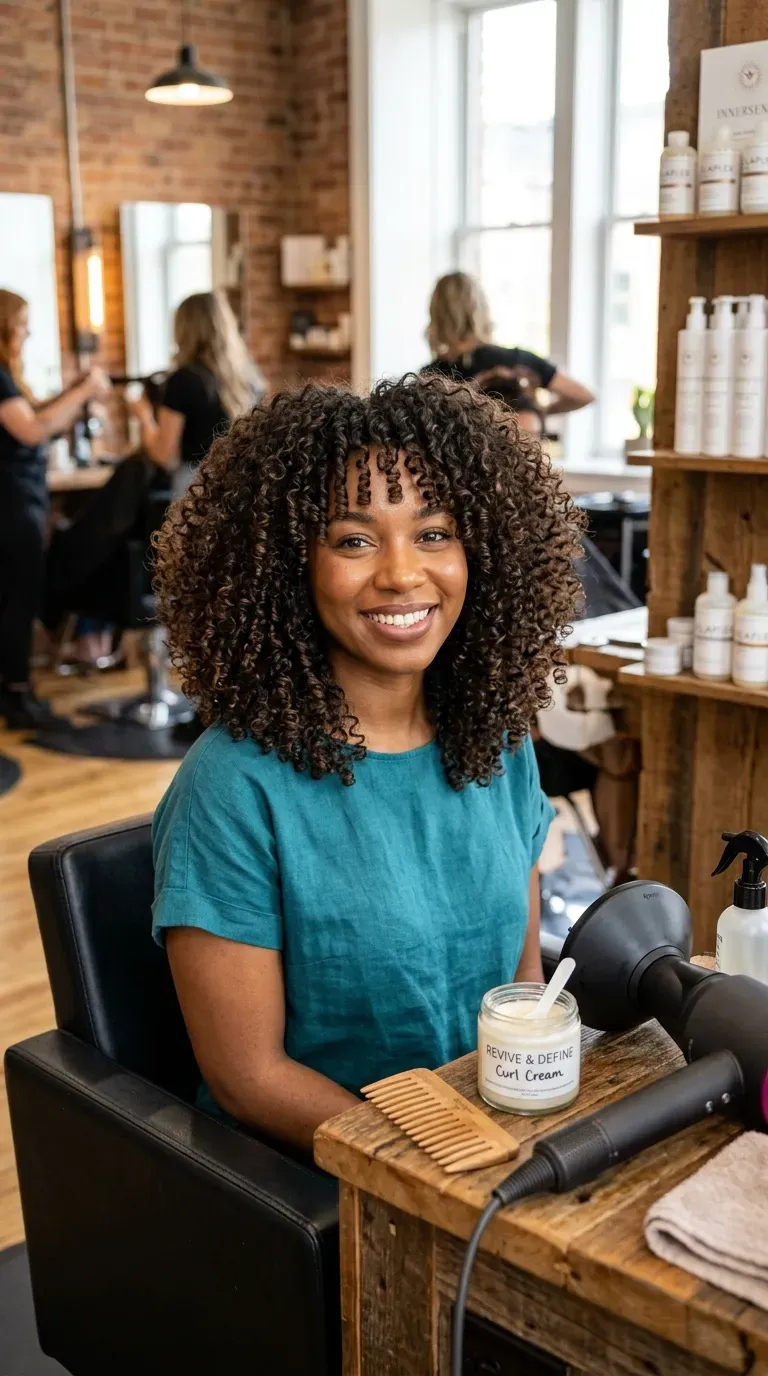
The vibe: Commanding.
Front layers on curly hair must be cut dry, since curls shrink upward as they dry and a layer cut wet can end up several inches shorter than intended once it springs into its natural pattern. The layering itself removes bulk at the perimeter, letting individual curls define rather than clump into a triangle shape.
How to get it: Confirm with your stylist that they cut curly hair dry, curl by curl, rather than wet — this single detail determines whether the front layers land where you actually want them.
💡 Quick Win: Apply curl cream to soaking-wet hair immediately after washing, before any water evaporates, for maximum curl definition.
Shop the Look
- Curl-defining cream for wet application
- Diffuser attachment for curly blowouts
- Wide-tooth detangling comb for curls
- Microfiber curl towel to reduce frizz
- Curl-refreshing spray for second-day hair
15. Sleek Straight Layers
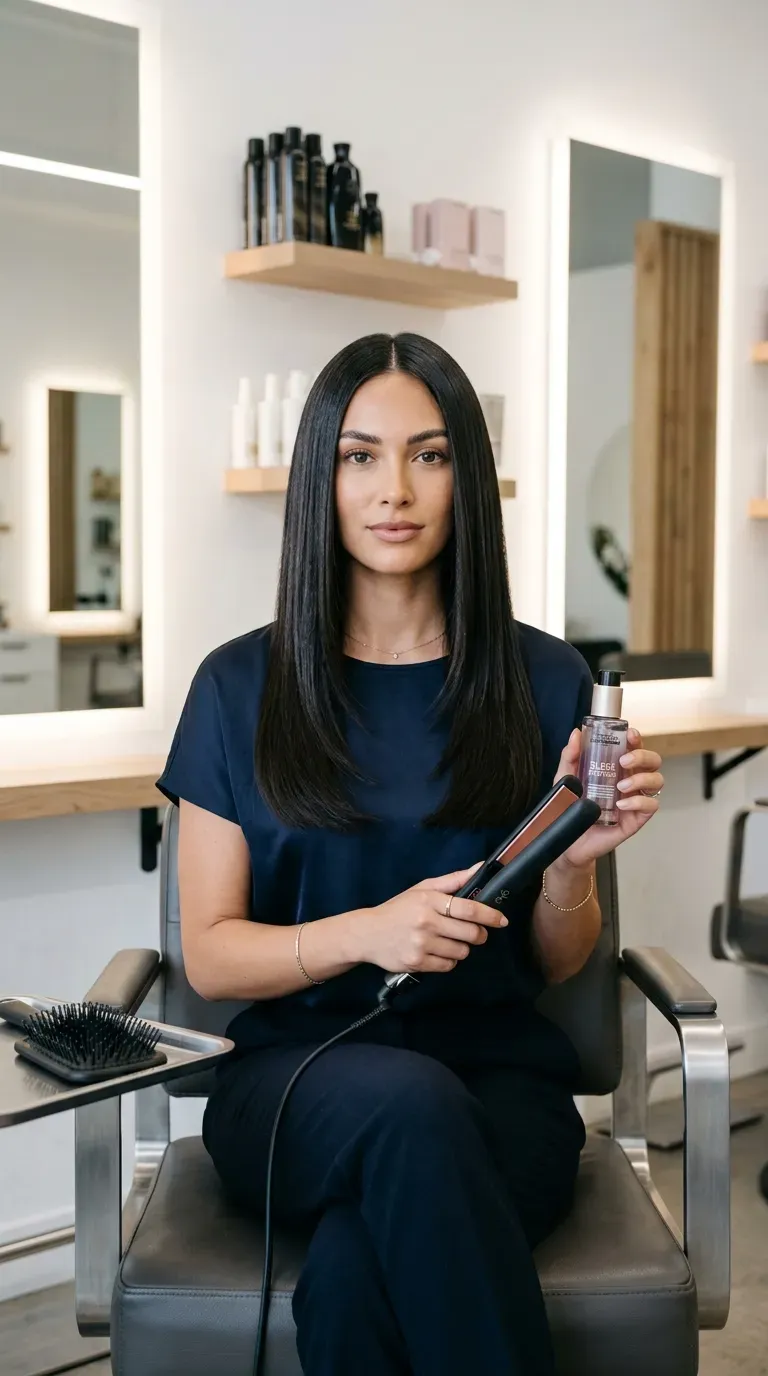
The vibe: Polished.
Sleek, straightened layers rely on a narrow flat iron passed through small sections to eliminate any bend at the root, which is what causes layers to flip out unintentionally. The technique flat-irons downward and slightly inward, curving the very ends toward the face rather than away.
How to get it: Use a 1-inch flat iron on one-inch sections, angling the plates slightly toward your face as you pass through the last two inches of each layer to prevent outward flipping.
Shop the Look
- 1-inch ceramic flat iron
- Heat-protectant smoothing serum
- Anti-frizz finishing cream
- Paddle brush for pre-straightening prep
- Shine spray for glass-like finish
16. Balayage-Framed Layers
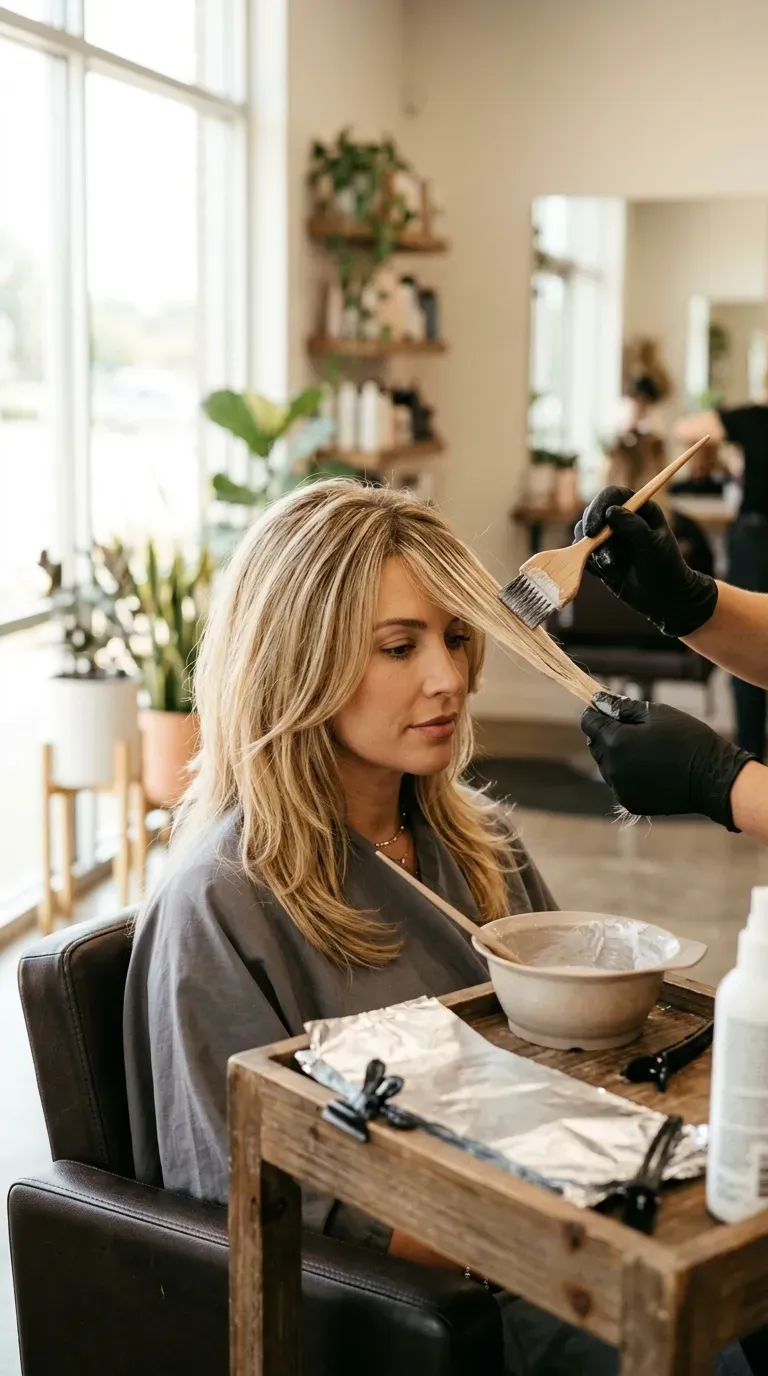
The vibe: Polished.
Balayage applied specifically to the front layer pieces creates a soft, sun-kissed frame around the face that grows out without a harsh line, unlike foiled highlights placed uniformly throughout. The hand-painted technique concentrates color lightest at the very ends of the front layers, darkest near the root.
How to get it: Ask your colorist for “balayage concentrated on the face-framing layers only, root-shadowed for low-maintenance grow-out” rather than an all-over application.
Shop the Look
- Color-safe shampoo and conditioner set
- Purple or blue toning shampoo
- Glossing treatment for shine and tone
- Leave-in heat protectant for colored hair
- UV protection spray for color longevity
17. Round-Brush Blowout Layers
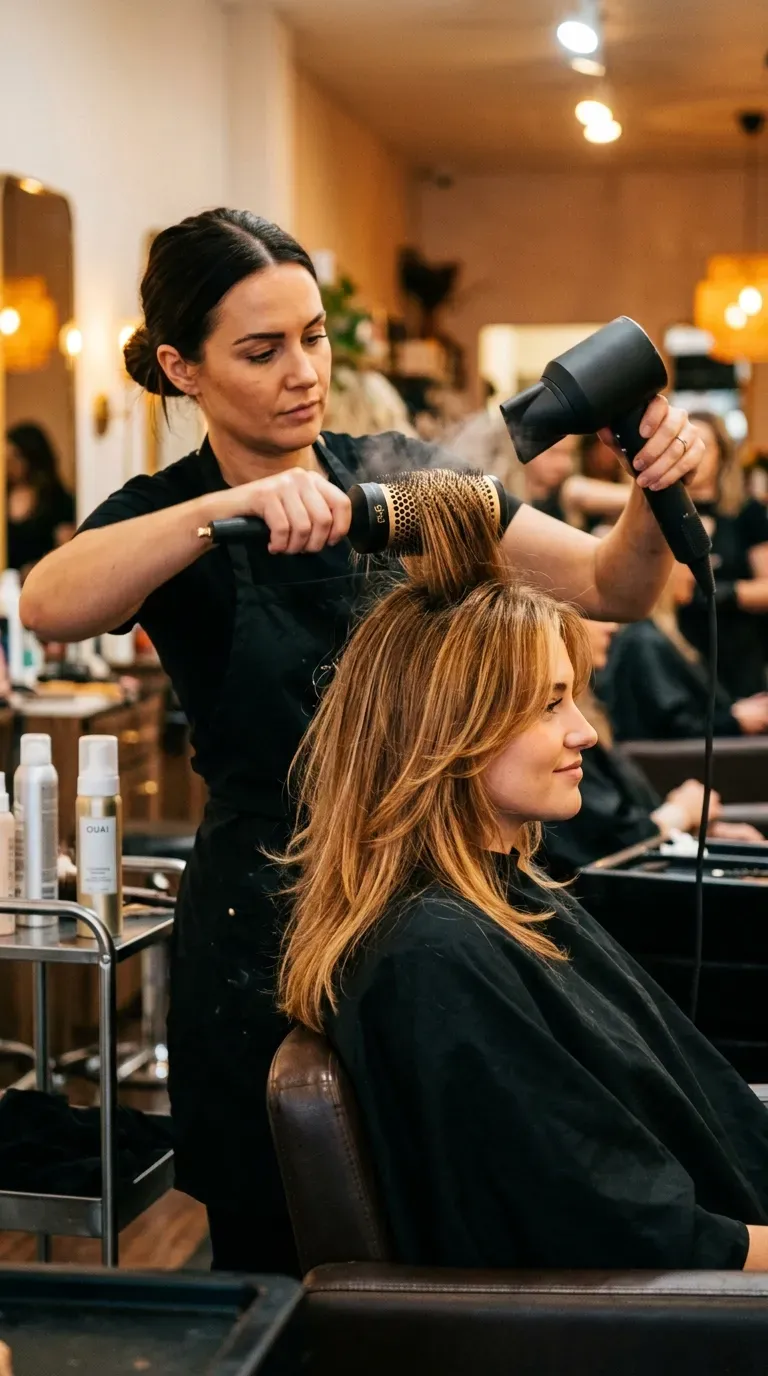
The vibe: Polished.
A round-brush blowout on the front layers builds smooth, rounded volume by wrapping each section around the brush and following with directed heat, then cool air to set the shape. The technique depends on brush size — larger barrels create looser waves, smaller barrels create tighter curl at the ends.
How to get it: Use a 1.5-inch round brush for the front layers specifically, rolling the ends under toward your face and holding the cool-shot button for ten seconds before releasing.
Shop the Look
- 1.5-inch round thermal brush
- Blow dryer with cool-shot function
- Heat-protectant blowout spray
- Volumizing mousse for root lift
- Finishing shine spray for a smooth result
18. Square-Jaw Softening Layers
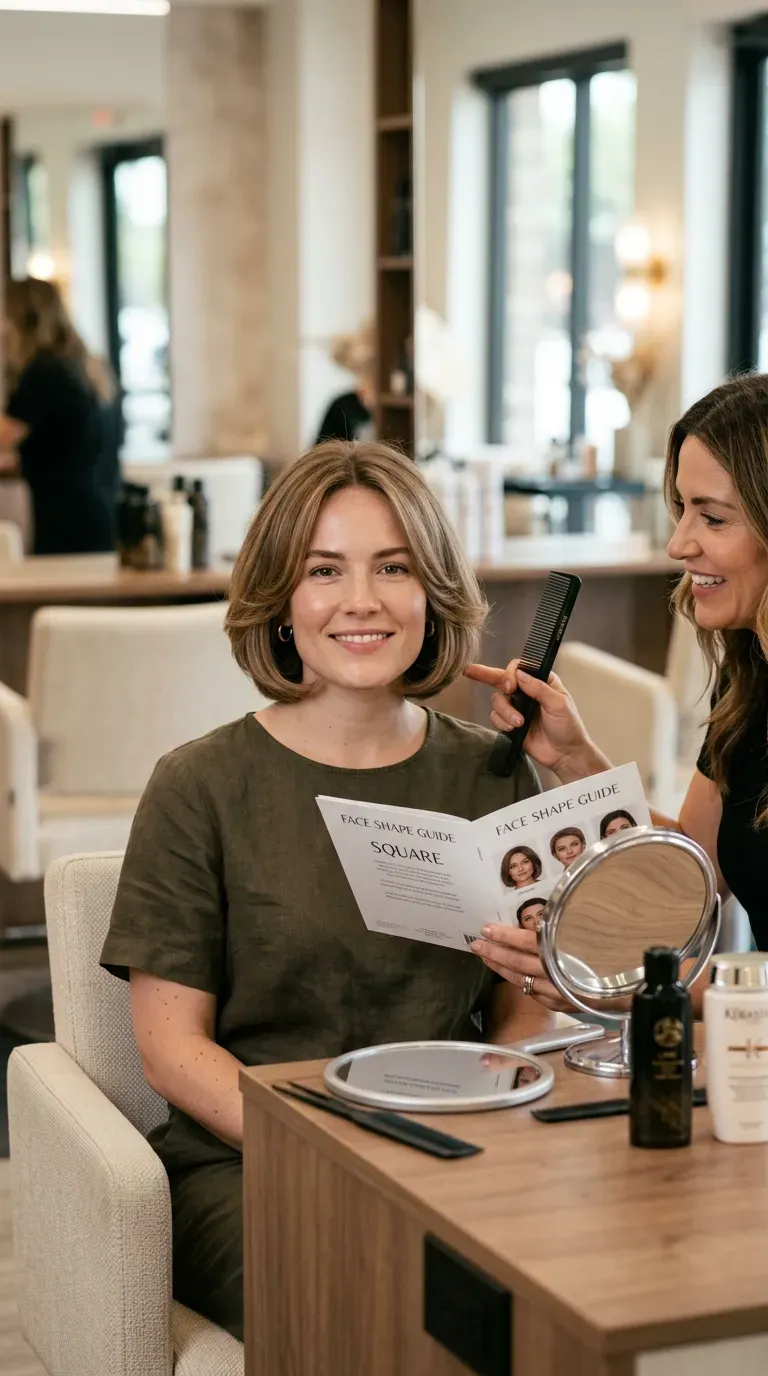
The vibe: Sharp.
Layers cut to curve inward at the jaw, rather than falling straight down past it, visually soften a stronger or squarer jawline by breaking the hard horizontal line the jaw creates. The technique relies on curling the very ends of the front layers inward during styling, not on the cut alone.
How to get it: Ask for “layers ending just at or slightly below the jaw, cut with an inward curve built into the shape” — then finish each blowout by curling the ends inward with a round brush or wand.
💡 Quick Win: A quick pass with a curling wand on just the last two inches of each front layer, curled toward the face, softens a square jaw in under five minutes.
Shop the Look
- 1-inch curling wand for inward curl
- Round thermal brush for jaw-softening blowouts
- Heat-protectant styling spray
- Flexible-hold hairspray for curl retention
- Smoothing serum for a polished finish
How to Ask Your Stylist for Front Layers That Flatter Women Over 40
Start with one specific reference point: bring a photo of the exact layer length you want, measured against a feature on your own face — “layers hitting my chin” rather than a vague “some layers around the front.” Stylists cut to landmarks, not adjectives, so anchoring the length to your jaw, chin, or collarbone from the start prevents the most common miscommunication in layer cuts.
The most common mistake is asking for layers without specifying where the shortest layer should start. Cut too high, near the cheekbone, layers can add width to a round or square face instead of softening it. The fix is simple: always specify that the shortest front layer should fall at least an inch below the widest point of your face, whatever your face shape.
Three budget entry points under $20 each build immediate impact: a travel-size texturizing sea salt spray for piece-y definition, a 2oz tin of lightweight volumizing mousse for root lift, and a boar-bristle detangling brush that smooths without stripping natural oils. Any of these can transform an existing layered cut without a salon visit.
Front layers typically need a trim every 8 to 12 weeks to keep the shape crisp, though longer, more blended layers can stretch to 14 weeks. A shaping trim at a salon usually runs $40–$90 depending on your area, while day-to-day styling — waves, blowouts, texture — is entirely manageable at home between visits.
Frequently Asked Questions About Front Layers
What’s the difference between curtain bangs and front layers?
Curtain bangs are a specific type of front layer parted down the center and swept to both sides, while front layers is the broader category that includes side-swept, choppy, and feathered styles too. Curtain bangs are typically cut shorter, often to cheekbone length, while other front layers can extend to collarbone length. Both blend into the rest of the hair rather than existing as a separate blunt fringe.
Are front layers good for fine or thinning hair over 40?
Yes — shorter, more numerous layers create the illusion of density by adding movement and separation that a single length can’t. The key is keeping layers on the longer side of moderate rather than extremely short, since very short layers on already-fine hair can look sparse. A lightweight volumizing mousse applied at the root helps reinforce the effect.
How much do front layers cost at a salon?
A layering cut, including a wash and basic style, typically runs $50–$120 depending on your stylist’s experience and location, with color add-ons like balayage adding $100–$250 more. At-home maintenance between visits — texturizing spray, a round brush, heat protectant — usually totals under $60 for products that last several months.
How often do front layers need to be trimmed?
Most front layer styles need a trim every 8 to 12 weeks to maintain their shape, since the shorter front pieces grow out visibly faster than the rest of the cut. Longer, more blended layers can stretch closer to 14 to 16 weeks between trims. Curly front layers often need slightly more frequent trims, around every 8 weeks, since curl shrinkage can make grow-out more noticeable.
What’s the best product for styling front layers day to day?
A lightweight volumizing mousse applied to damp hair, followed by a round-brush blowout, is the most versatile daily routine for straight and wavy front layers. For curly front layers, a curl-defining cream applied to soaking-wet hair works better than mousse alone. Texturizing spray is the best finishing step for anyone wanting a piece-y, undone look rather than a smooth blowout.
Ready to Try Front Layers?
Between choppy, curtain, feathered, and color-framed options, there’s a version of front layers built for nearly every face shape and hair texture covered here. Finding the exact layer length and cutting technique that works for you is rarely a one-visit decision, and adjusting after your first cut is completely normal — most women land on their ideal version after a trim or two of fine-tuning. Start today by saving one or two reference photos from this list and bringing them to your next appointment, specifying exactly where you want the shortest layer to fall. There’s a real lift that comes with hair that frames your face instead of just hanging past it — a lighter, more awake feeling every time you catch your reflection. Pin your favorites now, so you’re ready with a clear reference the next time you sit down in the chair.