A medium layered hairstyle uses hair cut between chin and collarbone length, with strands cut at varying lengths throughout rather than one blunt line, so the ends move instead of hanging flat. This guide walks through 19 medium layered hairstyle ideas for women over 50, built to add lift at the crown, soften the jawline, and bring back movement without a drastic chop.
Worn well, medium layers feel light against the neck instead of heavy. They swing when you turn your head, catch the light instead of sitting flat, and fall back into place after one pass of a brush. There’s an ease to a good layered medium cut that a stiff blowout or a rigid one-length bob can’t match — done, but never stiff; soft, but never shapeless. Here are 19 ideas worth saving — and showing your stylist.
Why Medium Layered Hairstyles Work So Well
A medium layered haircut sits at or just below the collarbone and is cut with layers of different lengths — most often through point cutting or slide cutting — rather than one heavy, blunt line. It differs from a blunt lob, which stays one length end to end, and from a short layered bob, which sits above the jaw. The look traces back to the “shag” cuts of the 1970s, revived over the last decade in a softer, more polished form that reads as intentional rather than undone.
The technique matters as much as the length. A stylist point-cuts or slide-cuts the ends to remove bulk and add texture, places the shortest layers around the cheekbone or jaw to frame the face, and finishes with a round-brush blowout for root lift. Heavy oils are avoided on fine hair in favor of a lightweight shine serum or texturizing spray, which adds movement without weighing the crown down.
This cut is having a moment because of the broader “shag revival” across Pinterest and TikTok, plus a wave of women over 50 — Christie Brinkley and Jennifer Aniston among them — showing that longer layered hair, not a short crop, can look modern past 50. It pairs with the larger shift toward low-maintenance, air-dry-friendly styling.
It’s genuinely adaptable but not universal. Fine or thinning hair benefits most from shorter layers concentrated near the crown, which create the illusion of density. Thick hair needs more layers, cut longer, to remove weight without losing shape. Curly hair should be layered dry, since cutting curls wet often removes more length than intended. Round, oval, and square face shapes all respond well to face-framing layers; very long, narrow faces need width added at the cheek rather than more length removed.
| Element | Classic Layering | Modern Layering |
| Philosophy | Frame the face, remove weight | Add texture, undone movement |
| Technique | Point-cut ends, graduated layers | Slide-cut, razored ends |
| Best for | Fine to medium hair, polished looks | Thick or wavy hair, textured looks |
1. Long Layers with Soft Movement
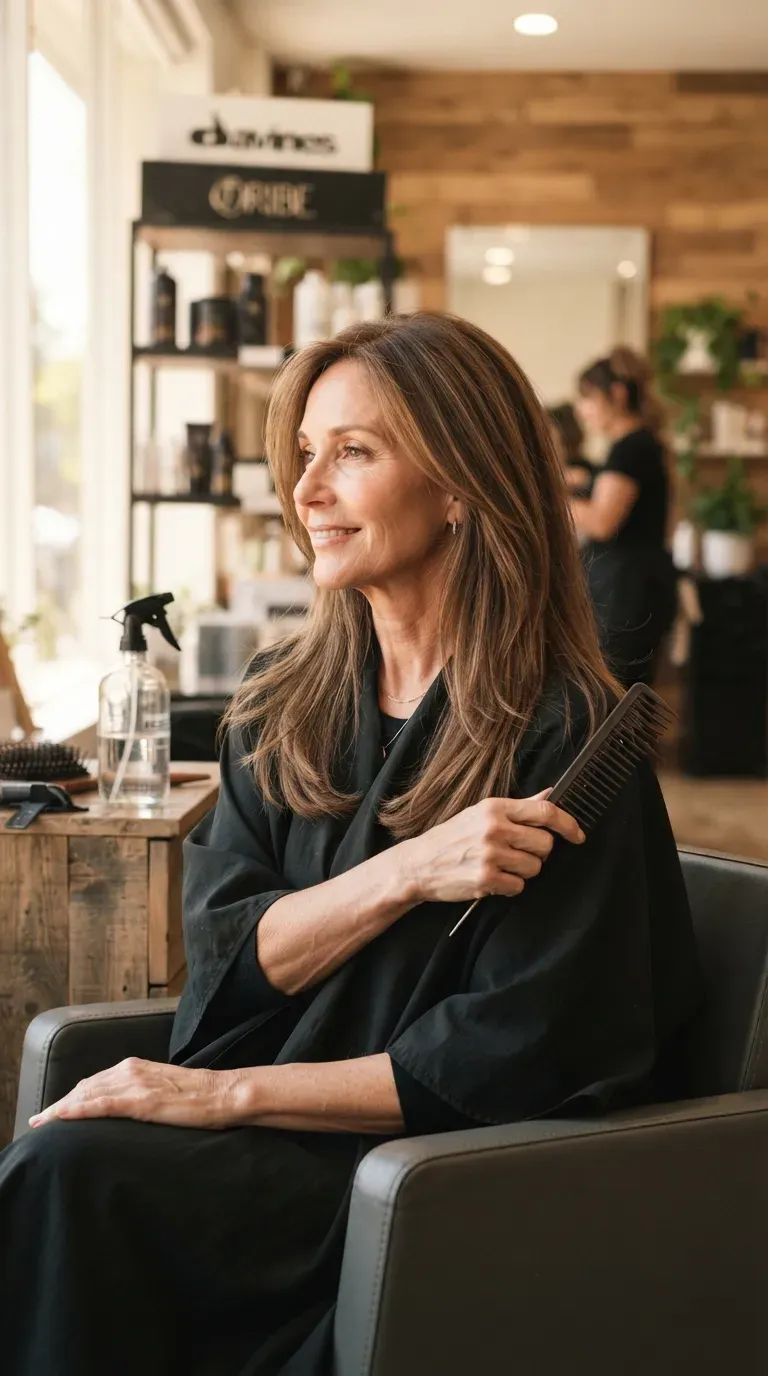
Vibe: Effortless.
Why it works: Long layers are cut with minimal graduation, so the length stays close to even while just enough weight is removed at the ends to let hair move rather than sit like a curtain. The longest layers stay near the collarbone, with only two or three shorter internal layers cut above them.
How to get it: Ask your stylist for “layers cut two inches shorter than the base length, concentrated in the top third of the hair” rather than “some layers throughout,” which keeps the ends from looking stringy.
💡 Quick Win: A lightweight leave-in conditioner spray applied to damp ends before air-drying keeps long layers soft instead of flat.
Shop the Look:
- Lightweight leave-in conditioner spray
- 1.5-inch curling iron for loose bends
- Shine-boosting hair serum
- Boar-bristle paddle brush
- Heat protectant mist
2. Shoulder-Length Lob with Layers
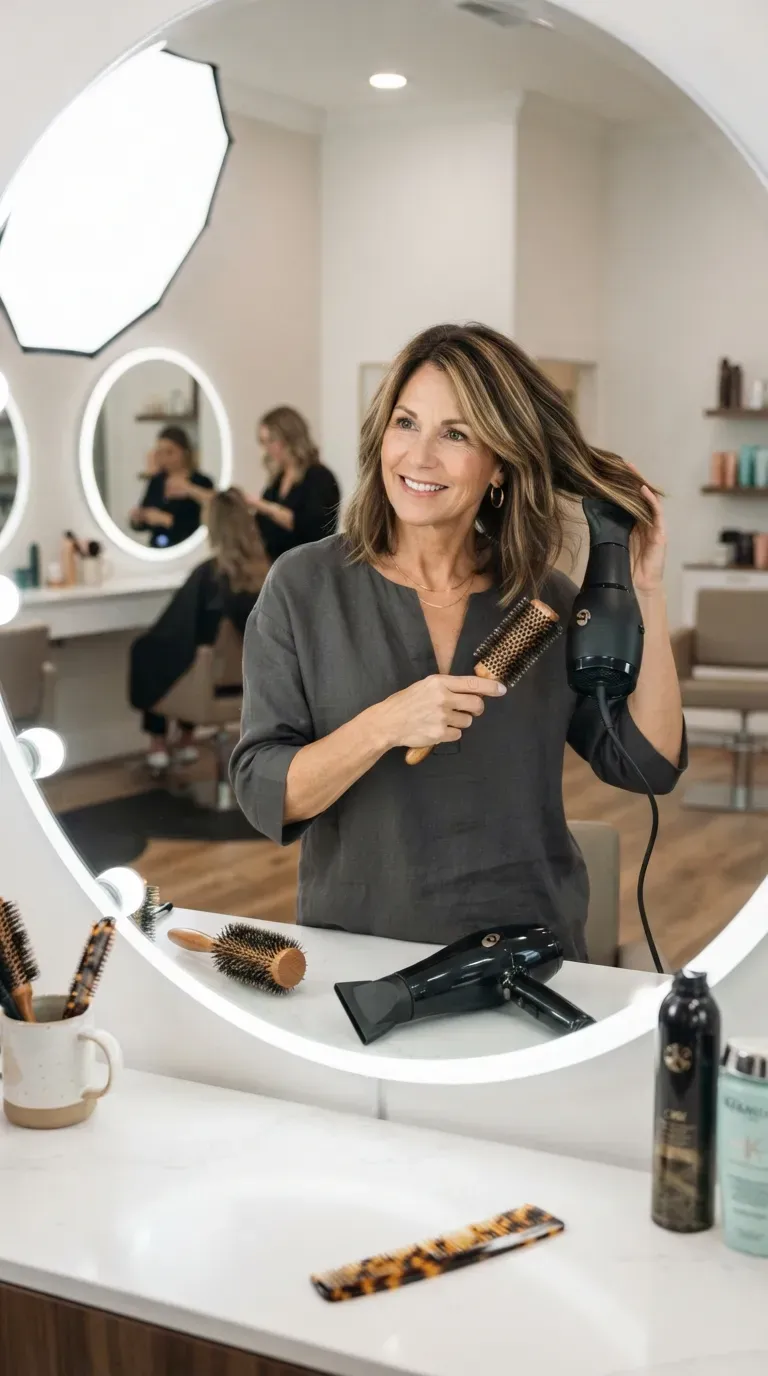
Vibe: Polished.
Why it works: A lob keeps most of the length at one level while layers are worked in only through the top and interior, so the silhouette stays structured but the ends still bend when blow-dried. This is the layer style least likely to look “grown out” between salon visits.
How to get it: Request the length “at the collarbone, with layers starting two inches above the ends” so the base line stays intact while the top moves freely.
Shop the Look:
- Blunt-cut styling comb
- Round ceramic brush for blowouts
- Medium-hold volumizing mousse
- Ionic hair dryer with concentrator nozzle
- Flexible-hold finishing hairspray
3. Blown-Out Layers with Volume at the Crown
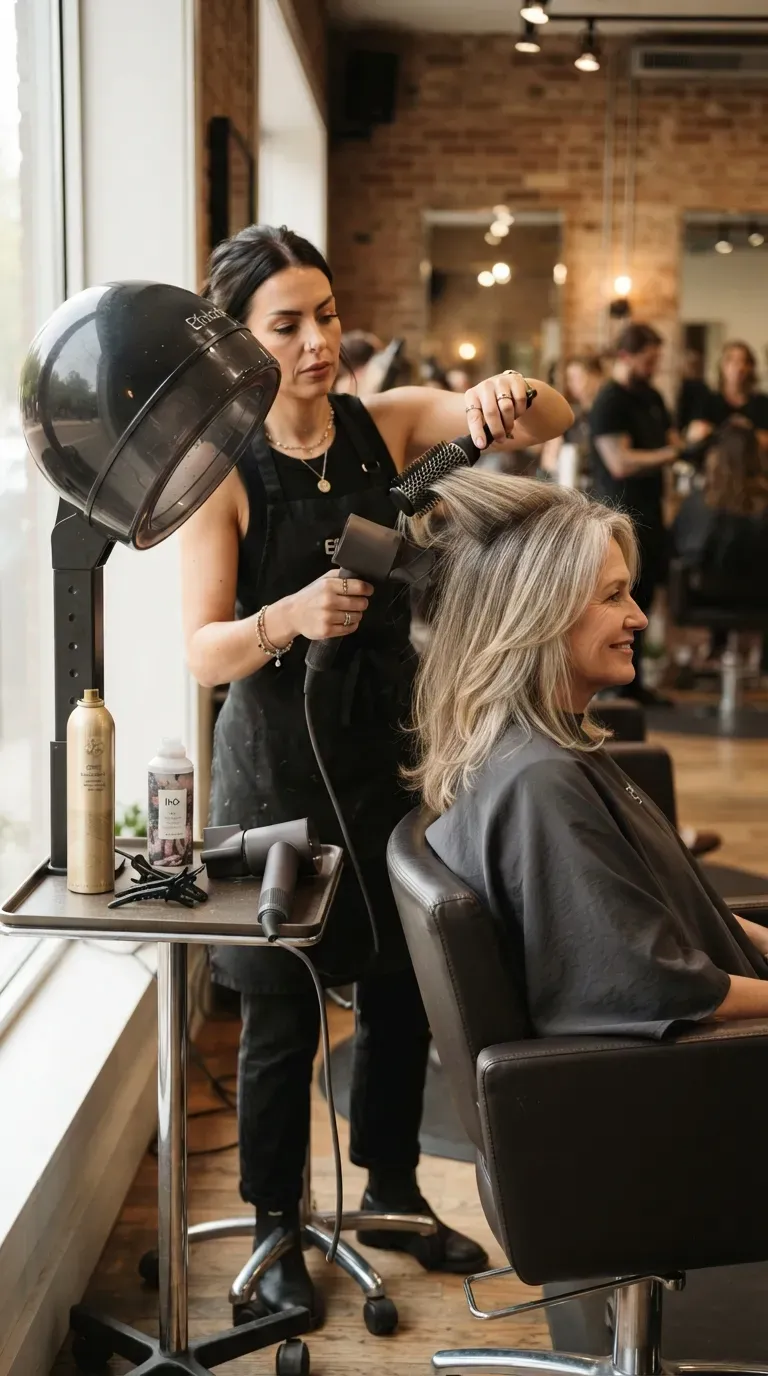
Vibe: Commanding.
Why it works: Volume at the crown is created by drying the roots in the opposite direction of growth using a vented brush, then setting them with cool air before styling the rest. This technique lifts fine, flattened crown hair without adding length or weight anywhere else.
How to get it: Section the crown hair and blow-dry it upward and back with a vented round brush, holding the cool-shot button for the final ten seconds on each section to lock the lift in place.
💡 Quick Win: A pea-sized amount of root-lifting spray applied only at the part line, not the ends, prevents the rest of the hair from looking greasy by midday.
Shop the Look:
- Root-lifting spray
- Vented styling brush
- Professional ionic blow dryer
- Volumizing dry shampoo
- Fine-tooth teasing comb
4. Curtain Bangs with Face-Framing Layers
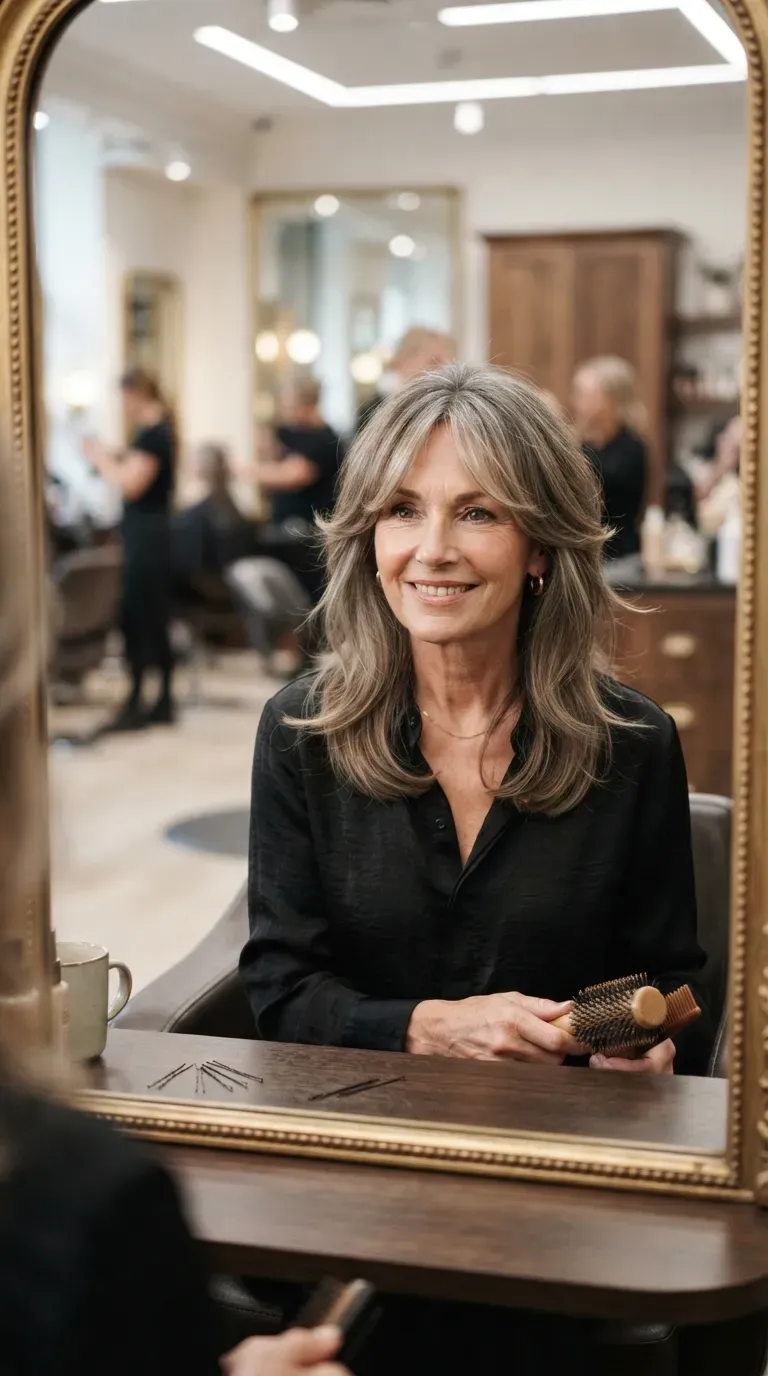
Vibe: Softening.
Why it works: Curtain bangs part in the center and taper longer toward the temples, blending directly into the face-framing layers rather than standing apart as a separate section. This placement draws the eye toward the cheekbones and away from horizontal forehead lines.
How to get it: Ask your stylist to cut the bangs “long enough to tuck behind the ear” and to connect them to the first face-framing layer rather than cutting them as an isolated fringe.
Shop the Look:
- Small 1-inch round brush for bang styling
- Heat protectant styling primer
- Ceramic flat iron with rounded edges
- Fine bobby pins for bang training
- Lightweight hair wax for separation
5. Texturizing Spray Waves for Effortless Body
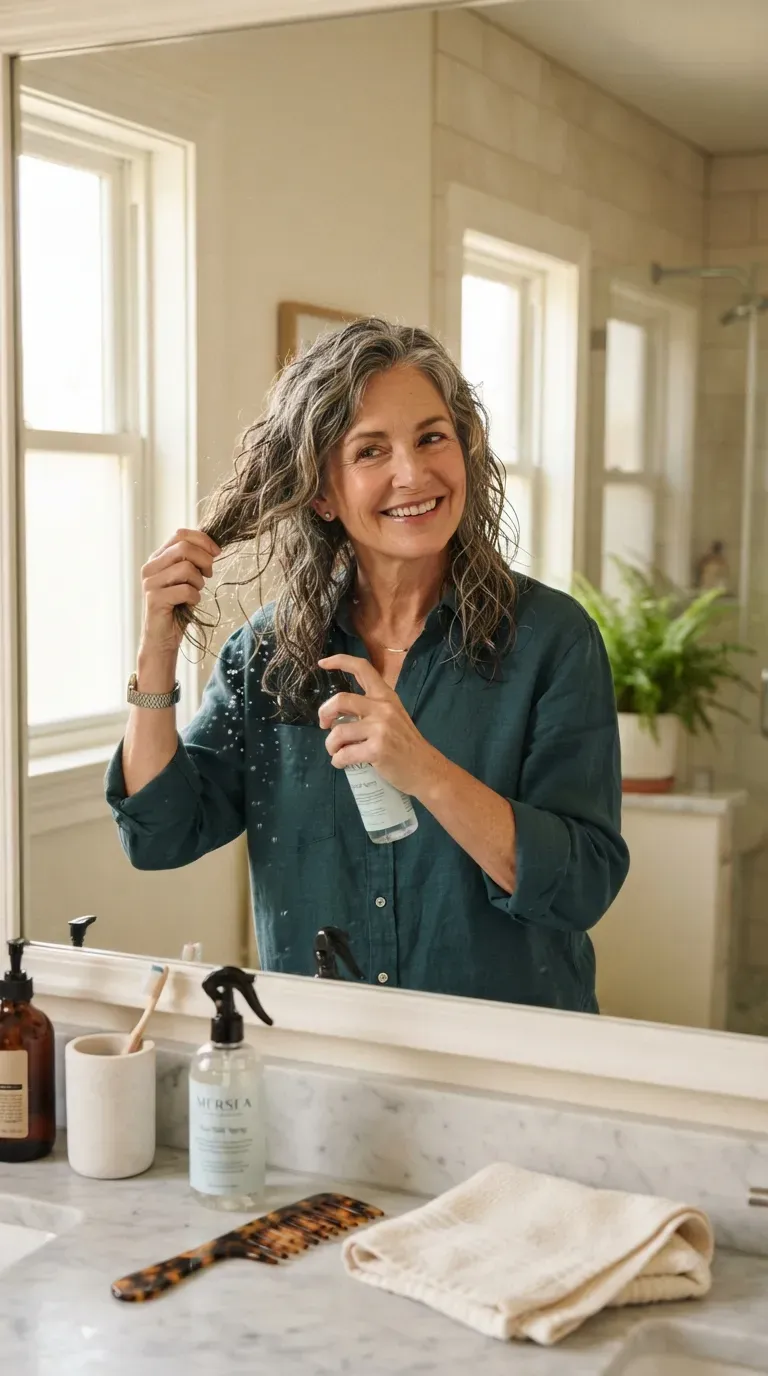
Vibe: Undone.
Why it works: Texturizing spray coats individual strands with a light gritty texture, which helps layers separate and hold a bend without the stiffness of hairspray. It works because layered ends already have less weight pulling them straight, so the product has less resistance to fight.
How to get it: Spray directly onto damp roots and mid-lengths, then scrunch upward toward the scalp while air-drying instead of brushing through, which would smooth the texture back out.
💡 Quick Win: Applying the spray section by section, rather than all at once, keeps the front layers from clumping together.
Shop the Look:
- Sea-salt texturizing spray
- 1-inch curling wand
- Texturizing dry wax
- Wide-tooth detangling comb
- Matte finishing spray
6. Feathered Layers for Fine Hair
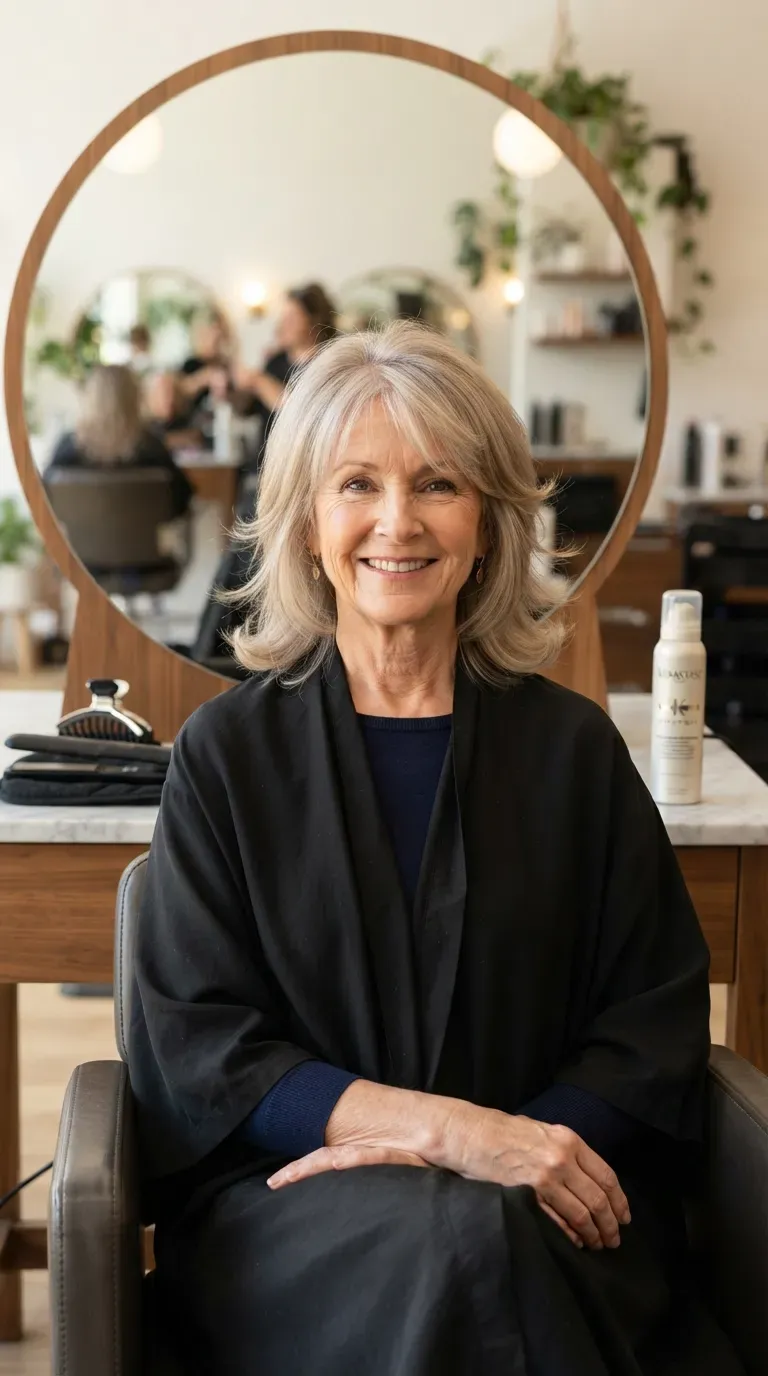
Vibe: Lifted.
Why it works: Feathered layers are cut shorter and closer together than standard layers, which creates the appearance of thickness on fine hair by giving each section more visible edges. The ends are typically flipped outward rather than under, which adds perceived fullness at the jawline.
How to get it: Ask for layers “no more than an inch apart in length near the crown,” and finish with a flat iron turned slightly outward at the very ends instead of curling inward.
Shop the Look:
- Volumizing shampoo and conditioner set for fine hair
- Thickening mousse
- Low-heat ceramic flat iron
- Root-lift clips for setting
- Light-hold finishing hairspray
7. Curly Medium Layers That Bounce
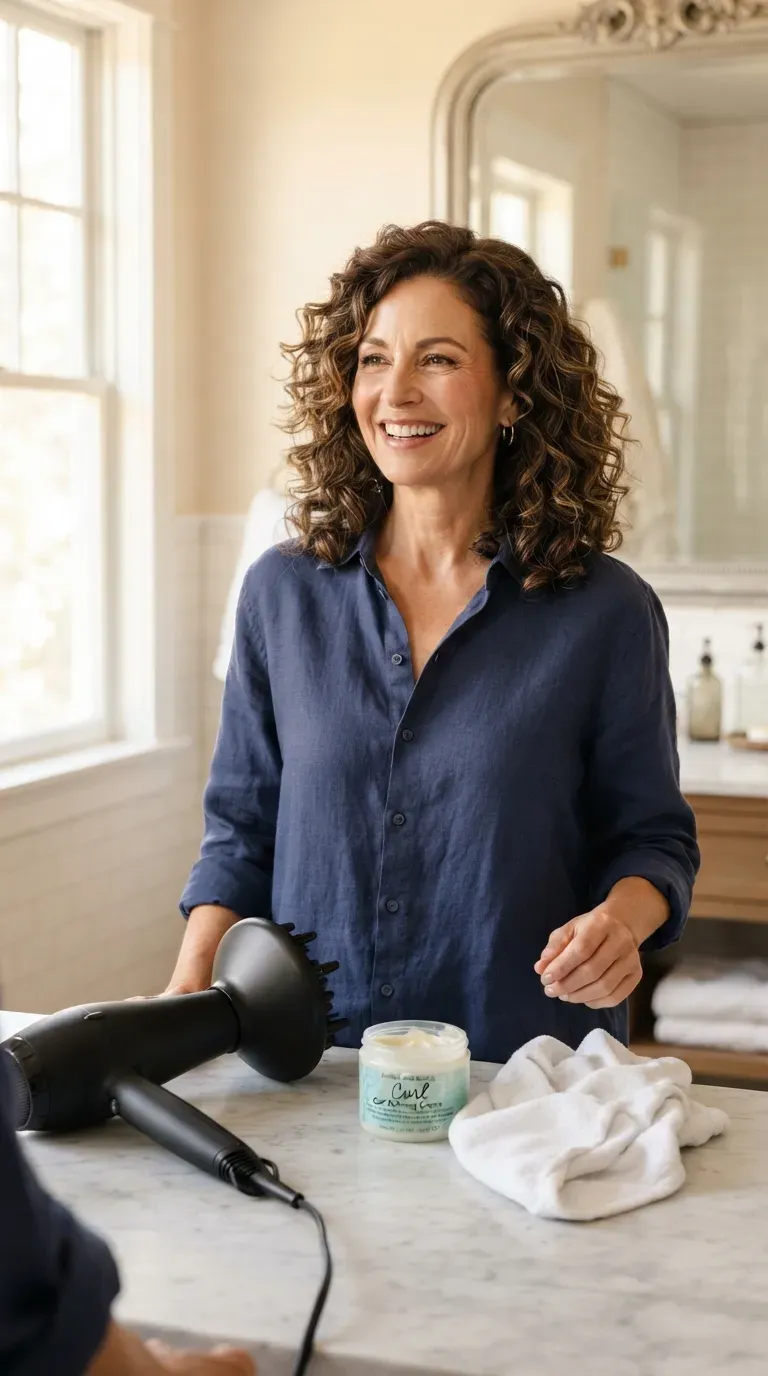
Vibe: Bouncy.
Why it works: Curly hair should always be layered dry, since curls shrink significantly once dry and cutting them wet often removes more length than planned. Layers are placed to remove bulk at the bottom of the curl, where weight tends to stretch the shape out, while length stays fuller near the crown.
How to get it: Book the appointment specifically for a dry cut, and ask the stylist to check curl pattern by lifting individual curls before trimming rather than cutting sections flat.
💡 Quick Win: Applying curl cream to soaking-wet hair, not just damp hair, locks in far more definition before the frizz has a chance to set in.
Shop the Look:
- Curl-defining cream
- Diffuser attachment for a blow dryer
- Microfiber curl towel
- Curl-refreshing spray
- Silicone-free curl gel
8. Sleek Straight Layers with a Flat-Iron Finish
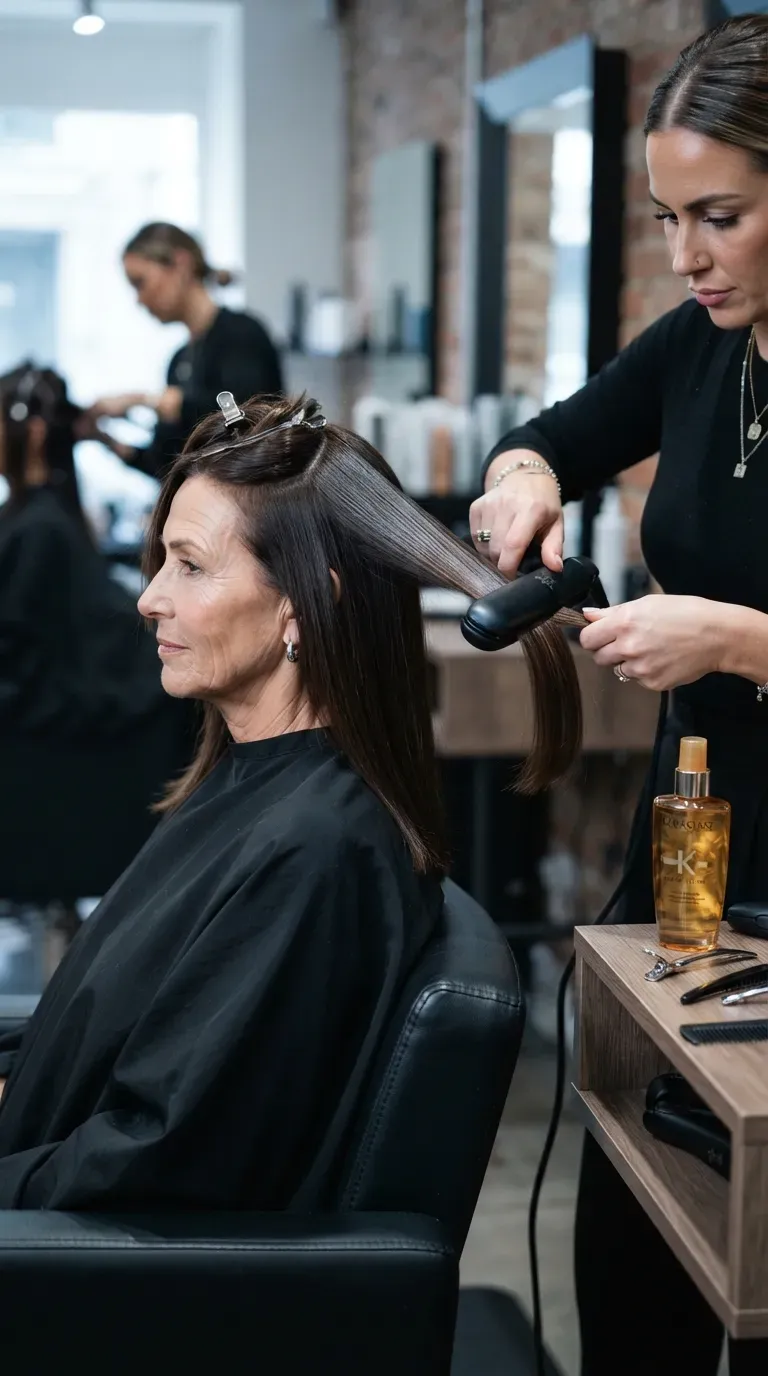
Vibe: Sleek.
Why it works: A flat iron smooths the cuticle flat, which reflects light more evenly and makes layer lines nearly invisible when done section by section from root to tip. This works especially well on layers cut with a razor, since razored ends lie flatter than blunt-cut ones once straightened.
How to get it: Flat-iron in sections no wider than an inch, running the iron slowly from root to end in a single pass rather than multiple passes, which causes more heat damage without added smoothness.
Shop the Look:
- Ceramic flat iron with adjustable heat settings
- Anti-frizz smoothing serum
- Heat protectant spray
- Fine-tooth styling comb
- Glossing hair oil
9. Balayage Highlights Woven Through Layers
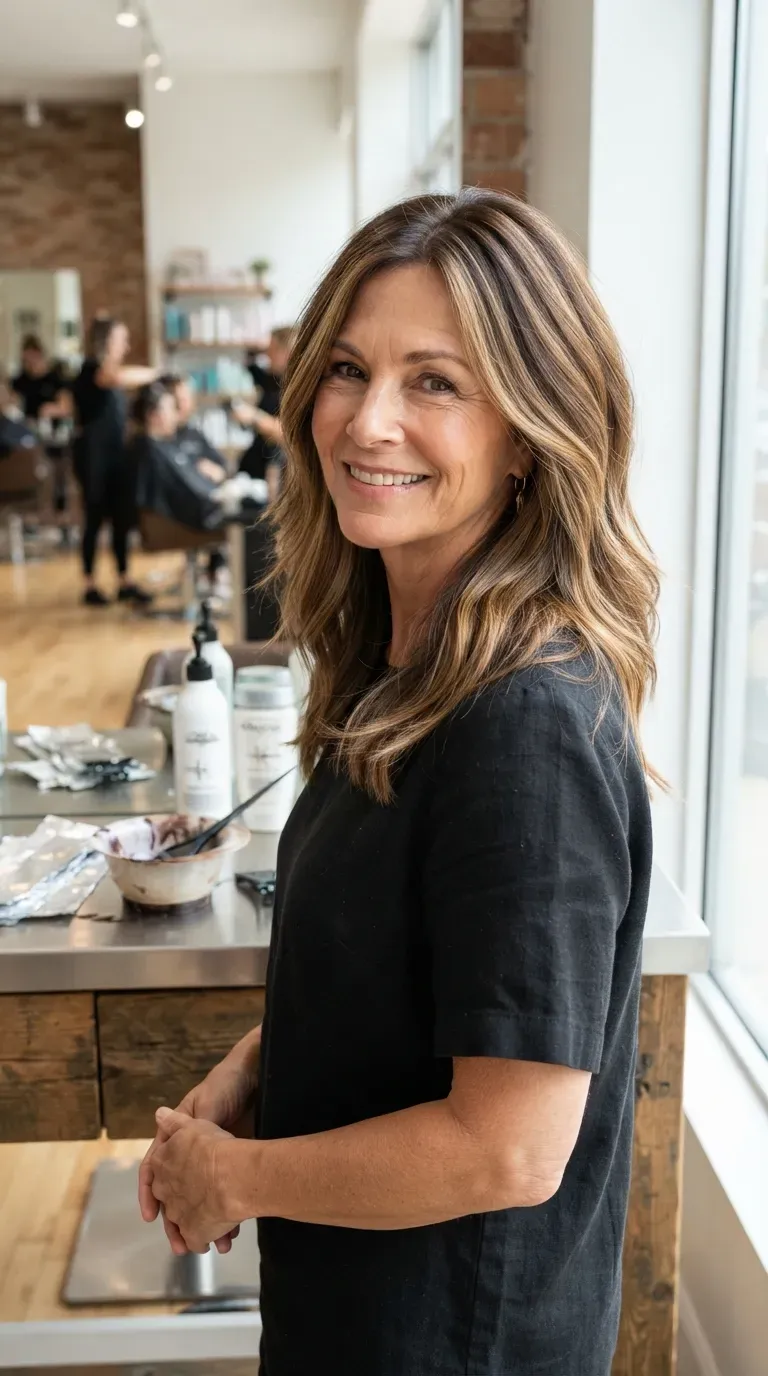
Vibe: Dimensional.
Why it works: Balayage is hand-painted rather than foiled through every section, so the lightened pieces land unevenly and follow the layer lines instead of cutting across them. This makes the layers themselves more visible in daylight, since each length catches a slightly different tone.
How to get it: Ask for the highlights to be “placed heaviest on the top layers, lighter underneath,” which keeps the color from looking stripe-like as it grows out.
💡 Quick Win: A color-safe purple shampoo used once a week keeps warm brassy tones from creeping into gray or blonde balayage between salon visits.
Shop the Look:
- Color-safe purple shampoo
- Color-protecting conditioner
- UV protection hair spray
- Glossing shine drops
- Satin hair scrunchie set
10. Volumizing Mousse Set for All-Day Lift
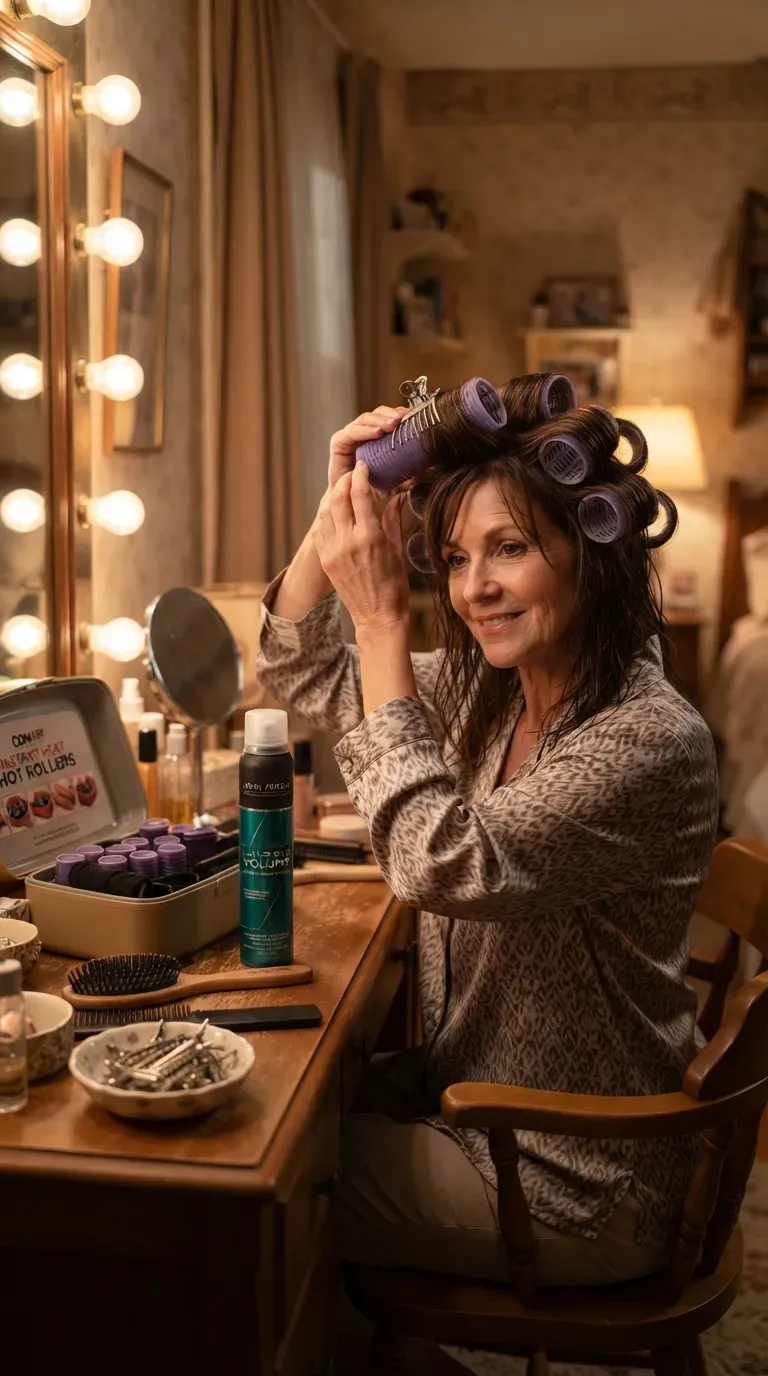
Vibe: Lifted.
Why it works: Mousse coats each strand with a flexible film that holds its shape once heat is added, which is why it performs better than spray-only products under hot rollers. On layered hair specifically, mousse applied only at the roots avoids weighing the shorter face-framing pieces down.
How to get it: Work a golf-ball-sized amount of mousse through roots to mid-length on damp hair, then set with large rollers and let them cool completely before removing for maximum hold.
Shop the Look:
- Extra-hold volumizing mousse
- Large hot rollers set
- Root-lift spray
- Cooling clips for rollers
- Flexible-hold finishing hairspray
11. Shag-Inspired Layers with Choppy Ends
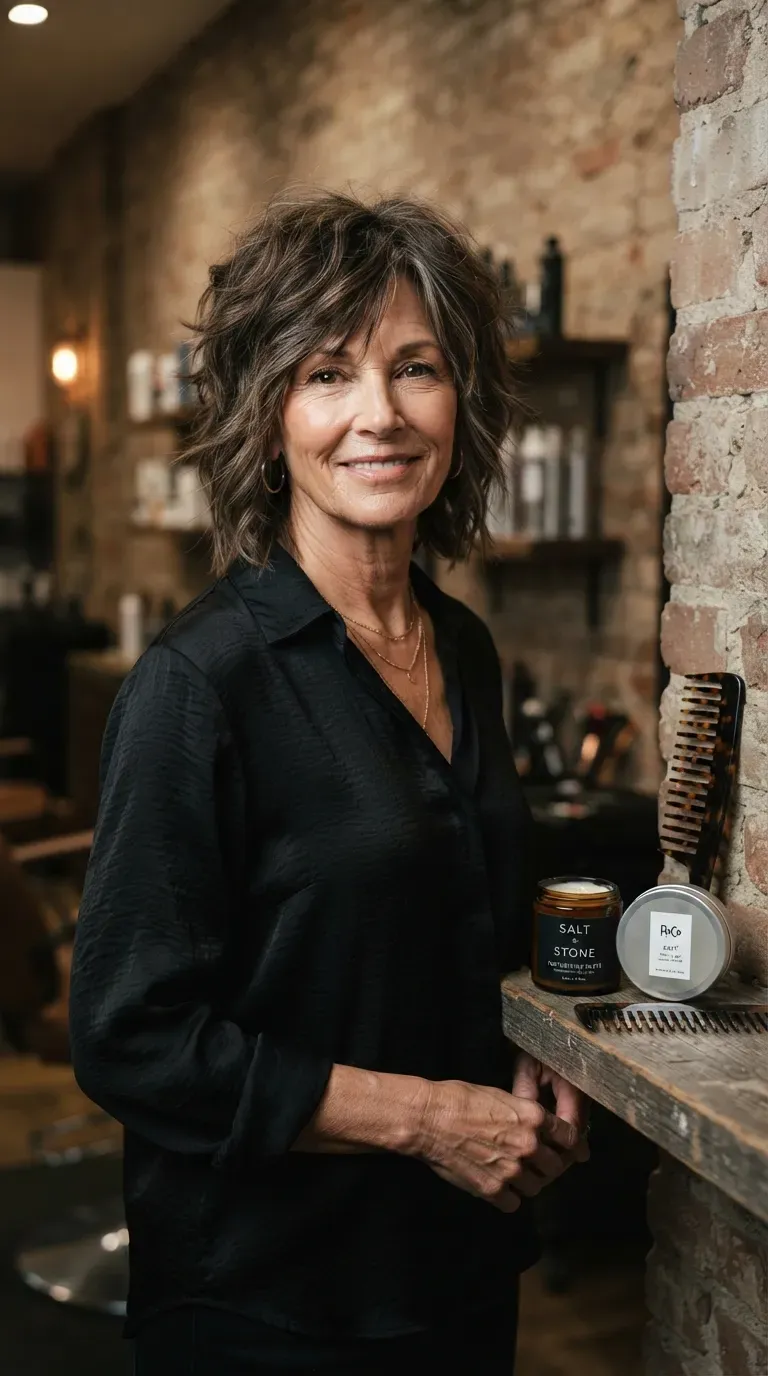
Vibe: Edgy.
Why it works: Shag layering uses more, shorter layers than a standard cut, often razored rather than scissor-cut, which is what creates the deliberately choppy, piece-y ends. The heavier texturizing at the crown is what separates a true shag from simple long layers.
How to get it: Ask specifically for a “razor-cut shag” rather than “layers,” since the razor is what produces the piece-y texture a scissor-only cut can’t replicate.
💡 Quick Win: Rubbing a dime-sized amount of matte clay between the palms before scrunching into dry ends emphasizes separation without looking greasy.
Shop the Look:
- Texturizing paste for separation
- Matte clay for piece-y ends
- Wide-tooth detangling comb
- Dry texturizing spray
- Flexible-hold shaping hairspray
12. Wavy Medium Layers with Natural Texture
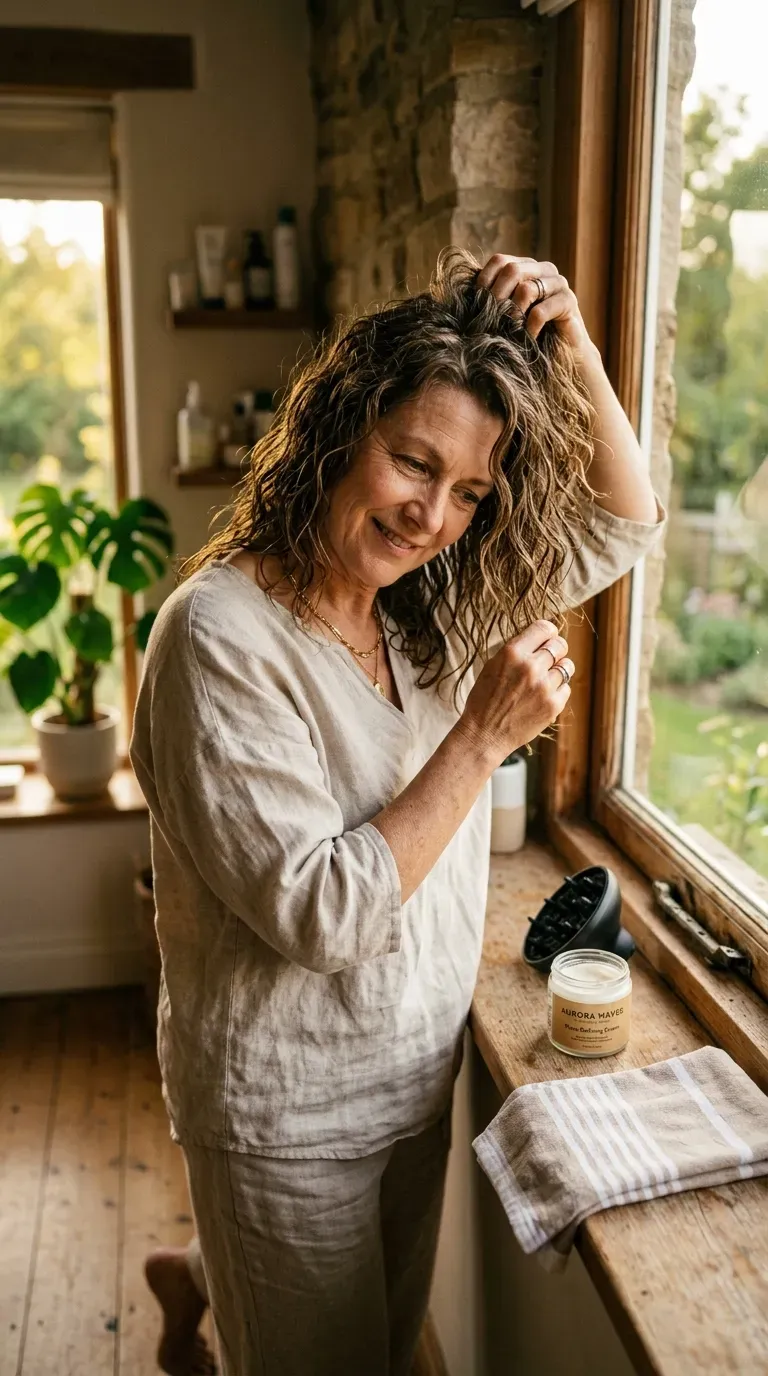
Vibe: Relaxed.
Why it works: Natural waves already have built-in movement, so layers here are cut to enhance the existing wave pattern rather than force new texture, with the shortest layers placed where the wave naturally breaks. Over-thinning wavy hair flattens the wave instead of defining it.
How to get it: Ask your stylist to cut the layers while your hair is dry and in its natural wave state, not wet and straightened, so the cut lines follow how the wave actually falls.
Shop the Look:
- Sea-salt spray for waves
- Wave-defining cream
- Diffuser attachment for a blow dryer
- Texturizing mousse
- Anti-humidity finishing spray
13. Beachy Waves Layered Through the Ends
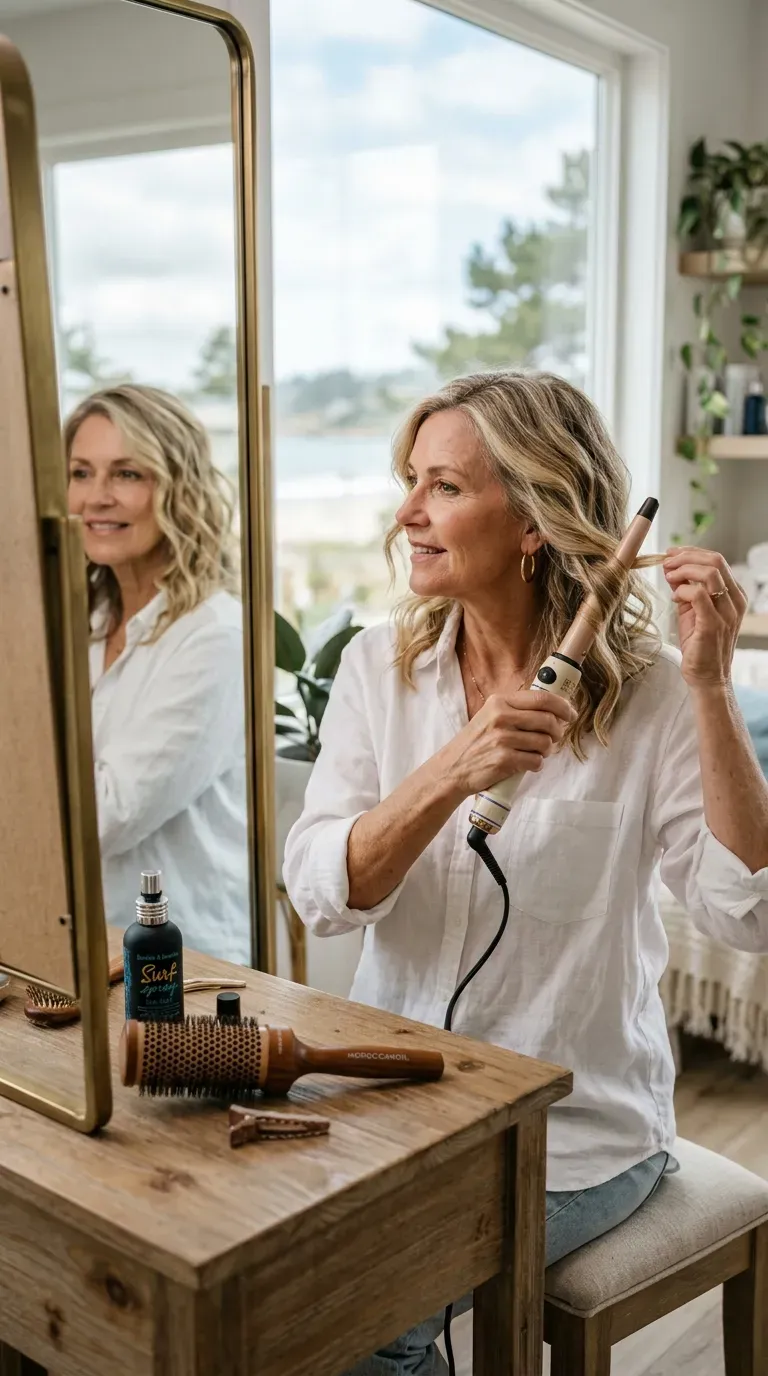
Vibe: Breezy.
Why it works: Curling only the layered ends, rather than wrapping the entire section around the barrel, keeps the roots looser and the wave pattern more irregular, which reads as beachy instead of formally curled. The shorter face-framing layers curl faster and bounce back sooner, adding visual movement near the face first.
How to get it: Curl alternating sections away from and toward the face using a 1.25-inch wand, leaving the last inch of each piece out of the clamp for a more undone bend.
💡 Quick Win: Shaking the curls out with fingers instead of brushing them once they cool keeps the wave pattern from collapsing into one uniform curl.
Shop the Look:
- 1.25-inch curling wand
- Texturizing salt spray
- Flexible-hold finishing hairspray
- Wide-barrel round brush
- Shine-enhancing hair mist
14. Side-Swept Bangs Blended into Layers
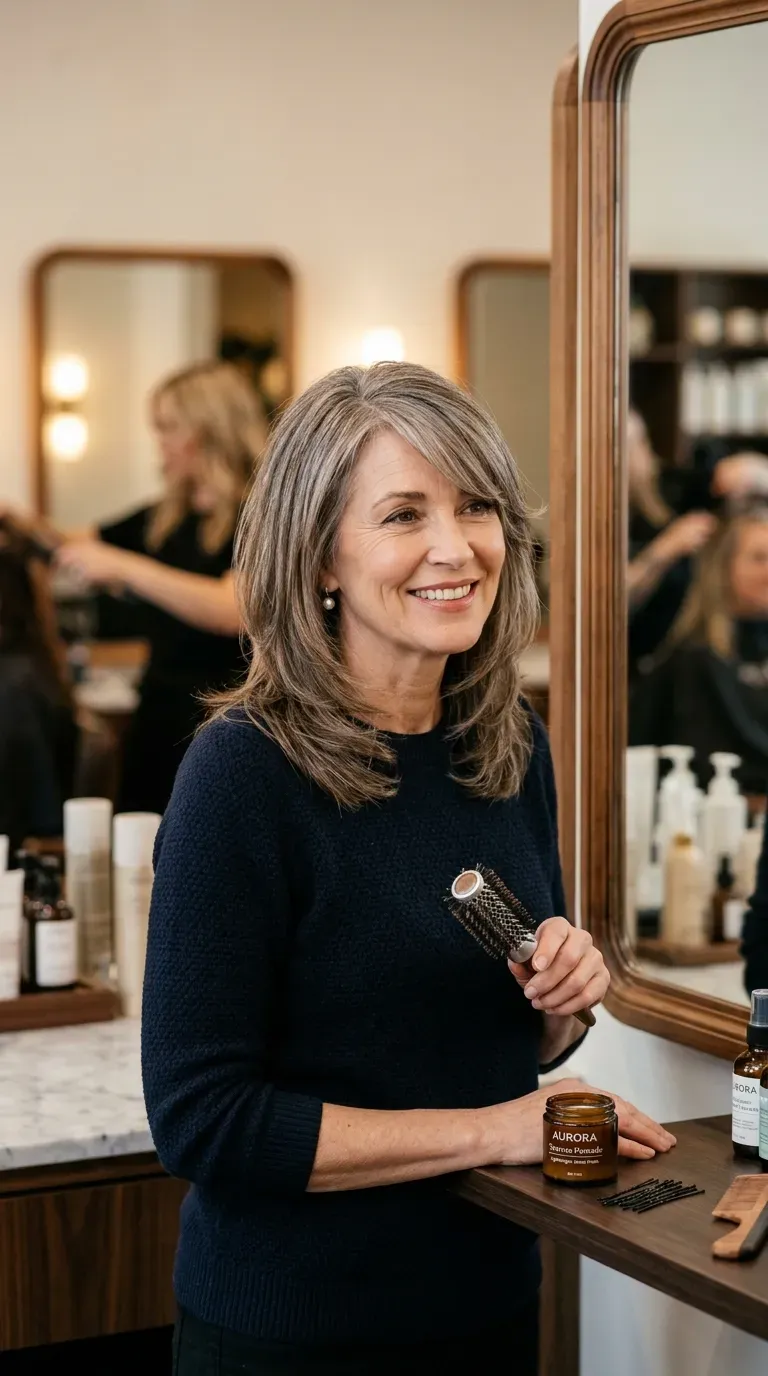
Vibe: Refined.
Why it works: Side-swept bangs are cut on a diagonal rather than straight across, and the diagonal line is what lets them blend into the first face-framing layer instead of sitting as a separate fringe. This placement is often the most flattering bang style for women managing a receding or wider hairline.
How to get it: Part hair on the side you want the bangs to fall, and ask the stylist to cut them “on the diagonal, connecting into the layer below” rather than cutting a straight fringe first.
Shop the Look:
- Small ceramic round brush
- Heat protectant styling spray
- Fine bobby pins
- Lightweight pomade for bang control
- Ionic dryer nozzle attachment
15. Hot Roller Set for Bouncy, Lifted Layers
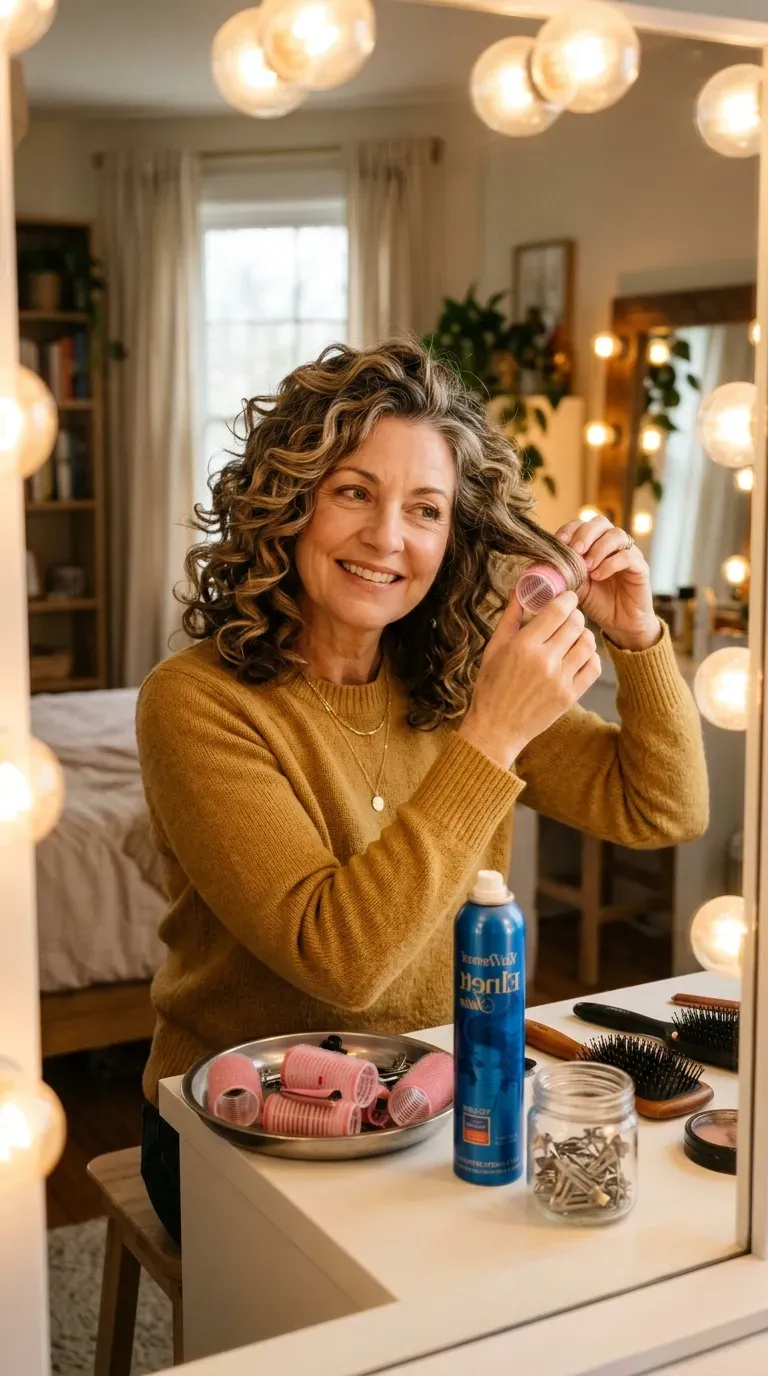
Vibe: Bouncy.
Why it works: Velcro hot rollers heat the hair shaft evenly around a cylinder, which sets a uniform curl pattern faster than a curling iron and with less direct heat damage. On layered hair, smaller rollers on the shorter top layers and larger rollers on the longer ends keep the curl size proportional throughout.
How to get it: Set rollers vertically rather than stacked flat against the head for more volume at the root, and leave them in until fully cool, roughly fifteen to twenty minutes, before unwinding.
💡 Quick Win: Spritzing a light setting spray before rolling, not after, helps the curl hold through humidity far longer.
Shop the Look:
- Velcro hot rollers set
- Light-hold setting spray
- Root-lift clips
- Cooling hair clips
- Finishing hairspray
16. Face-Framing Layers Around the Jawline
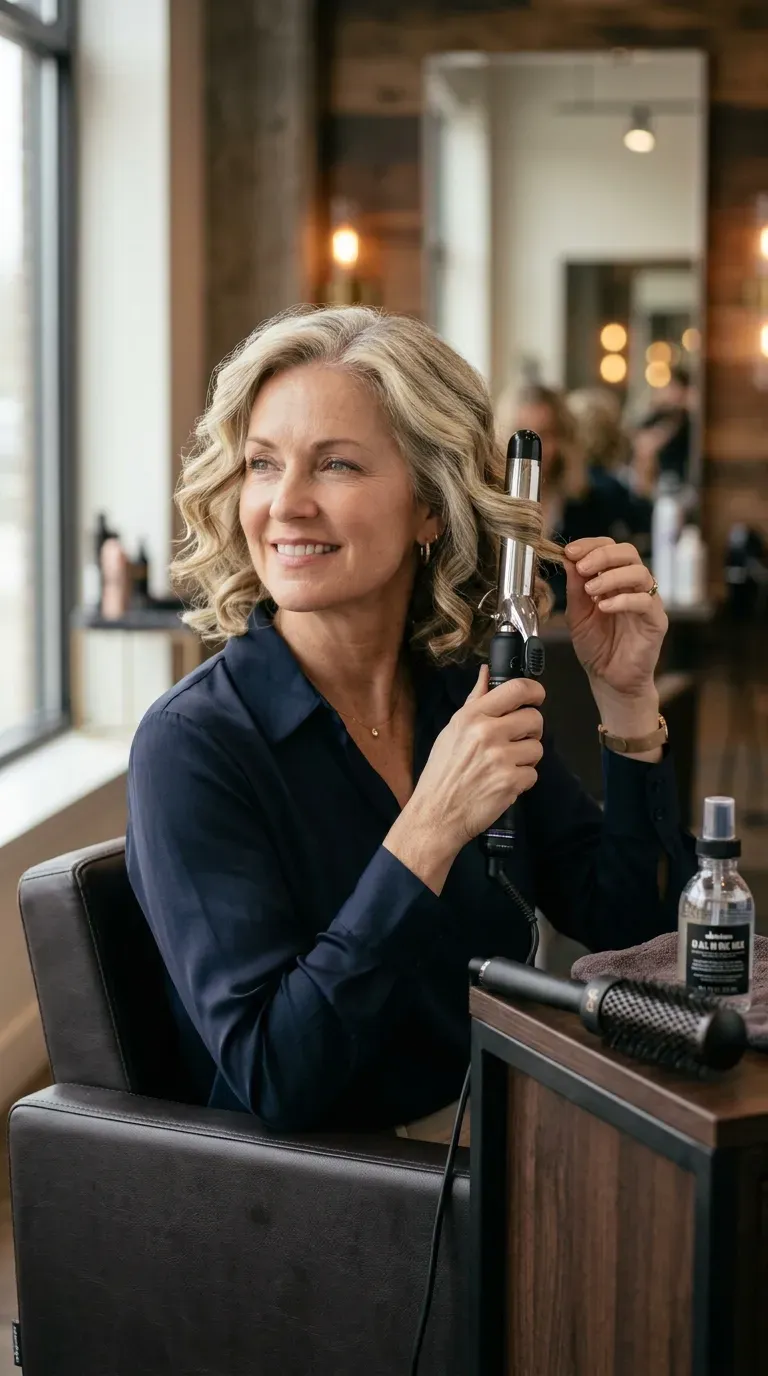
Vibe: Flattering.
Why it works: The shortest layers are cut to land exactly at the jawline rather than above or below it, since that specific length draws attention to the jaw’s strongest angle while softening the appearance of jowls. Curling those pieces inward, toward the face, reinforces the framing effect further.
How to get it: Have the stylist measure the face-framing layer against your own jawline while your chin is level, not tilted, so the length lands correctly once you’re standing upright.
Shop the Look:
- 1-inch curling iron
- Jaw-framing round brush
- Shine-boosting serum
- Heat protectant primer
- Light texturizing spray
17. Blunt Cut with Subtle Interior Layers
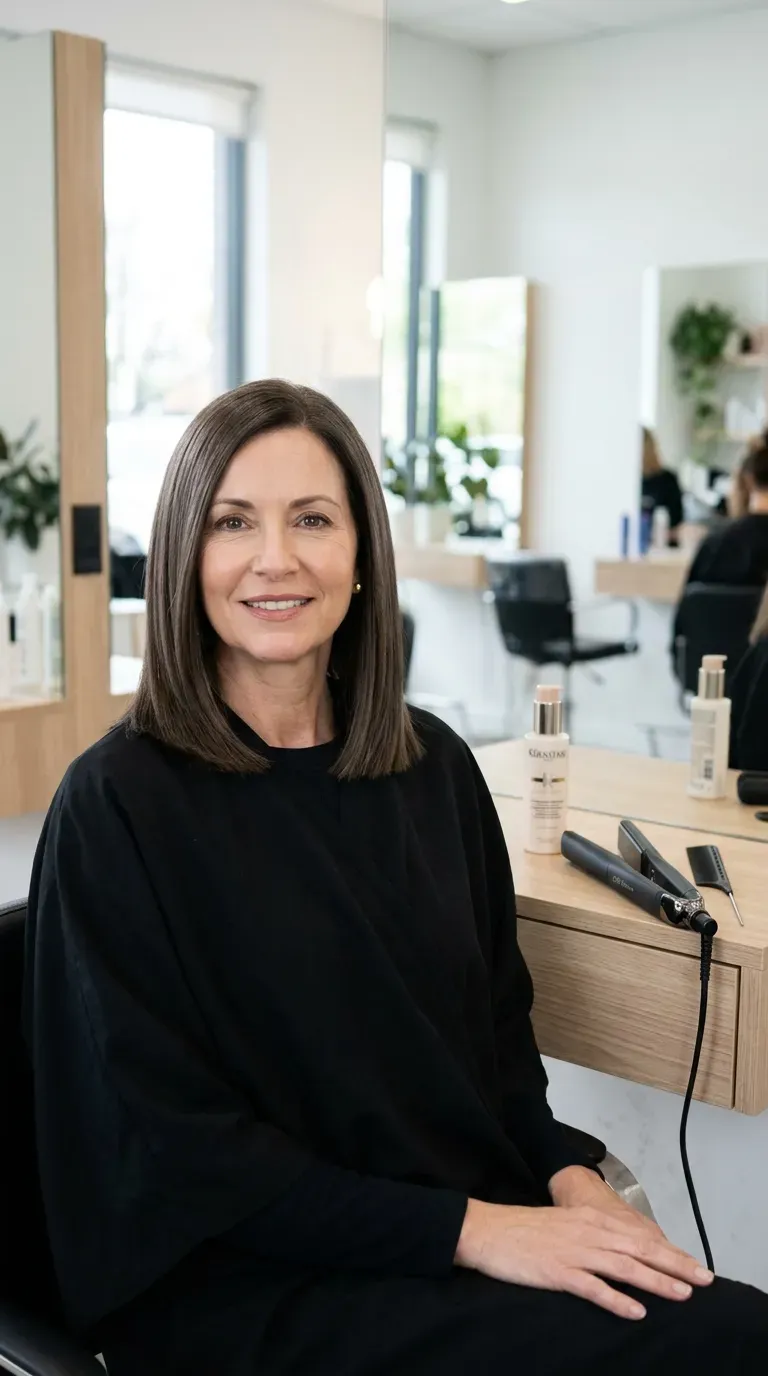
Vibe: Structured.
Why it works: The outer hemline stays blunt and untouched while layers are cut only inside the hair, invisible from the outside, to remove bulk at the scalp. This gives the visual weight and density of a one-length cut while still letting the hair move more freely than true blunt ends would allow.
How to get it: Ask for “internal layering only, blunt perimeter,” which tells the stylist not to touch the outermost hemline while thinning the layers underneath.
Shop the Look:
- Blunt-cut styling comb
- Smoothing serum
- Ceramic flat iron
- Glossing finishing spray
- Anti-frizz leave-in cream
18. Round Face Layers That Elongate and Slim
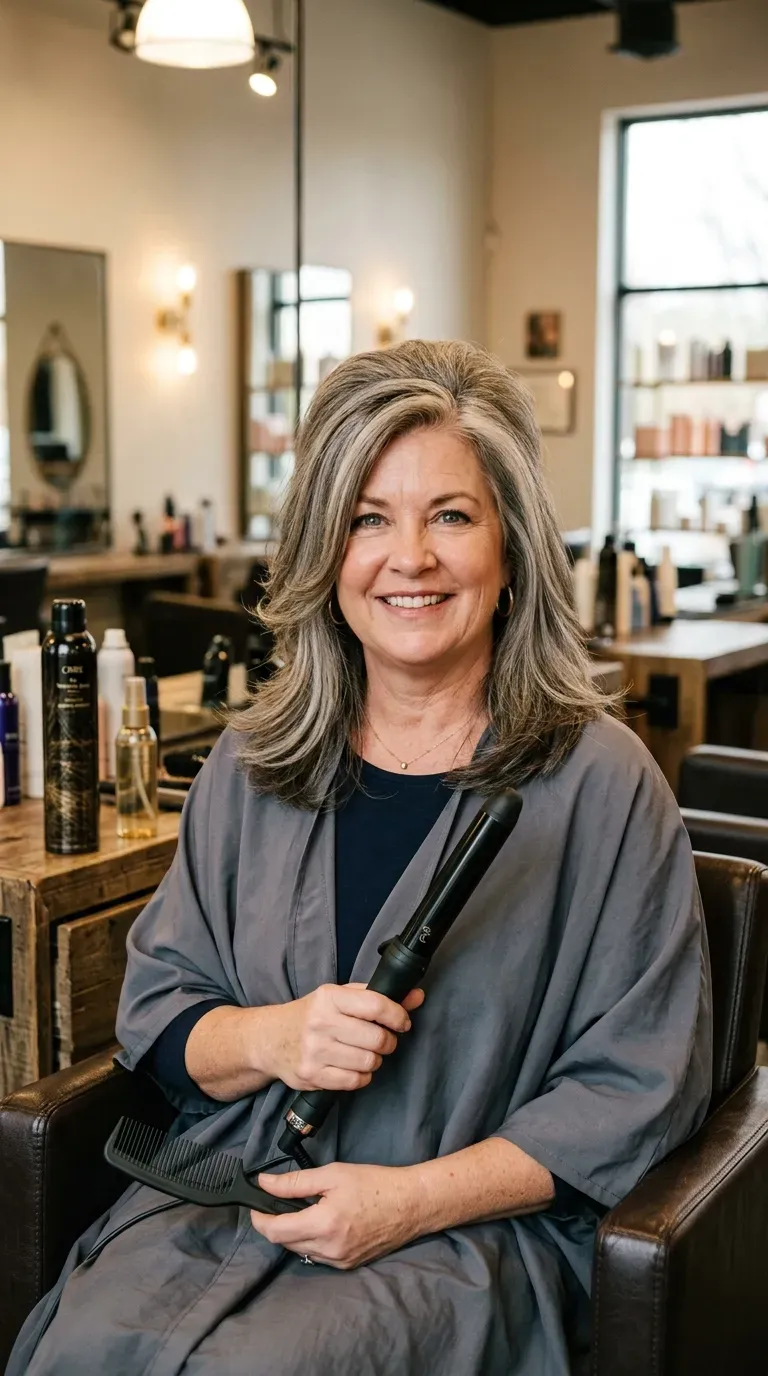
Vibe: Elongating.
Why it works: For a round face, layers that end below the chin, combined with a deep side part and added height at the crown, create a vertical line that visually lengthens the face instead of adding width at the cheeks. Layers that stop right at the cheekbone tend to widen a round face rather than slim it.
How to get it: Request layers that “start no higher than the chin” and ask specifically for a deep side part rather than a center part, which is the single biggest adjustment for a round face shape.
Shop the Look:
- Ceramic flat iron for a smooth elongated line
- Volumizing root spray for crown height
- Deep side-part comb
- Elongating curling wand
- Matte finishing spray
19. Low-Maintenance Grow-Out-Friendly Layers
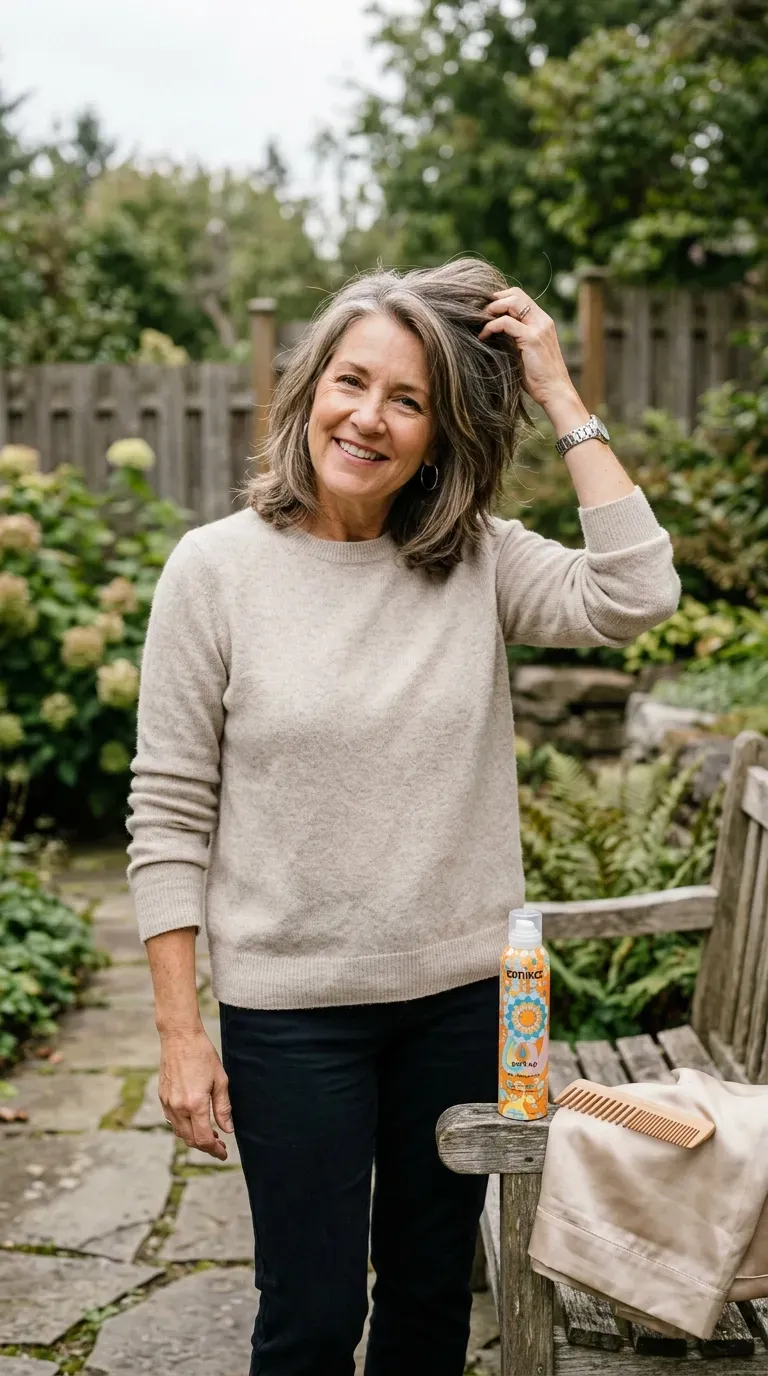
Vibe: Effortless.
Why it works: Long, gently graduated layers grow out without creating an obvious harsh line, which is why this cut can go longer between salon visits than a shag or heavily face-framed style. Fewer distinct layer lengths mean less visible unevenness as the hair grows.
How to get it: Ask for “long layers with soft, gradual transitions rather than distinct steps,” and skip anything cut shorter than shoulder length near the crown, since those pieces grow out fastest and unevenly.
💡 Quick Win: Sleeping on a silk pillowcase reduces the friction that causes layered ends to tangle and split between washes.
Shop the Look:
- Volumizing dry shampoo
- Texturizing spray
- Wide-tooth detangling comb
- Silk pillowcase
- Lightweight leave-in conditioner spray
How to Ask Your Stylist for Medium Layered Hair
The single clearest first move is to bring one reference photo and tell your stylist exactly where you want the shortest layer to land — at the cheekbone, jaw, or collarbone — rather than saying “add some layers,” which leaves the placement entirely up to interpretation. That one measurement anchors every other layer cut into the hair.
The most common mistake is asking for layers without specifying hair thickness needs, which often results in too much weight being removed near the crown on already-fine hair, leaving it looking thin instead of lifted. The fix is to say directly whether your hair is fine, thick, or wavy, and ask the stylist to adjust the number of layers accordingly rather than defaulting to a standard cut.
Three budget entry points under $20 create noticeable impact immediately: a travel-size volumizing dry shampoo, a boar-bristle paddle brush for smoothing without flattening, and a 4-ounce bottle of texturizing sea-salt spray.
Realistically, medium layers need a trim every eight to ten weeks to keep the shortest layers from growing out unevenly. Salon visits run roughly $45 to $120 depending on region and whether color is included, while day-to-day styling with a round brush or texturizing spray can be done entirely at home.
Frequently Asked Questions About Medium Layered Hairstyles
What’s the difference between layered medium hair and a shag haircut?
A standard layered medium cut uses fewer, longer layers with smooth graduation, while a shag uses more layers cut closer together and often razored rather than scissor-cut, producing a choppier, piece-y texture. Both can be medium length, but a shag reads more textured and undone, while classic layering reads more polished.
Do medium layers work with fine or thinning hair?
Yes, but the layer placement matters — shorter layers concentrated near the crown create the appearance of density on fine hair, while long, evenly graduated layers can make thinning hair look flatter. Ask specifically for “layers no more than an inch apart near the crown” to maximize the illusion of thickness.
How much does a medium layered haircut cost?
A layered cut typically runs $45 to $90 at a mid-range salon, with prices climbing to $120 or more at higher-end salons or when combined with a color service like balayage. At-home maintenance between visits, including dry shampoo and styling tools, generally adds another $10 to $20 a month.
How often do medium layers need to be trimmed?
Most medium layered cuts hold their shape for eight to ten weeks before the shortest face-framing layers start growing out unevenly. Hair that’s chemically treated or colored may need slightly more frequent trims, closer to every six to eight weeks, to keep the ends from looking rough.
What’s the best product for adding volume to medium layered hair over 50?
A lightweight, extra-hold volumizing mousse applied at the roots on damp hair, followed by a root-lift spray at the part line, gives the most noticeable lift without weighing fine layers down. Avoid heavy oils or creams near the crown, since they flatten volume rather than support it.
Ready to Try Medium Layered Hair?
From soft feathered layers built for fine hair to choppy shag ends and elongating layers for a round face, these 19 ideas cover a real range of textures, techniques, and finishes rather than one single look. Finding the right version for your own hair is rarely a one-visit decision, and testing a couple of variations before settling on your favorite is completely normal. Start today by saving one or two reference photos and booking a consultation where you can ask specifically about layer placement rather than just “a trim with layers.” Once the cut is right, medium layers have a way of making every ordinary day feel a little more put-together, with none of the effort a fully styled updo would take. Pin your favorites now, so the next time you’re in the chair, you already know exactly where you want those layers to fall.