Front layers are shorter pieces cut only around the face — from the cheekbone up to the temple — while the rest of the hair stays at its original length, so the softening effect happens right where it’s noticed most. This guide covers 16 front layer ideas for women over 50 built to soften the jawline, lift tired-looking eyes, and frame the face without committing to a full re-cut.
Worn well, front layers feel like the difference between a photo that looks flat and one that looks lit from within. They fall forward and curve toward the cheek instead of hanging straight past it, catch movement every time you tilt your head, and soften every hard edge a heavier, one-length front creates. Here are 16 ideas worth saving — and showing your stylist.
Why Front Layers Work So Well
Front layers, sometimes called face-framing layers, are the shortest pieces in a haircut, cut to fall somewhere between the cheekbone and the collarbone while the rest of the hair stays untouched behind them. Unlike bangs, which are cut straight across the forehead, front layers taper diagonally back into the length, which is what lets them blend rather than announce themselves as a separate section.
The technique is precise: a stylist typically point-cuts or razors the very ends of the front pieces to keep them light, then checks the length against the jawline with the client’s chin level, not tilted. Curling irons finish the job, with the shortest pieces curled inward toward the face to reinforce the frame. A light-hold styling cream, not a heavy pomade, keeps them soft instead of stiff.
Front layers are trending now because they deliver a visible refresh without cutting length off the back — a compromise a lot of women over 50 want after decades of chasing shorter cuts to look “lower maintenance.” Pinterest searches for “face-framing layers over 50” have climbed alongside a broader shift toward keeping length while softening the front.
They work on nearly every hair type, though the approach shifts. Fine hair needs shorter, higher-placed front layers for lift; thick hair can carry longer, lower front layers without looking heavy; curly hair should have front layers cut dry, since curl shrinkage changes where they’ll actually land. Round and square faces benefit most from layers that land at or below the jaw; heart-shaped faces do better with layers kept slightly longer to avoid adding width at the cheekbone.
| Element | Higher-Placed Front Layers | Lower-Placed Front Layers |
| Philosophy | Add lift, open up the eyes | Soften the jaw, slim the face |
| Technique | Shorter point-cut pieces near the temple | Longer razored pieces at cheekbone or jaw |
| Best for | Fine hair, round or square faces | Thick or wavy hair, heart-shaped faces |
1. Curtain-Style Front Layers with Soft Blending
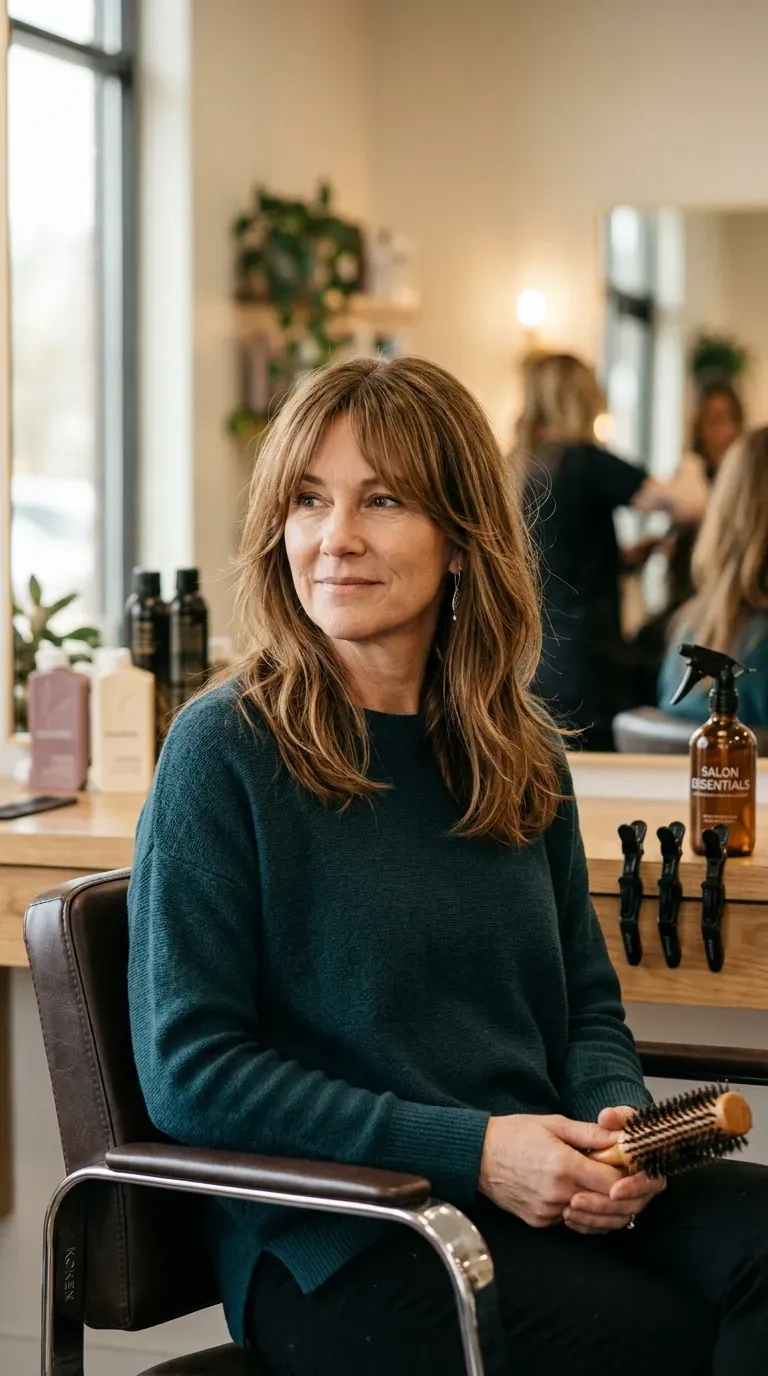
Vibe: Softening.
Why it works: Curtain-style front layers part in the center and taper longer toward the temples, so there’s no hard line where the layer ends and the rest of the hair begins. The gradual taper is what lets these pieces read as a natural frame instead of a separate fringe.
How to get it: Ask your stylist to cut the front layers “on a diagonal, longest at the temple,” and to blend them directly into the first layer of the length rather than cutting them as an isolated section.
💡 Quick Win: Parting hair slightly off-center rather than dead-center keeps curtain layers from looking too symmetrical and stiff.
Shop the Look:
- Small 1-inch round brush
- Heat protectant styling primer
- Sectioning clips
- Lightweight styling cream
- Fine-tooth comb
2. Long Face-Framing Layers That Skim the Collarbone
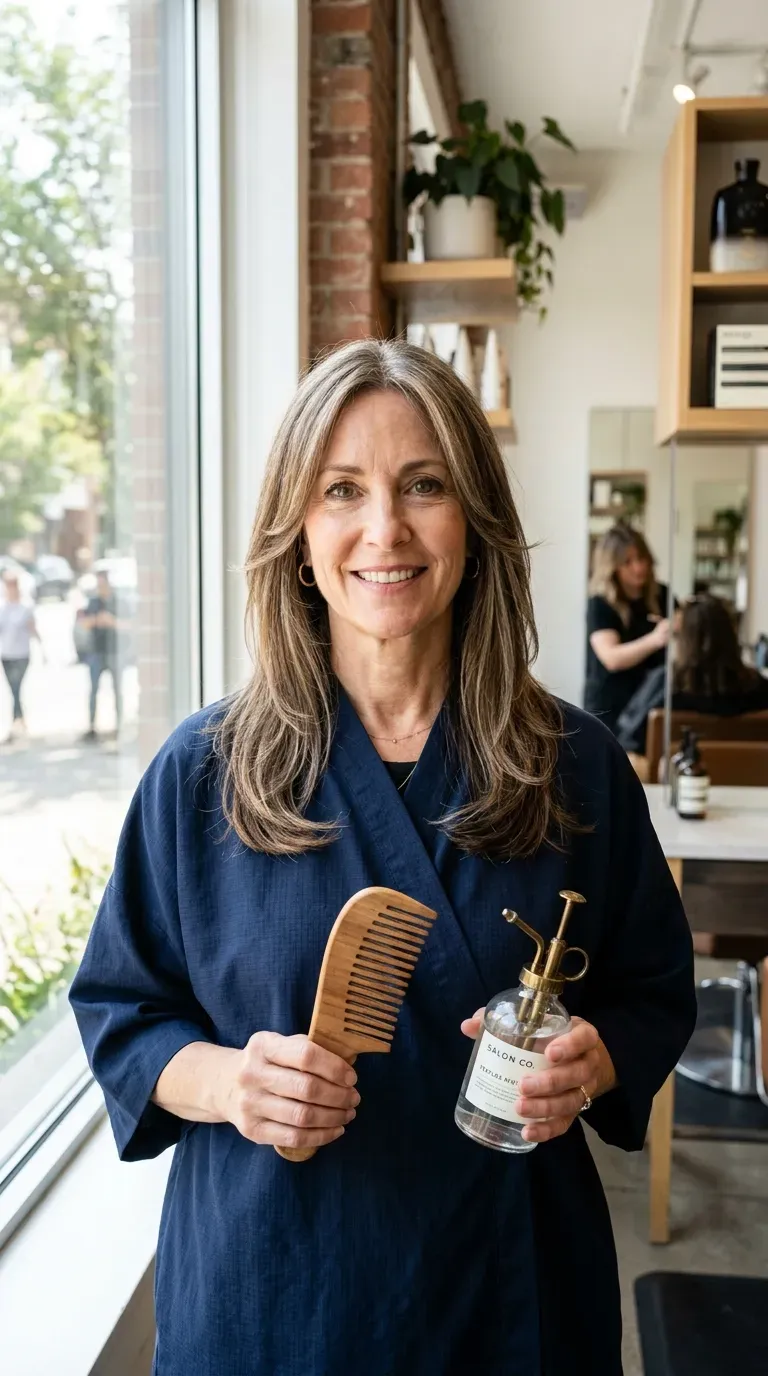
Vibe: Elegant.
Why it works: Keeping the front layers long, at or just below the collarbone, avoids the aging effect of very short face-framing pieces while still creating movement near the jaw. The length gives the layer more weight, which helps it curve inward toward the face rather than flip outward.
How to get it: Request the shortest front layer to land “no higher than the collarbone,” which keeps the frame subtle rather than dramatic.
Shop the Look:
- Boar-bristle paddle brush
- Shine-boosting hair serum
- 1.5-inch curling iron
- Heat protectant mist
- Flexible-hold finishing spray
3. Blown-Out Front Layers with a Curved Flip
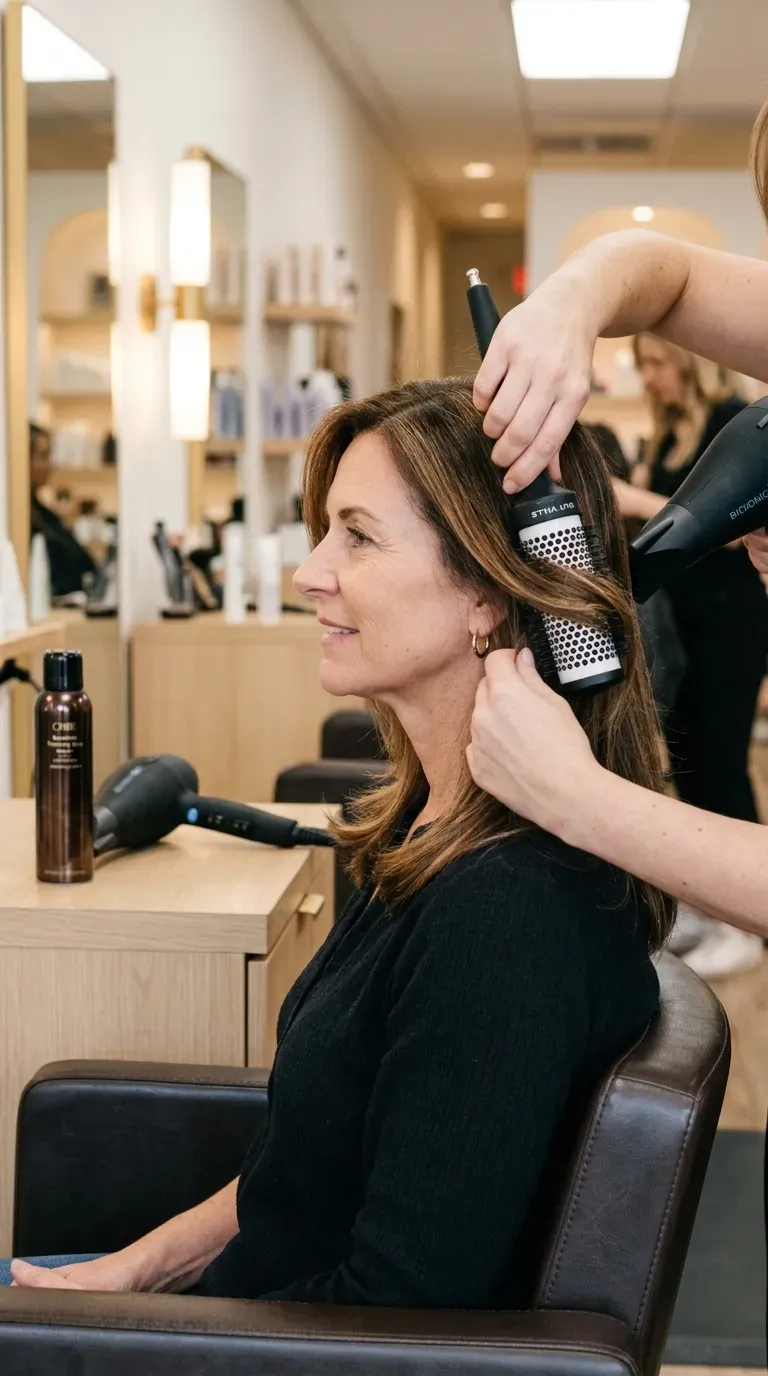
Vibe: Polished.
Why it works: Rolling a round brush inward while blow-drying trains the front layers to curve toward the cheek instead of flipping outward or sitting flat, which is the single biggest factor in how “finished” a face-framing cut looks day to day. Warm air sets the curve; a cool shot at the end locks it in place.
How to get it: Dry the front sections last, rolling the round brush under and holding for a ten-second cool shot before releasing, rather than drying them first when they’re still too damp to hold the curve.
💡 Quick Win: A small ceramic round brush, rather than a plastic one, holds heat longer and sets the curve with fewer passes.
Shop the Look:
- Ionic hair dryer with concentrator nozzle
- Small ceramic round brush
- Medium-hold volumizing mousse
- Heat protectant spray
- Glossing finishing mist
4. Side-Swept Front Layers Paired with Balayage
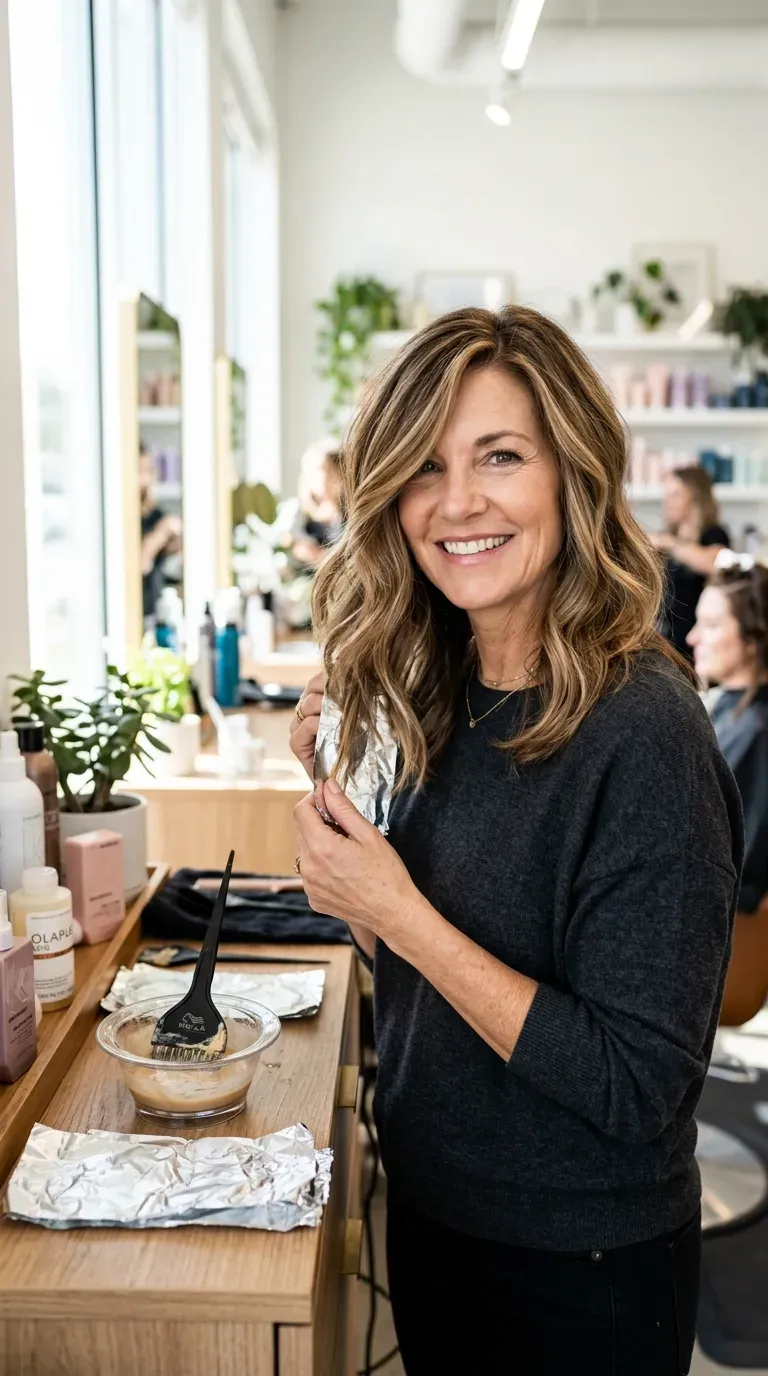
Vibe: Dimensional.
Why it works: Placing the lightest balayage pieces directly on the front layers draws even more attention to the face-framing than the cut alone would, since lighter color naturally catches the eye first. The color is hand-painted rather than foiled evenly, so it follows the diagonal taper of the layer instead of cutting across it.
How to get it: Ask the colorist to “concentrate the lightest pieces on the front layers only,” keeping the rest of the color more subtle so the frame stays the visual focus.
Shop the Look:
- Color-safe purple shampoo
- Color-protecting conditioner
- UV protection hairspray
- Glossing shine drops
- Satin hair scrunchie set
5. Texturizing Spray Front Layers for Soft Separation

Vibe: Effortless.
Why it works: A light texturizing spray helps the finer ends of the front layers separate into individual pieces instead of clumping into one flat section, which is especially useful since front layers are often the thinnest, most damage-prone part of the head. It adds grip without the stiffness a heavier gel would create.
How to get it: Spray lightly onto dry front layers only, then rake through with fingers rather than a brush, which would smooth the separation back out.
💡 Quick Win: Applying the spray at a distance of at least eight inches prevents the front pieces from looking wet or stringy.
Shop the Look:
- Sea-salt texturizing spray
- Lightweight styling cream
- Wide-tooth detangling comb
- Matte finishing spray
- Fine-mist travel spray bottle
6. Round Face Front Layers That Slim and Lengthen
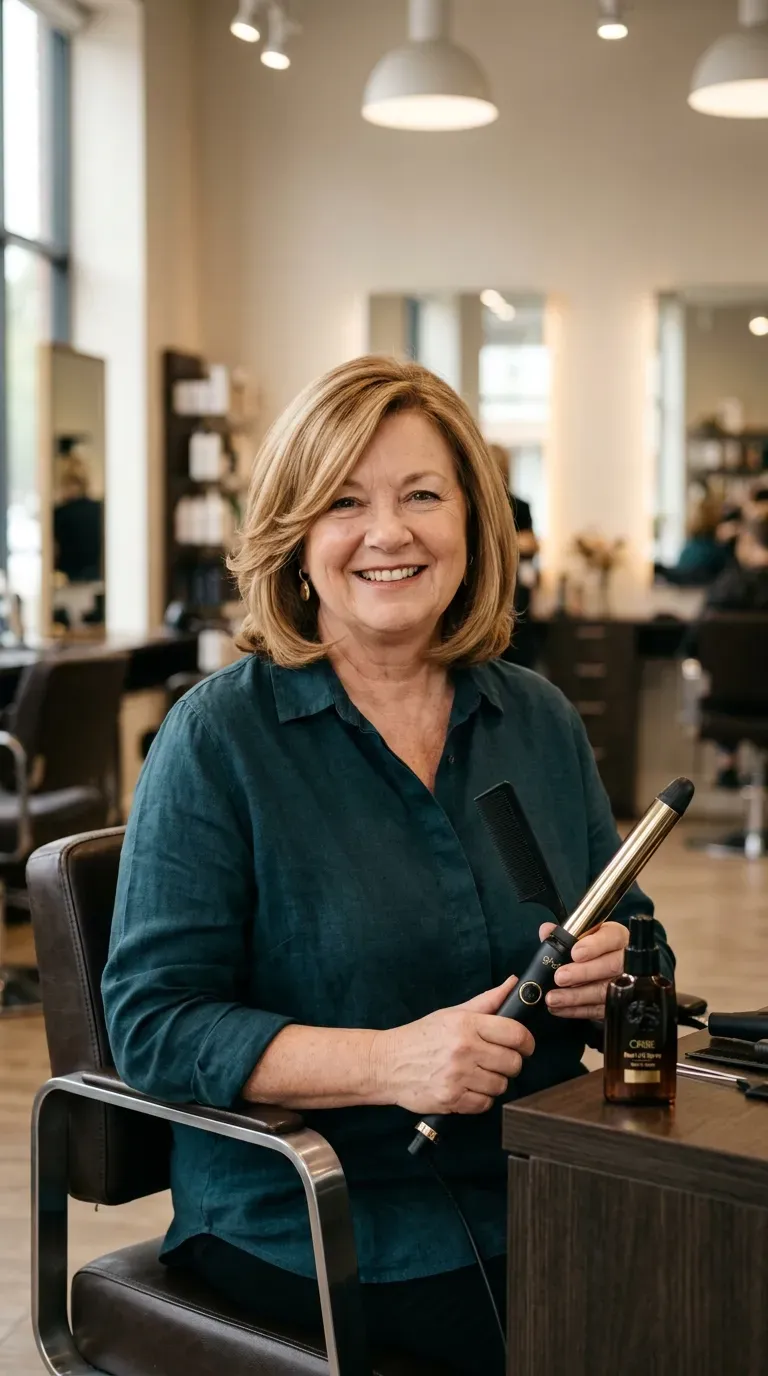
Vibe: Elongating.
Why it works: For a round face, front layers that stop above the chin tend to widen the cheeks further, while layers that fall below the chin create a vertical line that visually lengthens the face. Pairing the cut with a deep side part reinforces the same slimming effect.
How to get it: Ask specifically for front layers that “end at or below the chin, never at the cheekbone,” and request a deep side part instead of a center part.
Shop the Look:
- Ceramic flat iron for a smooth elongated line
- Volumizing root spray
- Deep side-part comb
- Elongating curling wand
- Matte finishing spray
7. Razor-Cut Front Layers for Feathered Softness
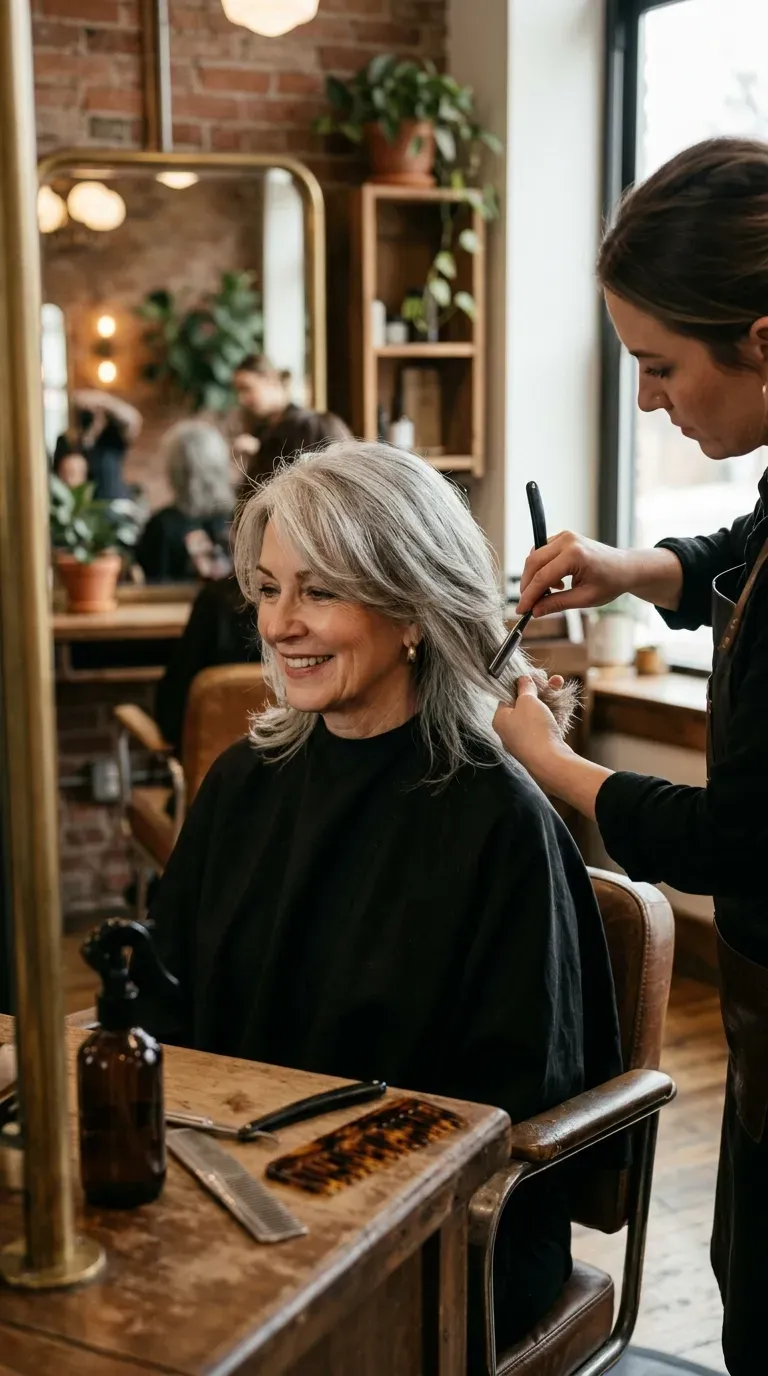
Vibe: Feathery.
Why it works: A razor removes hair at an angle rather than a straight blunt cut, which tapers each strand to a fine point and creates a naturally feathered edge on the front layers. This technique is what separates a soft, wispy front layer from a heavier, blunt-edged one.
How to get it: Ask your stylist to “razor the ends of the front layers only,” which keeps the rest of the cut scissor-finished while the face-framing pieces get the softer texture.
💡 Quick Win: Skip the flat iron on razored front layers — heat styling tends to make already-thin, feathered ends look wispy rather than soft.
Shop the Look:
- Lightweight leave-in conditioner spray
- Shine-boosting hair serum
- Boar-bristle paddle brush
- Heat protectant mist
- Anti-frizz finishing cream
8. Short Face-Framing Layers for Fine, Thinning Hair
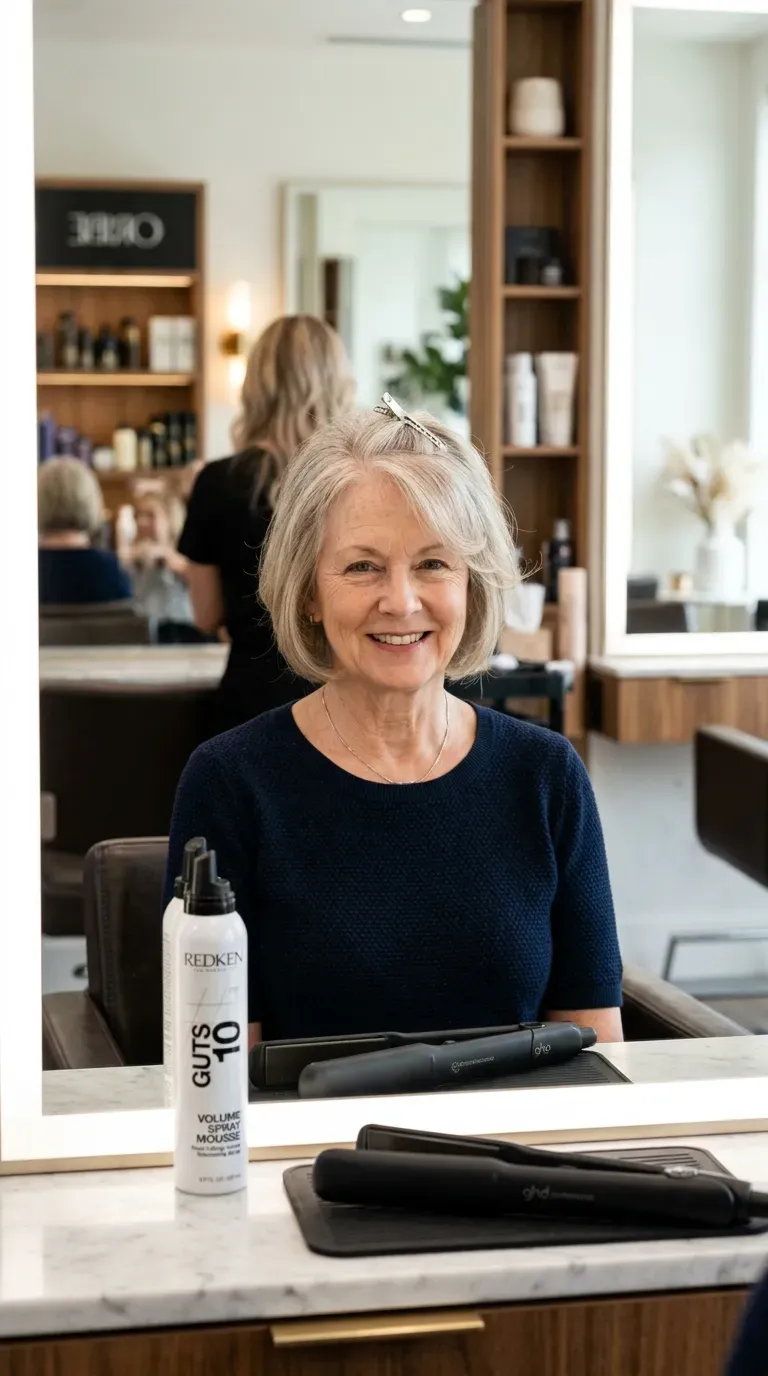
Vibe: Lifted.
Why it works: On fine or thinning hair, shorter front layers placed higher, closer to the temple, create the appearance of more density near the hairline, where thinning is often most noticeable. Longer front layers on already-fine hair tend to lie flat and highlight the thinness instead of disguising it.
How to get it: Ask for the front layer to start “just above the temple, no lower,” and finish with root-lift spray applied specifically along the hairline before blow-drying.
Shop the Look:
- Volumizing shampoo and conditioner set for fine hair
- Thickening mousse
- Root-lift clips for setting
- Low-heat ceramic flat iron
- Light-hold finishing hairspray
9. Sleek Straight Front Layers with a Glass-Like Finish
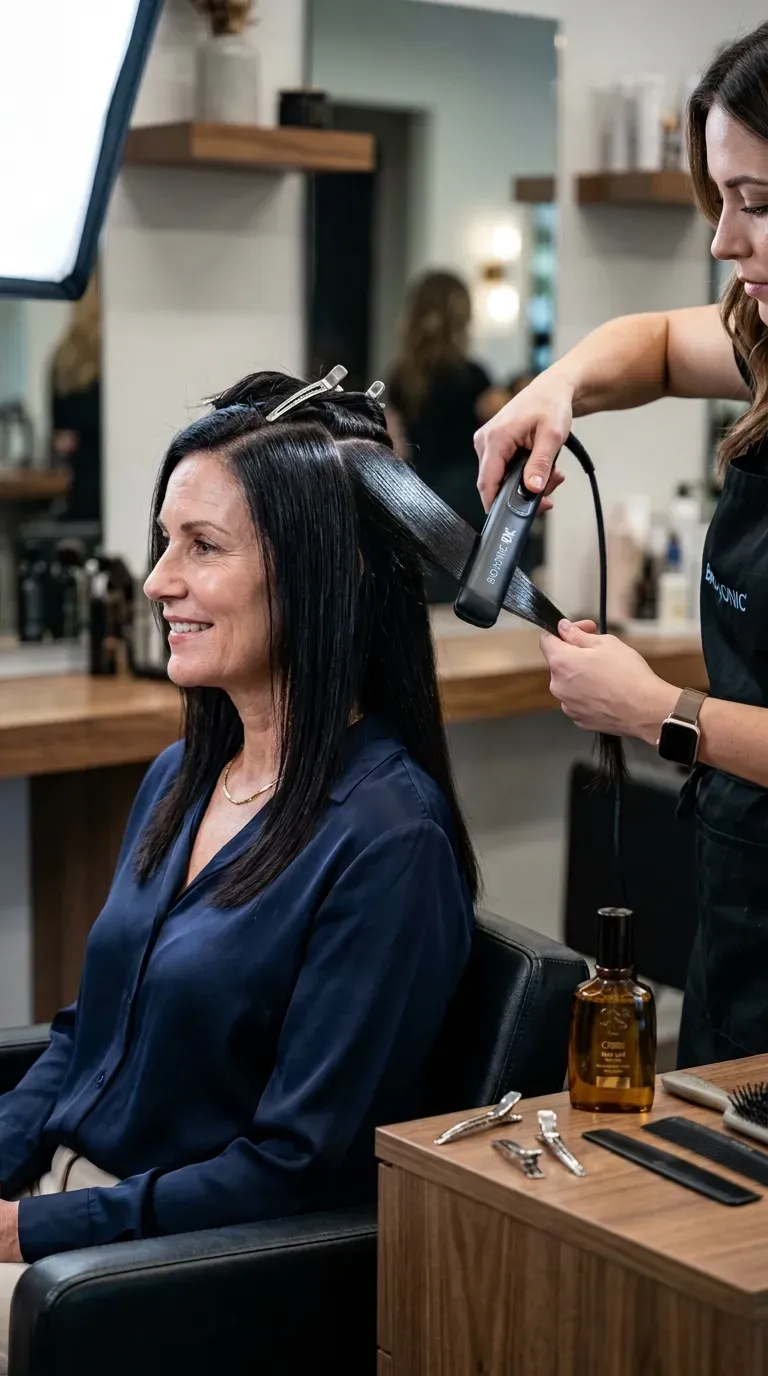
Vibe: Sleek.
Why it works: A flat iron smooths the cuticle of the front layers flat, which reflects light evenly and gives a glass-like shine that makes even gray or coarse hair near the hairline look polished. This finish works especially well on front layers because they’re viewed up close, where shine reads most clearly.
How to get it: Flat-iron the front layers in thin sections, no wider than half an inch, running the iron slowly from root to end in a single smooth pass.
Shop the Look:
- Ceramic flat iron with adjustable heat settings
- Anti-frizz smoothing serum
- Heat protectant spray
- Fine-tooth styling comb
- Glossing hair oil
10. Front Layers Blended into Curtain Bangs
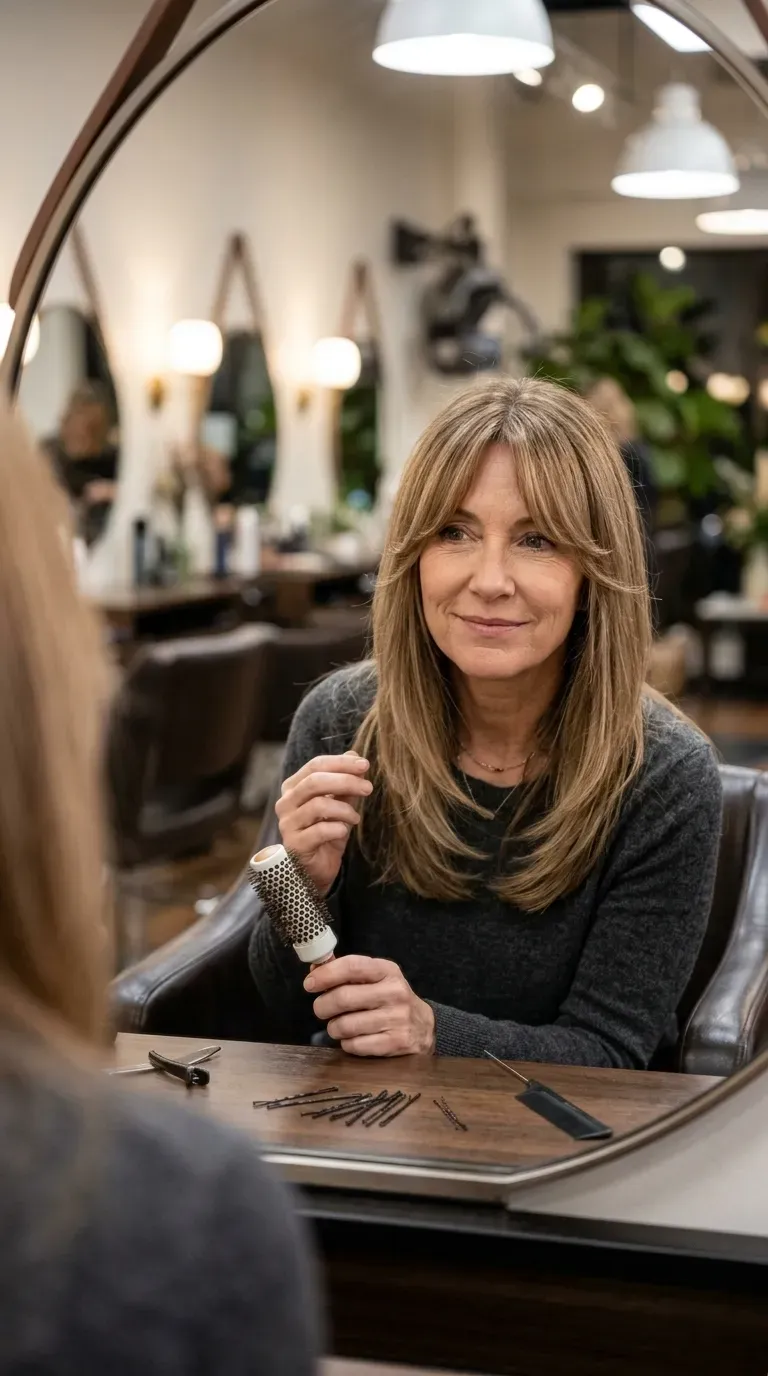
Vibe: Softening.
Why it works: When curtain bangs and front layers are cut as one continuous taper rather than two separate sections, there’s no visible seam where the bangs end and the face-framing begins. This connected approach also makes the bangs easier to grow out gracefully, since they’re already blended into longer layers.
How to get it: Have the stylist cut the bangs and the first face-framing layer in the same motion, checking that the length transitions smoothly rather than cutting the bangs first and layering around them after.
💡 Quick Win: Training curtain bangs with bobby pins overnight, pinned back off the face, helps them fall into the part more naturally the next day.
Shop the Look:
- Small 1-inch round brush for bang styling
- Heat protectant styling primer
- Fine bobby pins for bang training
- Lightweight hair wax for separation
- Ionic dryer nozzle attachment
11. Hot Roller Front Layers for Lifted Volume
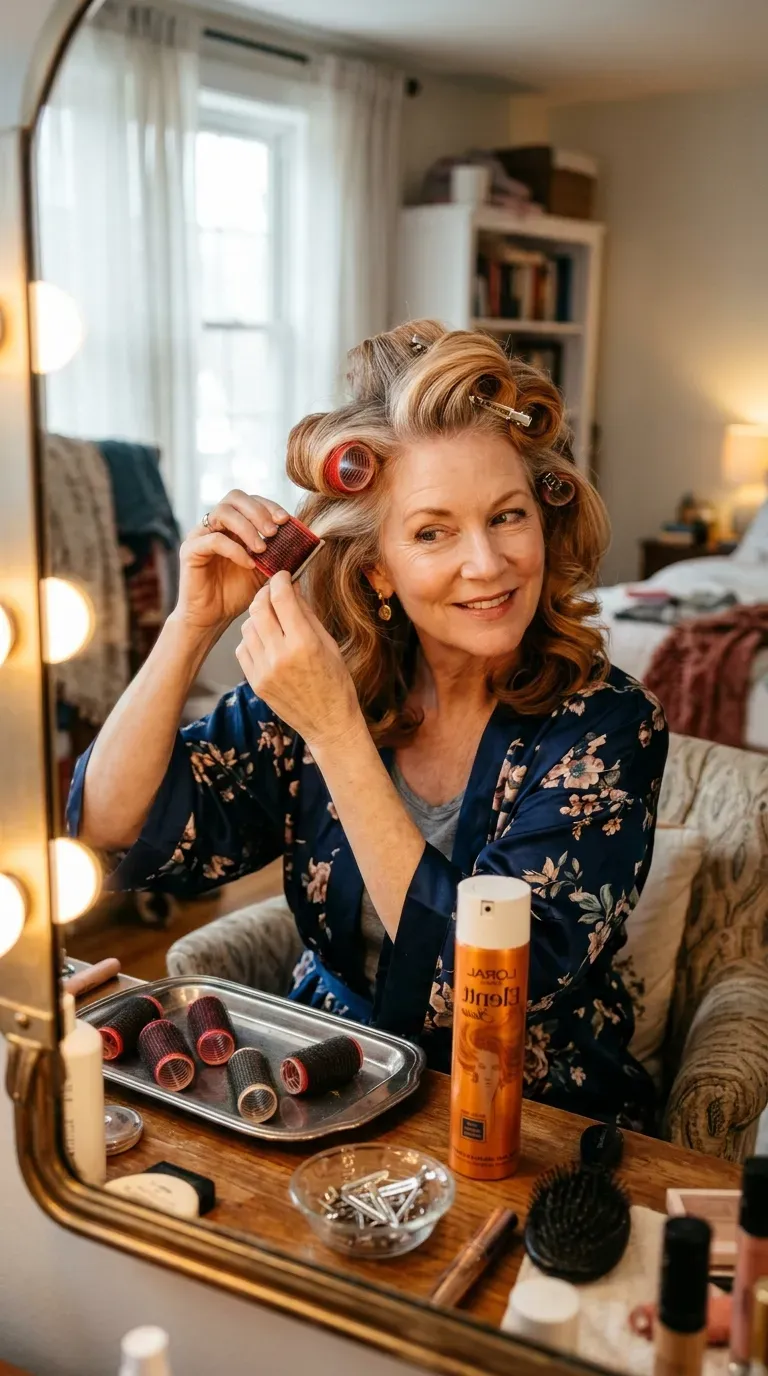
Vibe: Lifted.
Why it works: A small-diameter hot roller sets a tighter curl on the front layers specifically, which creates lift right at the hairline where volume tends to fade first with age. Using a smaller roller here than on the rest of the hair keeps the curl size proportional to the shorter layer length.
How to get it: Roll the front sections vertically, away from the face, and leave the rollers in until fully cool, roughly fifteen minutes, before unwinding for the longest-lasting lift.
Shop the Look:
- Small velcro hot rollers
- Light-hold setting spray
- Root-lift clips
- Cooling hair clips
- Finishing hairspray
12. Low-Maintenance Front Layers That Grow Out Softly
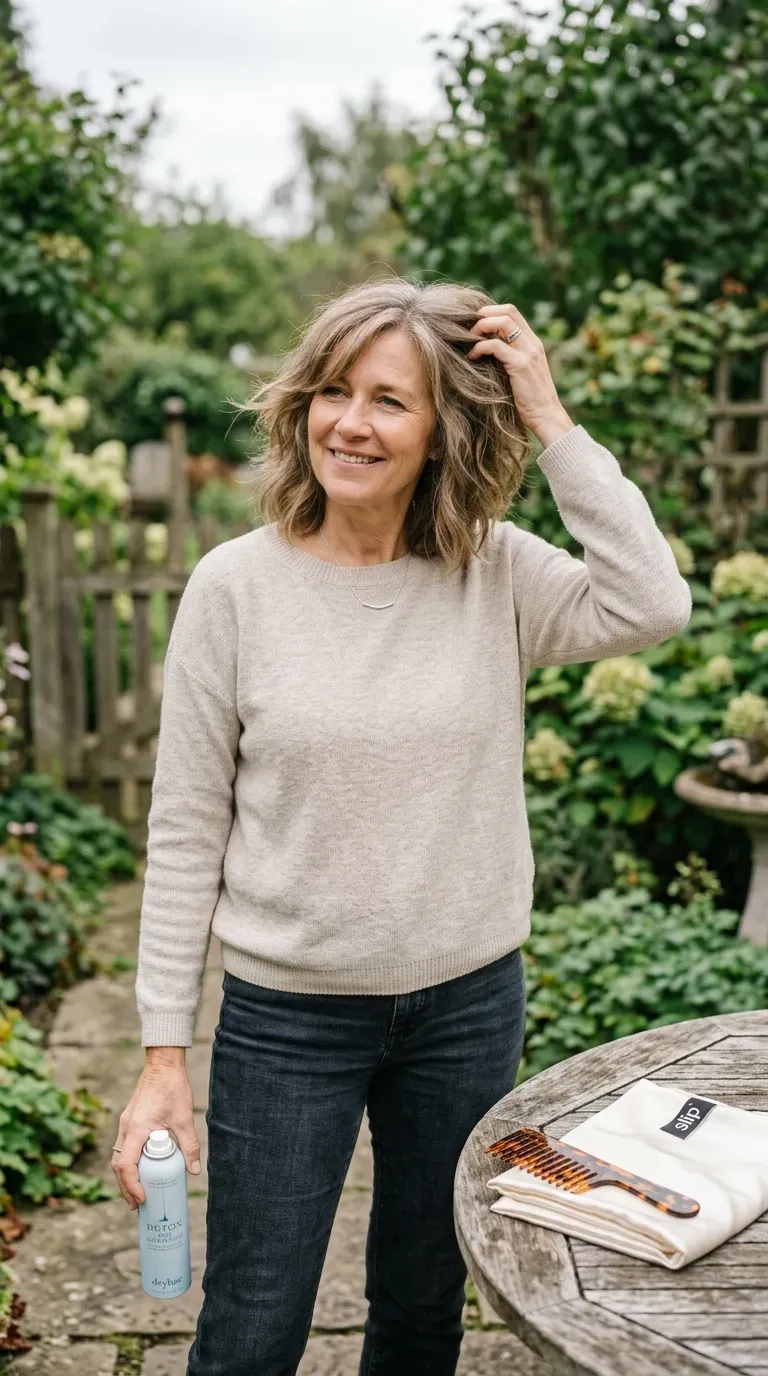
Vibe: Effortless.
Why it works: Front layers cut with a longer, gentler taper rather than a sharp diagonal grow out without creating an obvious harsh line near the face, which is why this version needs fewer touch-ups between salon visits. A subtler starting length also means less noticeable unevenness as the hair grows.
How to get it: Ask for the front layer to be “long and gradual, not sharply angled,” starting closer to the cheekbone than the temple so the grow-out phase stays soft.
💡 Quick Win: Sleeping on a silk pillowcase reduces the friction that causes the finer front-layer ends to tangle and split.
Shop the Look:
- Volumizing dry shampoo
- Wide-tooth detangling comb
- Silk pillowcase
- Lightweight leave-in conditioner spray
- Anti-humidity finishing spray
13. Point-Cut Front Layers for Delicate Edges
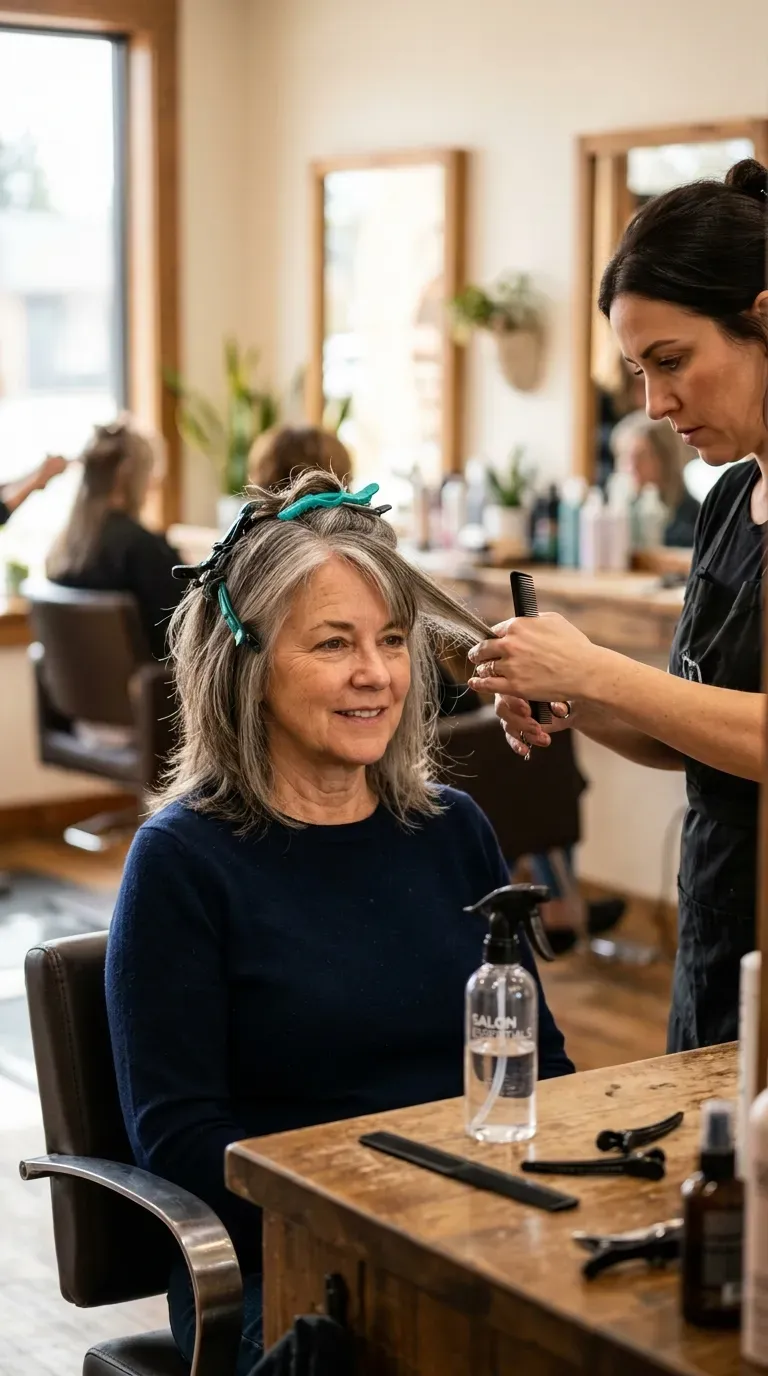
Vibe: Delicate.
Why it works: Point-cutting angles the scissors vertically into the ends rather than cutting straight across, which breaks up the hard line a blunt cut would leave and softens the edge of the front layer. This technique is gentler than razoring and tends to hold its shape slightly longer between trims.
How to get it: Ask your stylist to “point-cut the ends of the front layer rather than blunt-cutting them,” which they can do with regular scissors held at a slight angle.
Shop the Look:
- Lightweight styling cream
- Fine-tooth comb
- Heat protectant spray
- Shine-enhancing hair oil
- Small ceramic round brush
14. Wavy Front Layers with Natural Bend

Vibe: Relaxed.
Why it works: Cutting front layers while the hair is in its natural wave pattern, rather than blown straight, ensures the layer lands where the wave actually breaks near the face instead of somewhere the wave will pull it later. This keeps the front frame from looking uneven once the hair air-dries.
How to get it: Book the appointment for a dry cut, or at minimum ask the stylist to check the front layer’s fall while it’s fully dry before finalizing the length.
Shop the Look:
- Wave-defining cream
- Diffuser attachment for a blow dryer
- Sea-salt spray for waves
- Texturizing mousse
- Anti-humidity finishing spray
15. Beachy Waved Front Layers for a Relaxed Finish
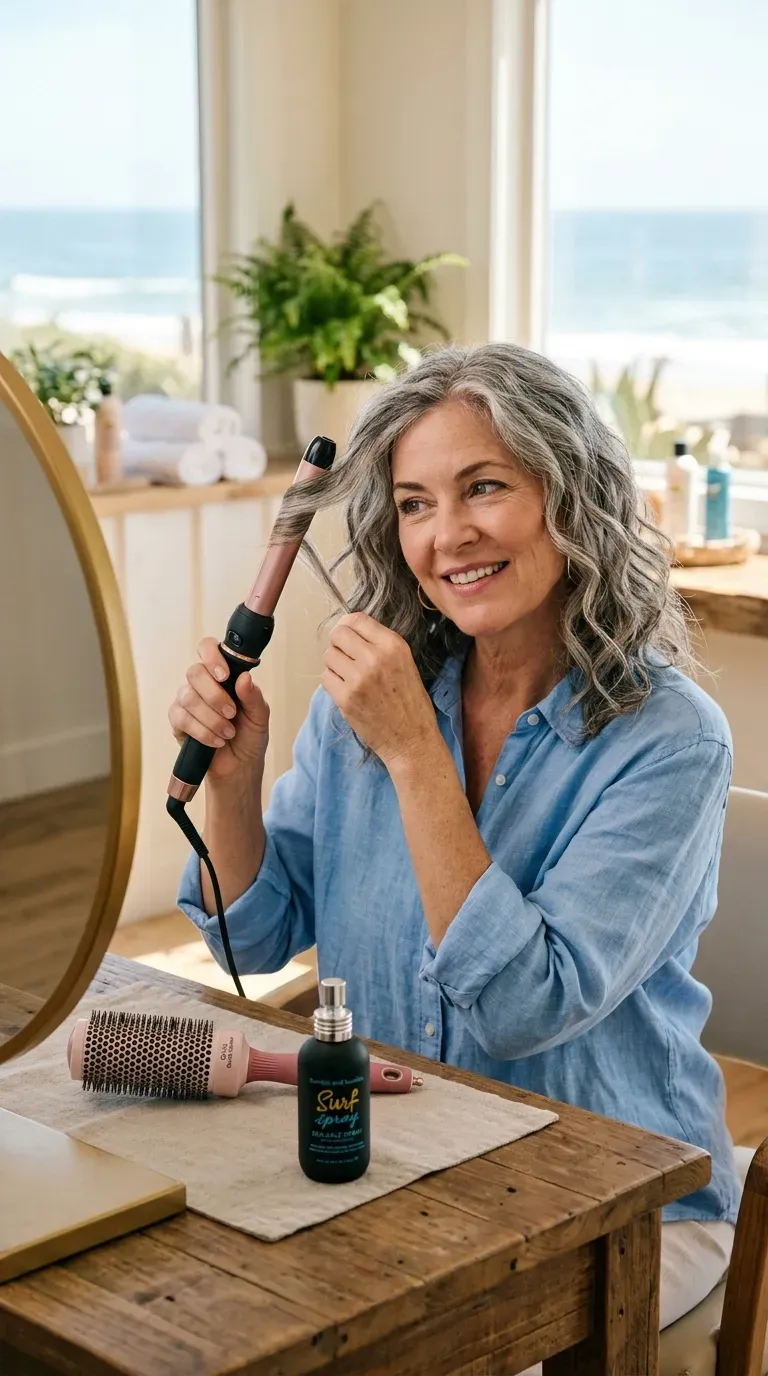
Vibe: Breezy.
Why it works: Curling only the front layers loosely, leaving the last inch of each piece uncurled, keeps the wave irregular near the face rather than uniformly curled, which reads as relaxed instead of formal. This technique also lets the front pieces catch light differently than the rest of the hair, adding subtle contrast.
How to get it: Wrap the front layers around a 1.25-inch wand, alternating direction on each side, and release without brushing through once cool.
💡 Quick Win: Finger-tousling the front pieces after they cool, rather than combing them, keeps the wave from collapsing into one flat curl.
Shop the Look:
- 1.25-inch curling wand
- Texturizing salt spray
- Flexible-hold finishing hairspray
- Wide-barrel round brush
- Shine-enhancing hair mist
16. Square Face Front Layers That Soften Angles
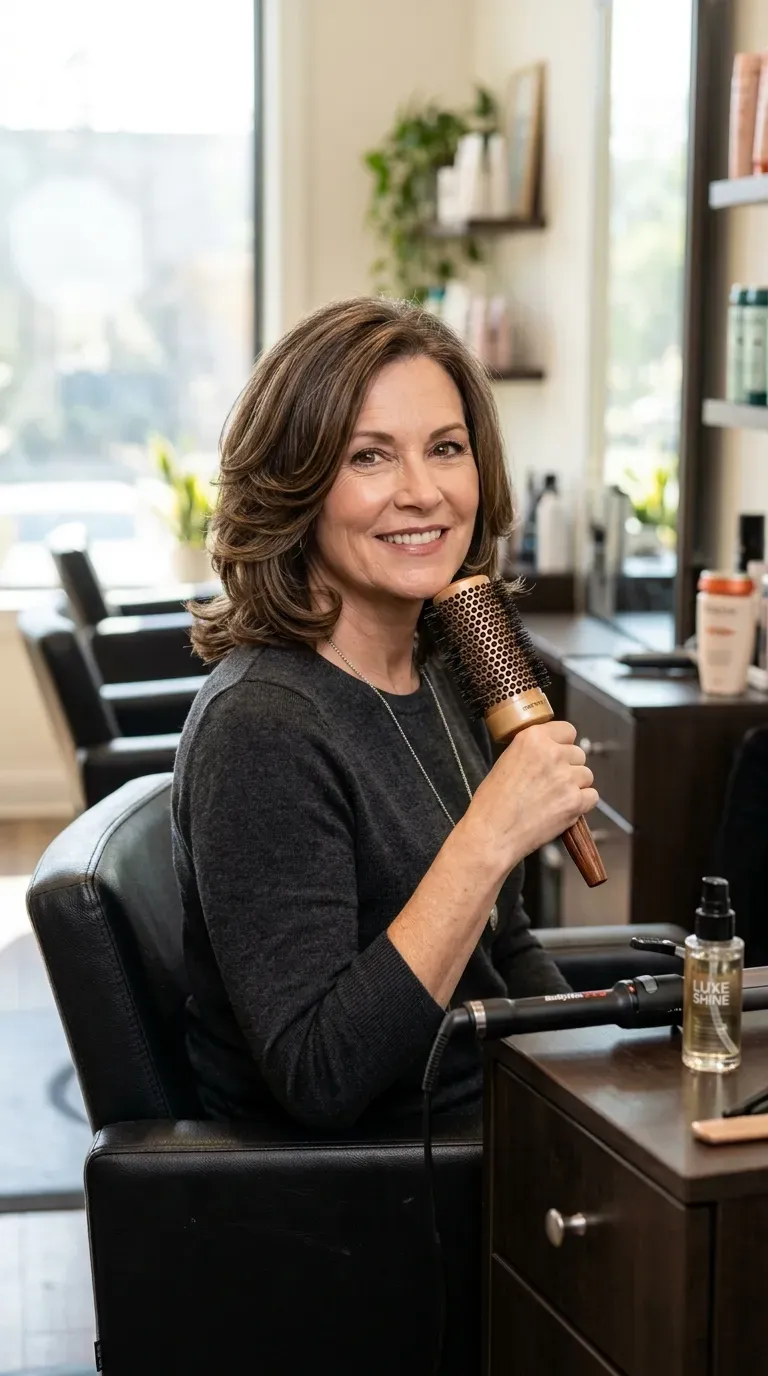
Vibe: Softening.
Why it works: A square face has strong, angular edges at the jaw, and front layers curved inward toward the chin counteract that angularity by adding a rounded line right where the face is widest. Straight or outward-flipped front layers, by contrast, tend to emphasize the squareness rather than soften it.
How to get it: Curl the front layers inward toward the chin with a 1-inch iron, and avoid cutting them precisely at the jawline itself, which is the widest point on a square face.
Shop the Look:
- 1-inch curling iron
- Jaw-framing round brush
- Shine-boosting serum
- Heat protectant primer
- Light texturizing spray
How to Ask Your Stylist for Front Layers
The single clearest first move is to bring one reference photo and point to exactly where you want the shortest front layer to land — temple, cheekbone, or chin — since “add some layers in the front” leaves that placement entirely up to interpretation. That one measurement is what anchors the rest of the taper.
The most common mistake is cutting the front layer too short relative to face shape, especially on a round or square face, where a layer that stops at the cheekbone can widen the face rather than soften it. The fix is to specify the face shape consideration out loud and ask the stylist to measure the layer against your jawline while your chin stays level.
Three budget entry points under $20 create noticeable impact immediately: a travel-size root-lift spray, a small ceramic round brush for curving the front pieces inward, and a 4-ounce bottle of lightweight styling cream.
Realistically, front layers need a trim every six to eight weeks, sooner than the rest of the haircut, since they’re the shortest and most visible section as they grow. Salon touch-ups for just the front run $20 to $45 at most salons, while daily styling with a round brush or small curling iron can be handled entirely at home.
Frequently Asked Questions About Front Layers
What’s the difference between front layers and curtain bangs?
Front layers taper diagonally back into the length and can start anywhere from the temple to the collarbone, while curtain bangs are cut shorter, part in the center, and are designed to frame both sides of the face more prominently. Front layers are subtler and blend further back into the cut, while curtain bangs read as a distinct feature.
Do front layers work well with fine or thinning hair?
Yes, but they should be placed higher, closer to the temple, and cut shorter than on thicker hair, since a longer front layer on fine hair tends to lie flat and reveal thinning rather than disguise it. Root-lift spray applied specifically along the hairline before blow-drying makes a noticeable difference.
How much does it cost to add front layers to an existing haircut?
Adding front layers to an already-cut style typically costs $20 to $45 as a standalone service, since it doesn’t require touching the rest of the length. If it’s done as part of a full haircut, the front layering is usually included in the base price of $45 to $90.
How often do front layers need to be trimmed?
Front layers grow out faster visually than the rest of a haircut since they’re shorter and more exposed, so most stylists recommend a trim every six to eight weeks. Skipping trims longer than that often causes the front pieces to lose their curve and start hanging straight instead of framing the face.
What’s the best way to style front layers for volume?
Blow-drying the front layers with a small ceramic round brush, rolling under and holding a cool shot at the end, gives the most reliable curve and lift. A small velcro hot roller left in for about fifteen minutes is the best hands-free alternative for the same result.
Ready to Try Front Layers?
From curtain-style tapers and razor-cut feathering to slimming cuts for round faces and softening curves for square ones, these 16 ideas cover a real range of placement, texture, and face-shape adjustments rather than one universal front layer. Finding the exact length and angle that suits your own face is rarely settled on the first visit, and asking for small adjustments at your next trim is a completely normal part of getting it right. Start today by saving one reference photo and circling exactly where you want the shortest piece to land before your next appointment. Once the front frame is right, it has a way of making your whole face look more awake, without touching a single inch of the length you’ve already grown. Pin your favorites now, so you walk into the salon already knowing exactly how you want your front layers to fall.