Front layers are shorter pieces cut into the hair around the face — typically from cheekbone to collarbone — that fall forward and frame the features instead of hanging flat. This guide gives you 15 front layer hairstyle ideas for women over 60, from curtain-cut face framing to invisible internal layering, graduated bobs, and grow-out-friendly variations.
There’s a particular lightness to layers up front. Hair stops sitting like a curtain and starts moving — lifting off the cheekbones, catching light along the jaw, giving the face somewhere soft to land. It reads as effortless even when it took four minutes with a round brush. And on silver or salt-and-pepper hair, that movement is what keeps the shape looking alive rather than set.
Here are 15 ideas worth saving — and showing your stylist.
Why Front Layers for Women Over 60 Work So Well
Front layers aren’t a haircut so much as a technique layered into one. The modern version traces back to the 1970s shag and Farrah Fawcett’s feathered face-frame, then softened through the 1990s “curtain” cut and resurfaced in the 2020s as the “bottleneck” and “butterfly” layer. What separates front layers from full layers is placement: the graduation is concentrated in the front panels only, leaving the interior and perimeter weight intact.
Technically, the cut is built with vertical or diagonal-back sections elevated at roughly 45 to 90 degrees, then point-cut or slide-cut so the ends taper instead of stopping abruptly. Razor work is used sparingly on mature hair — a razor can fray a cuticle that’s already thinner post-menopause. Most stylists finish with a dusting of texturizing shears through the last two inches and style with a lightweight mousse plus a 1.25-inch round brush.
The trend has real momentum right now. Andie MacDowell, Helen Mirren, and Jane Fonda have all worn versions of it on red carpets, and “curtain layers over 60” has become a steady search on Pinterest and TikTok as women move away from the tight, short, set styles that dominated for decades.
Honestly, front layers suit nearly every texture — but not identically. Fine hair needs few, long layers or it loses density at the ends. Thick and coarse hair can take more aggressive internal removal. Curly and coily hair should be cut dry, curl by curl, or the shrinkage ruins the frame. If your hair is very fine and thinning at the crown, ask for invisible layers instead of visible face-framing pieces.
Style at a Glance
| Element | Soft Face-Framing Layers | Long Curtain Front Layers |
| Philosophy | Softens jaw and cheek lines | Opens the face, adds vertical lift |
| Technique | Diagonal sections, point-cut ends | 90° elevation, slide-cut taper |
| Best for | Fine to medium hair, square or round faces | Medium to thick hair, oval and long faces |
1. Chin-Length Curtain Layers with a Soft Center Part

Vibe: Effortless — the kind of shape that looks styled even on the second day.
Why it works: The two front pieces are cut at 90 degrees elevation so the shortest point lands at the corner of the mouth and lengthens back toward the jaw. That diagonal taper creates a soft vertical line down each side of the face, which visually narrows the cheeks and lifts the jawline without cutting anything short enough to look severe.
How to get it: Ask for “chin-length curtain layers, shortest piece at the corner of my mouth, nothing above the cheekbone.” That single sentence stops a stylist from going too short at the top.
💡 Quick Win: Dry the front two sections away from the face with your fingers for the last 30 seconds — the layers fall back into place with built-in lift.
Shop The Look
- Face-framing razor comb for layered cuts
- Lightweight leave-in conditioner for mature hair
- 1.25-inch ceramic curling wand
- Silk-lined sectioning hair clips
- Heat protectant spray for fine hair
2. Collarbone Cut with Feathered Front Layers

Vibe: Easy — long enough to feel feminine, short enough to stay off the shoulders.
Why it works: Collarbone length keeps enough weight at the perimeter to prevent the fine-hair problem of stringy ends, while feathering only the front panels adds movement where the eye actually goes. Stylists achieve the feather with point-cutting into the last two inches at a shallow angle rather than removing bulk higher up.
How to get it: Bring a photo and say “keep my baseline blunt, feather only the front two sections.” Weight at the bottom is what makes this length work past 60.
Shop The Look
- Professional thinning shears for hairdressing
- Volumizing root lift spray
- Vented paddle blow-dry brush
- Lightweight argan oil hair serum
- Wide-tooth detangling comb
3. Soft Side-Swept Front Layers
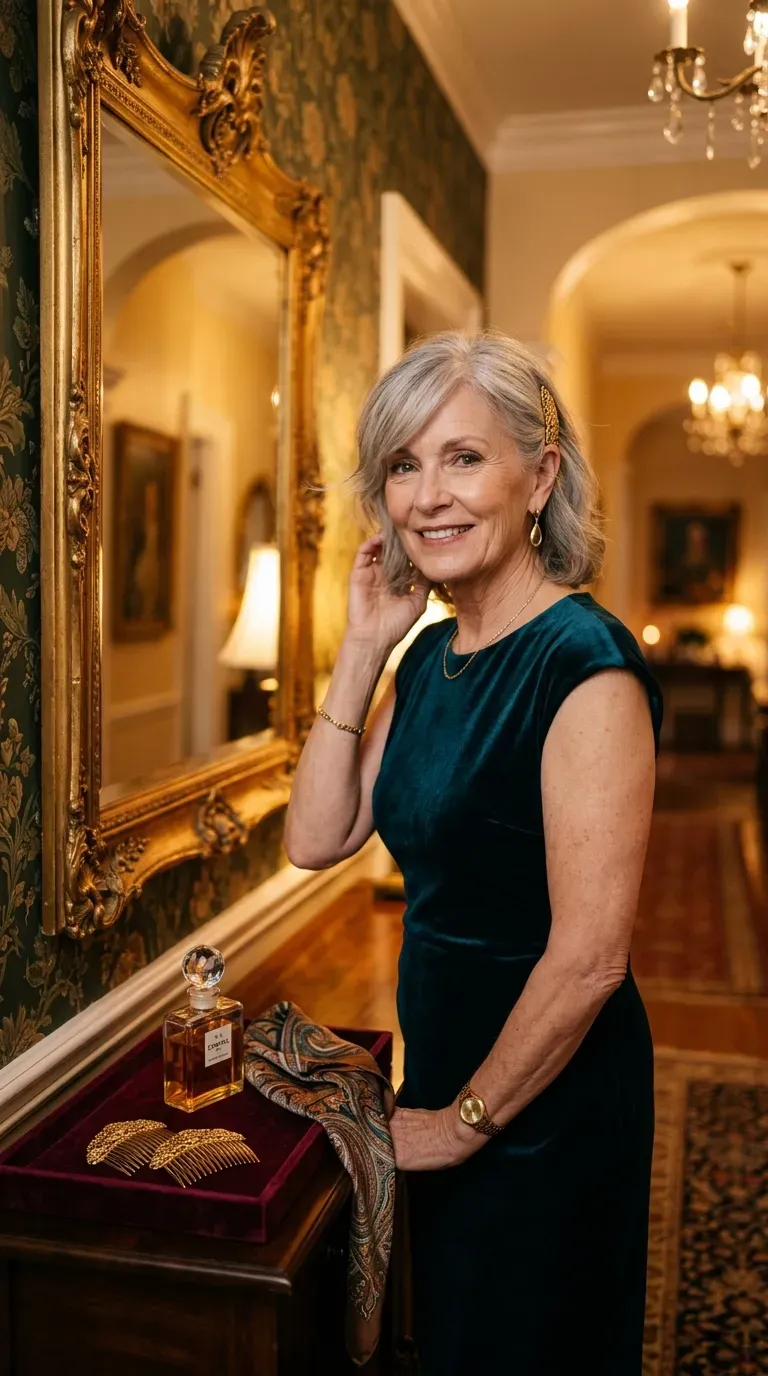
Vibe: Polished — a deep side part does half the work of a facelift.
Why it works: Moving the part one inch off center creates an immediate diagonal that lifts one brow and breaks up a symmetrical face. Because the front layers are already shorter, the sweep has enough body to hold its shape instead of collapsing flat against the forehead.
How to get it: Set the sweep while damp using a fine-tooth comb and a 1-inch flat iron with a slight bend inward at the cheekbone, then mist with flexible hairspray.
💡 Quick Win: Two gold side combs hold the sweep on humid days without the crunch of extra product.
Shop The Look
- Flexible-hold non-sticky hairspray
- Gold decorative side hair combs
- 1-inch ceramic flat iron
- Dry shampoo formulated for grey hair
- Fine-tooth teasing comb
4. Wispy Curtain Fringe Blended Into Front Layers
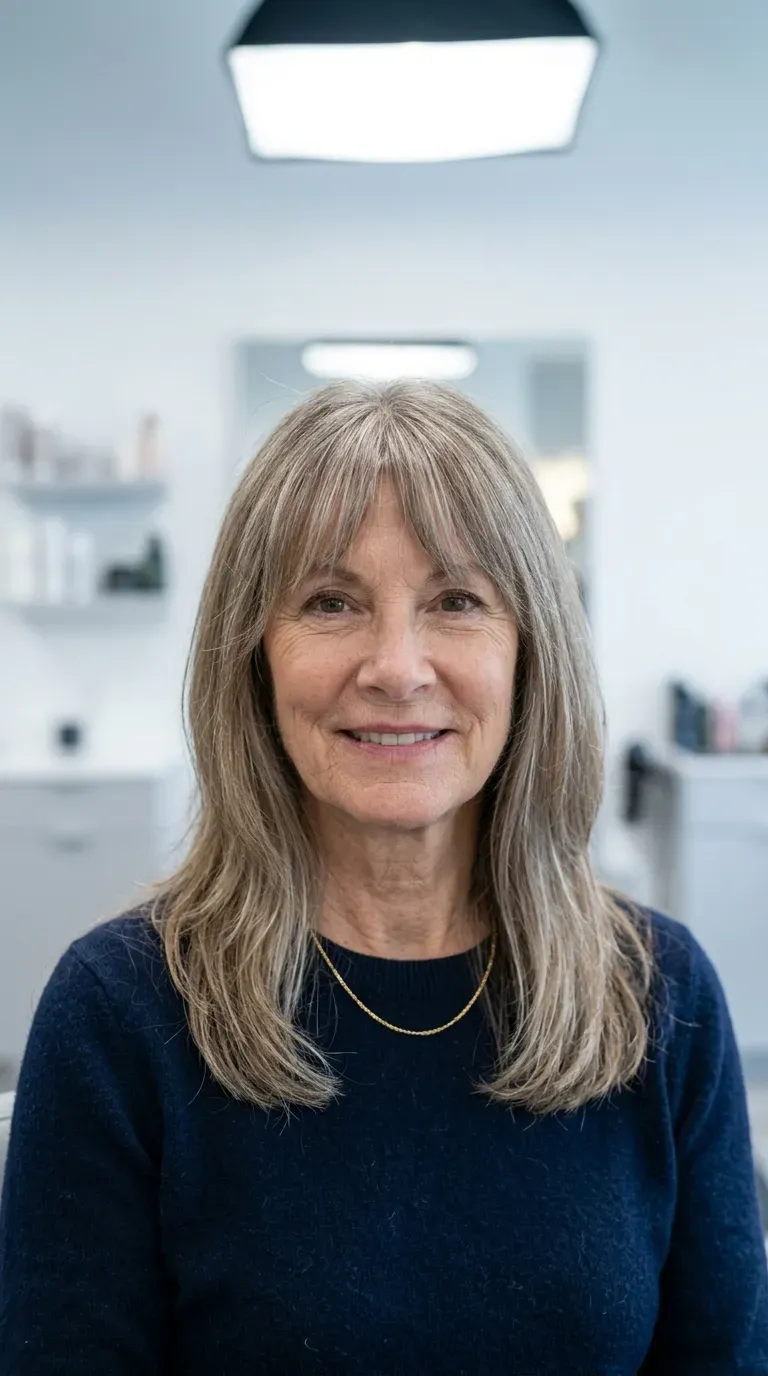
Vibe: Youthful without trying — the fringe softens a forehead rather than hiding it.
Why it works: A curtain fringe is cut on a triangular section from the high point of the crown, then over-directed forward and point-cut so the shortest hair sits at the brow and lengthens outward. Blended into existing front layers, there’s no visible seam — which is exactly what makes it flattering instead of costume-like.
How to get it: Ask for a fringe that starts at the arch of your eyebrow and connects into the layers by the cheekbone, never a straight blunt line.
Shop The Look
- Precision bang-trimming scissors for home use
- Mini travel flat iron for fringe styling
- Large velcro rollers for lift
- Lightweight styling cream for bangs
- No-crease clips for fringe sectioning
5. Mousse-Lifted Front Layers for Instant Root Volume

Vibe: Lifted — the difference between hair that sits on the head and hair that stands up off it.
Why it works: Hair density drops noticeably after 60, and flat roots at the front hairline age a style faster than the length ever does. Mousse coats each strand with a light polymer film that holds a raised root position through the drying cycle — far better than a heavy cream, which drags fine hair down.
How to get it: Apply a golf-ball-sized amount to damp roots only, then dry the front section upside-down for 60 seconds before smoothing with a round brush.
💡 Quick Win: Clip three root-lift clips at the front hairline while your hair air-dries for ten minutes. No heat, real lift.
Shop The Look
- Volumizing mousse for fine hair
- Root-lift volume clips
- Ionic hair dryer with diffuser attachment
- Wide-barrel ceramic round brush
- Thickening shampoo for thinning hair
6. Invisible Internal Layers for Fine Hair
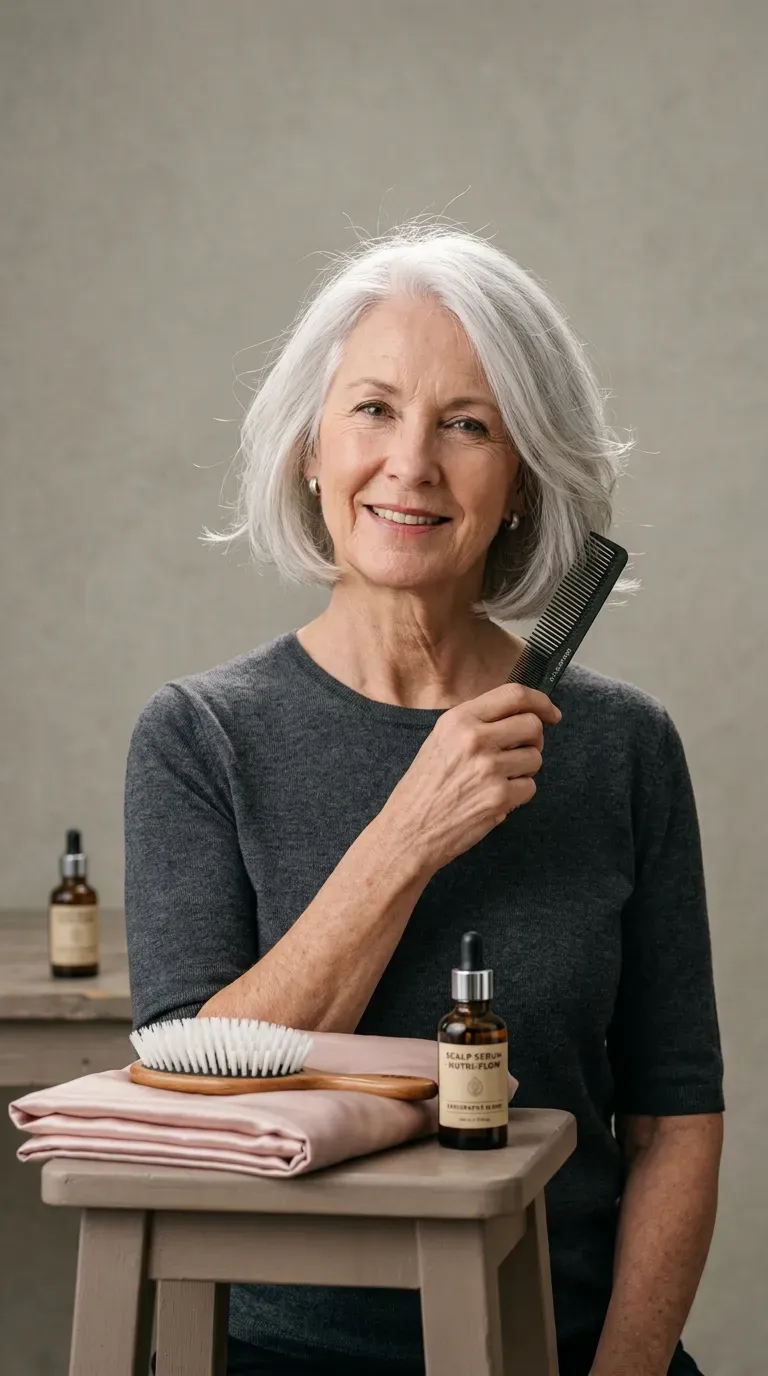
Vibe: Quietly full — nobody can see the layers, they just see more hair.
Why it works: Invisible layering removes weight from the interior only, leaving the outer perimeter completely intact. The shorter underneath pieces act like scaffolding, pushing the outer layer up and out. For fine hair, this is the safest way to get movement without the see-through ends that traditional layering causes.
How to get it: Use the phrase “internal or invisible layers — do not touch my outline length.” Stylists know this technique by name.
Shop The Look
- Sulfate-free moisturizing conditioner
- Boar bristle hairbrush
- Satin pillowcase for hair protection
- Scalp serum for thinning hair
- Carbon cutting comb
7. Textured Pixie with Long Front Layers
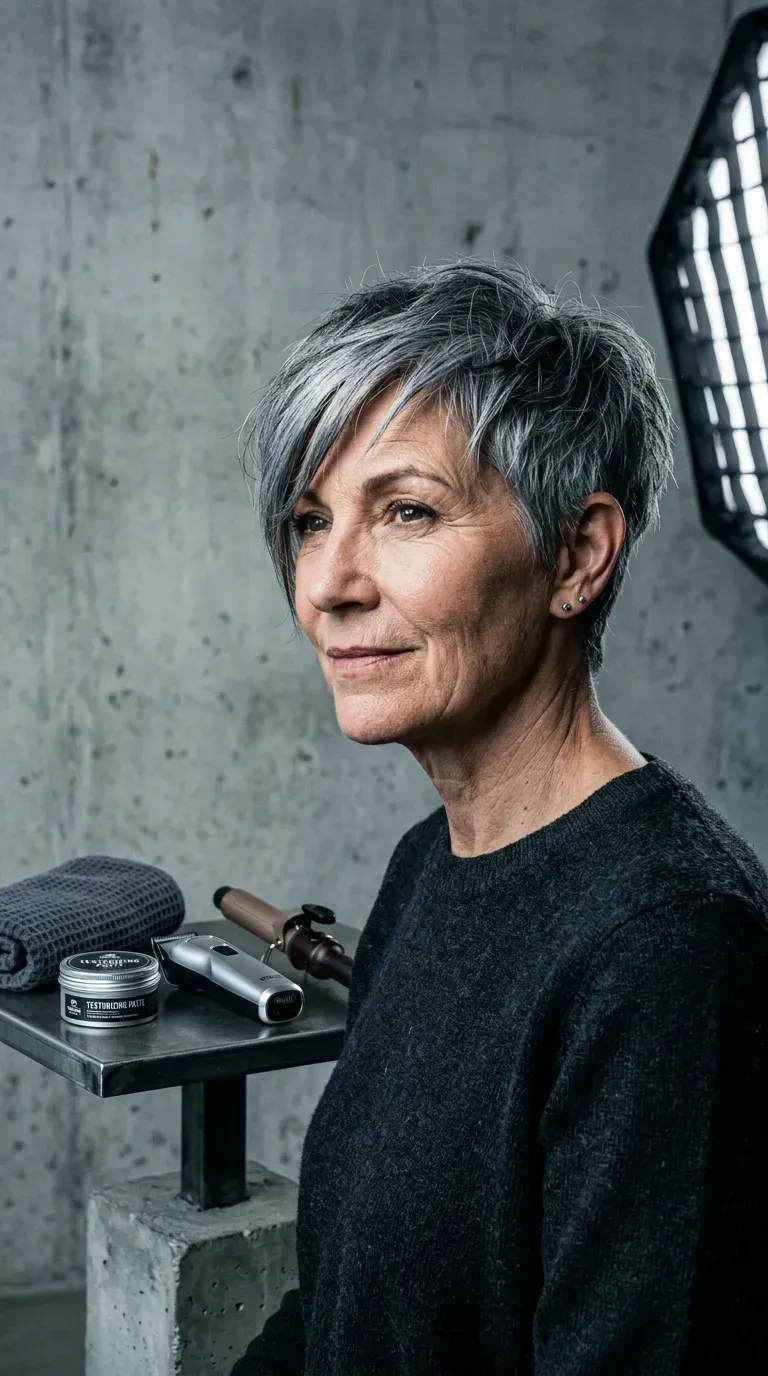
Vibe: Sharp — short in back, soft where it counts.
Why it works: The contrast is the whole point. Keeping the sides and nape tight while leaving three to four inches at the front means the cut reads as a deliberate shape rather than a shrunken version of longer hair. The long front layers also give you something to sweep, which prevents the helmet effect short cuts can fall into.
How to get it: Work a fingertip of matte paste through dry front pieces and push them forward and slightly across, never straight down.
Shop The Look
- Matte texture paste for short hair
- Cordless precision detail trimmer
- 3/4-inch small barrel curling iron
- Sea salt spray for fine hair
- Lightweight shine mist spray
8. Long Vertical Front Layers for a Round Face
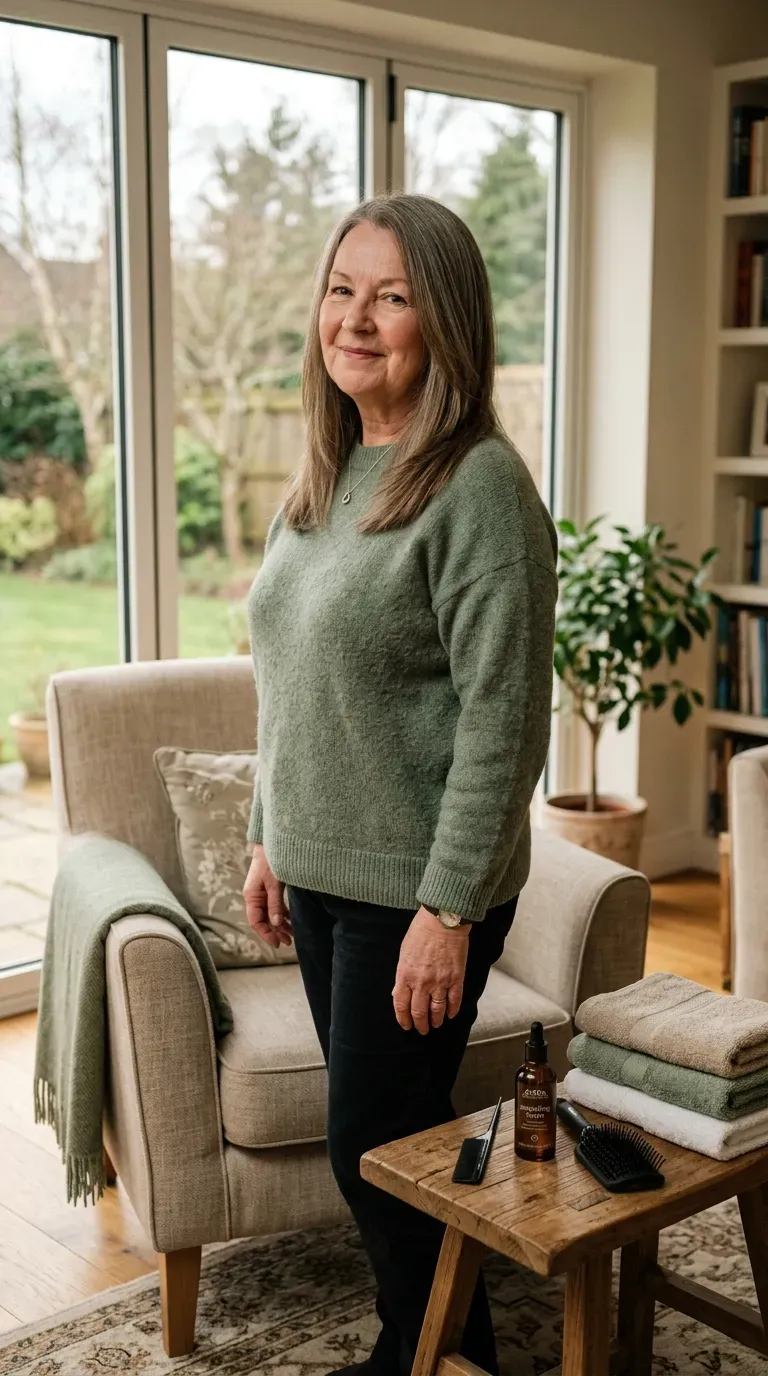
Vibe: Streamlined — vertical lines do what horizontal ones can’t.
Why it works: Round faces gain width from anything that stops at cheek level, so the front layers here start below the jaw and run long and narrow. Cut with minimal elevation, they hang close to the face rather than flicking outward, which keeps the silhouette narrow through the widest part of the face.
How to get it: Ask specifically for “no layers above the jaw” and finish with a 1.5-inch curling iron bending only the last two inches inward.
💡 Quick Win: A precise center part instantly adds vertical length — use a tail comb and follow the line of your nose.
Shop The Look
- 1.5-inch barrel curling iron
- Pin tail comb for precise parting
- Anti-frizz smoothing serum
- Flexible vent brush for straightening
- Weightless finishing spray
9. Grow-Out-Friendly Long Front Layers

Vibe: Forgiving — a cut that looks intentional for four months, not four weeks.
Why it works: The layers are cut with only a two-inch difference between the shortest front piece and the perimeter, so as the hair grows the graduation softens instead of creating a shelf. This is the opposite of a heavily layered shag, which develops obvious steps within six weeks.
How to get it: Request a maximum two-inch graduation and a dusting of the ends every twelve weeks rather than a full re-layer.
Shop The Look
- Biotin hair supplement capsules
- Silicone scalp massage brush
- Weekly deep conditioning hair mask
- Microfiber hair towel wrap
- Split-end trimming tool
10. Graduated Bob with Stacked Front Layers
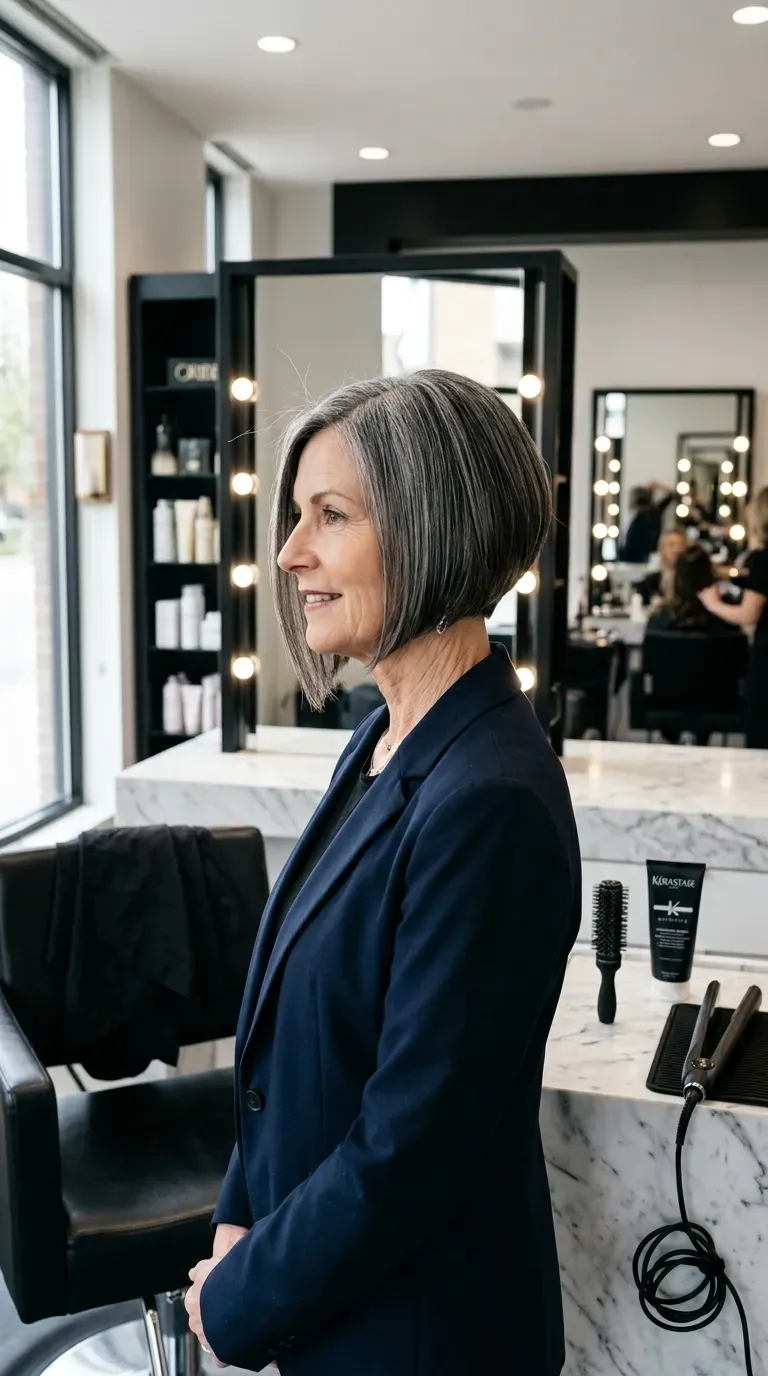
Vibe: Commanding — the angle alone reads as decisive.
Why it works: Graduation stacks weight at the back of the head, which lifts the occipital bone and pushes the front line forward toward the chin. That forward angle slims the jaw and draws the eye diagonally upward. It’s structurally the most supportive shape for hair that’s lost density at the crown.
How to get it: Ask for a short stack at the nape with the front point finishing at the corner of the chin, then flat iron the ends with a slight inward turn.
💡 Quick Win: A one-inch round brush used only on the front two sections creates the forward curve without a full blowout.
Shop The Look
- 1-inch ceramic round brush
- Smoothing balm for blunt ends
- Professional cutting cape with neck duster
- Ionic titanium flat iron 1.5-inch plates
- At-home clear gloss glaze treatment
11. Silver Waves with Bouncy Front Layers
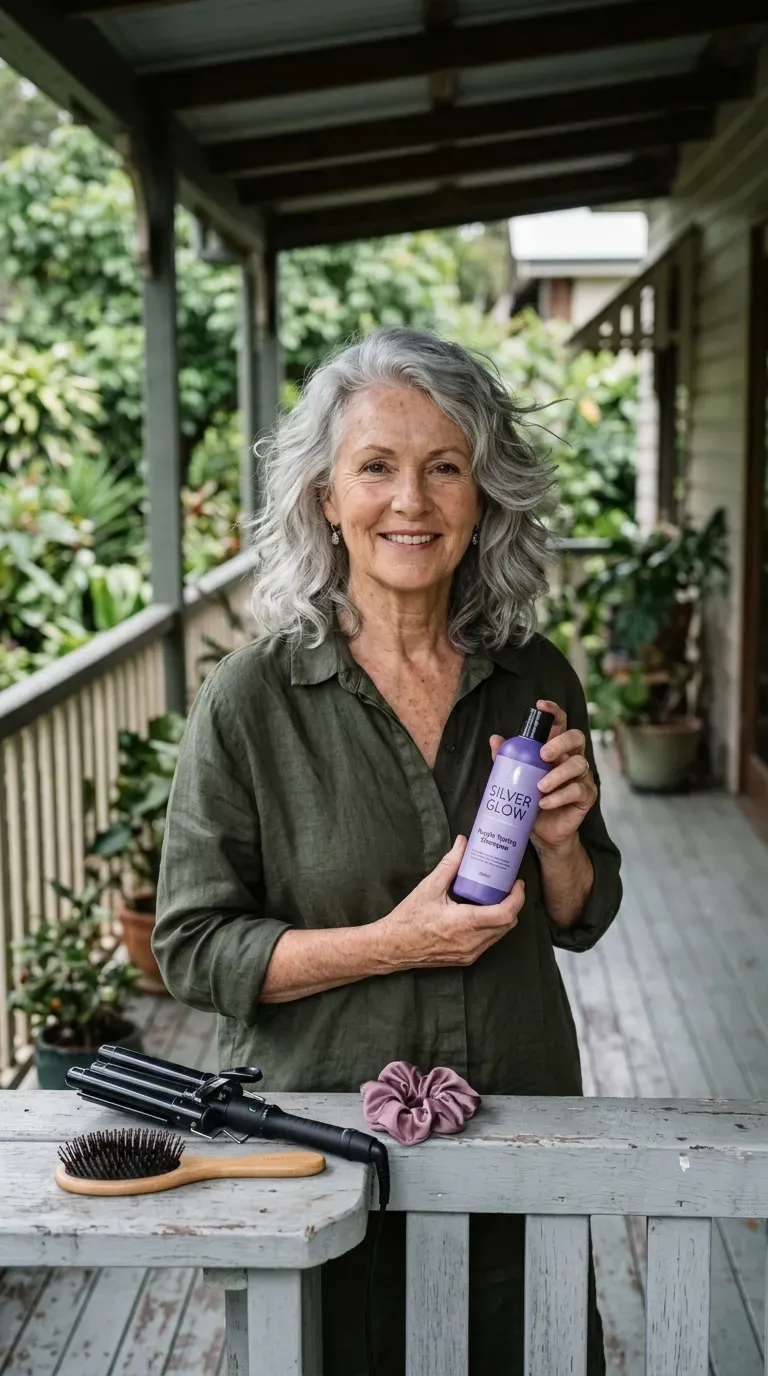
Vibe: Luminous — silver hair with movement catches light that flat hair swallows.
Why it works: Grey and white hair has a rougher cuticle and a wider diameter than pigmented hair, which means it holds a wave shape far longer. Front layers give that wave somewhere to spring from, and the bounce at the cheekbone adds softness exactly where features tend to flatten with age.
How to get it: Use a three-barrel waver on the front sections only, then break the waves apart with your fingers rather than a brush.
Shop The Look
- Purple shampoo for grey and silver hair
- Silver toning conditioner
- Three-barrel waving iron
- UV protection spray for grey hair
- Soft bristle styling brush for waves
12. Round-Brush Blowout Bend on the Front Sections
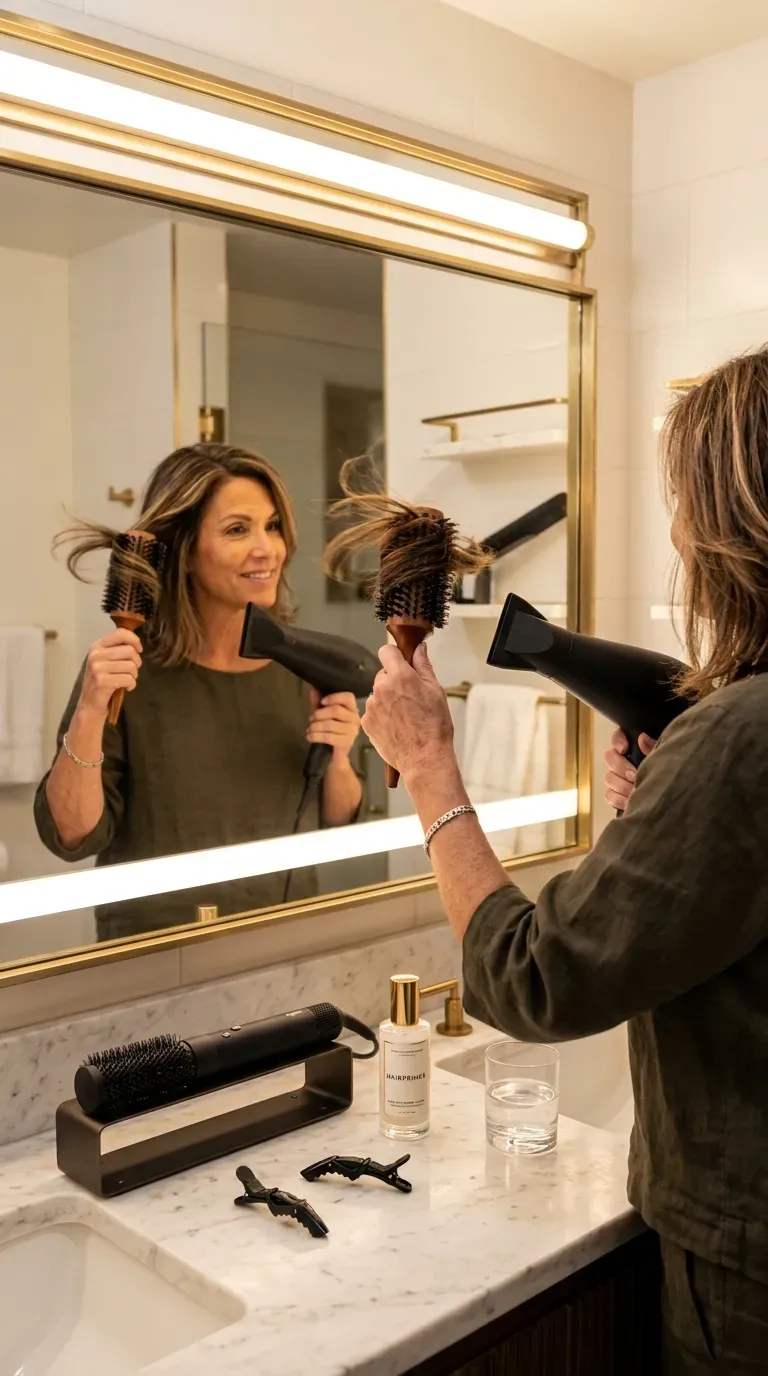
Vibe: Polished — five minutes of heat and the whole cut wakes up.
Why it works: The bend is created by over-directing the front section forward, then rolling the brush back and holding heat for three seconds before a cool blast sets the bond. Because the front layers are shorter, they hold the bend longer than the rest of the hair, which keeps the frame lifted all day.
How to get it: Dry the front sections last, when the rest of your hair is 90% dry — damp hair takes the shape, dry hair won’t.
💡 Quick Win: Hit the setting with the cool-shot button for five seconds before releasing the brush. This single step doubles how long the bend holds.
Shop The Look
- 2-in-1 hot air styling brush
- 2-inch boar bristle round brush
- Butterfly sectioning clips
- Blow-dry primer lotion
- Thermal setting spray
13. Cheekbone-Level Face-Framing Brightness
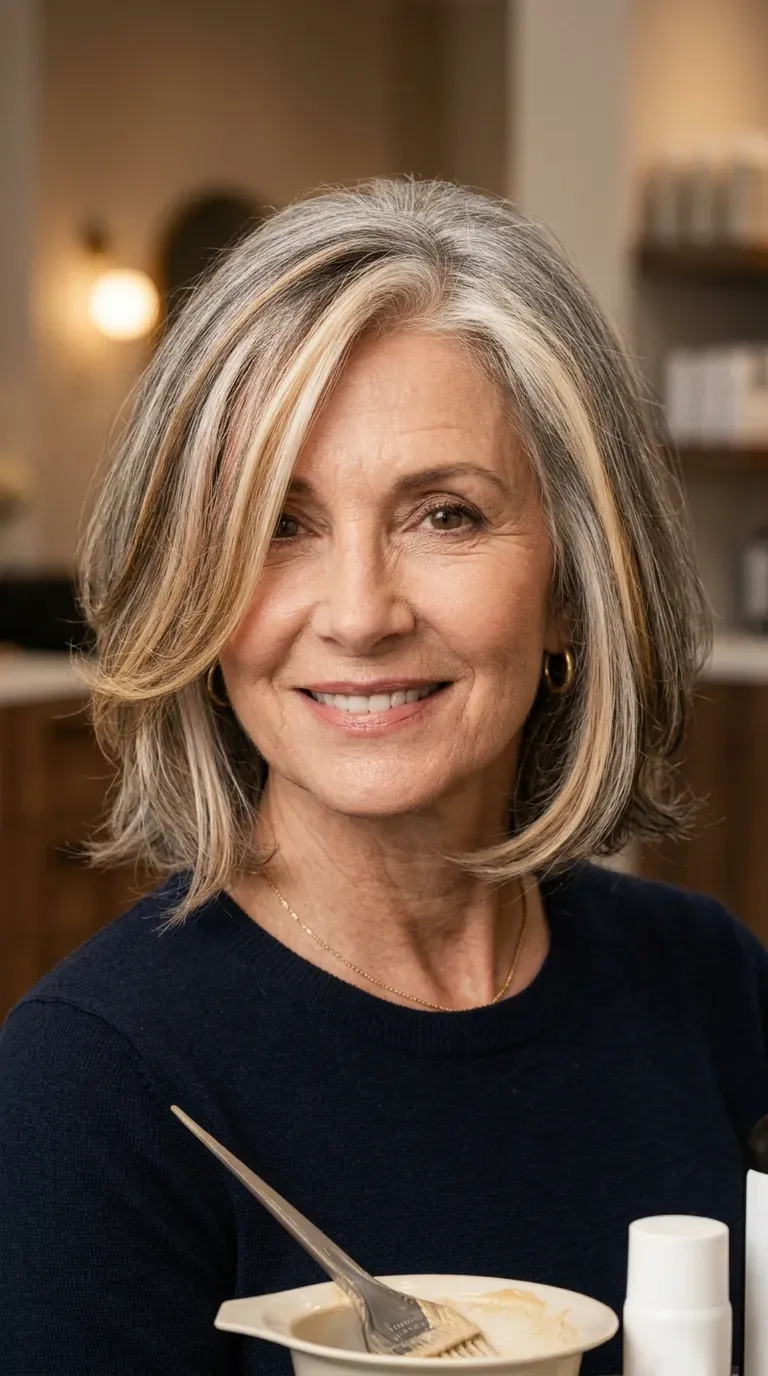
Vibe: Radiant — light placed where the face needs it most.
Why it works: Brightening only the front layers works like a highlighter on skin: it reflects light upward across the cheekbone. Because the layers are shorter, the brightened pieces sit forward and stay visible, so you get the effect of a full highlight with a fraction of the lightener and far less damage.
How to get it: Ask for face-framing pieces one to two shades lighter than your base — no more, or the contrast reads harsh against mature skin.
Shop The Look
- At-home balayage highlighting kit
- Tinting brush and mixing bowl set
- Foil-free hair painting sheets
- Colour-protecting shampoo for highlighted hair
- Bond-repair treatment for lightened strands
14. Undone Texture Spray Finish on Front Layers
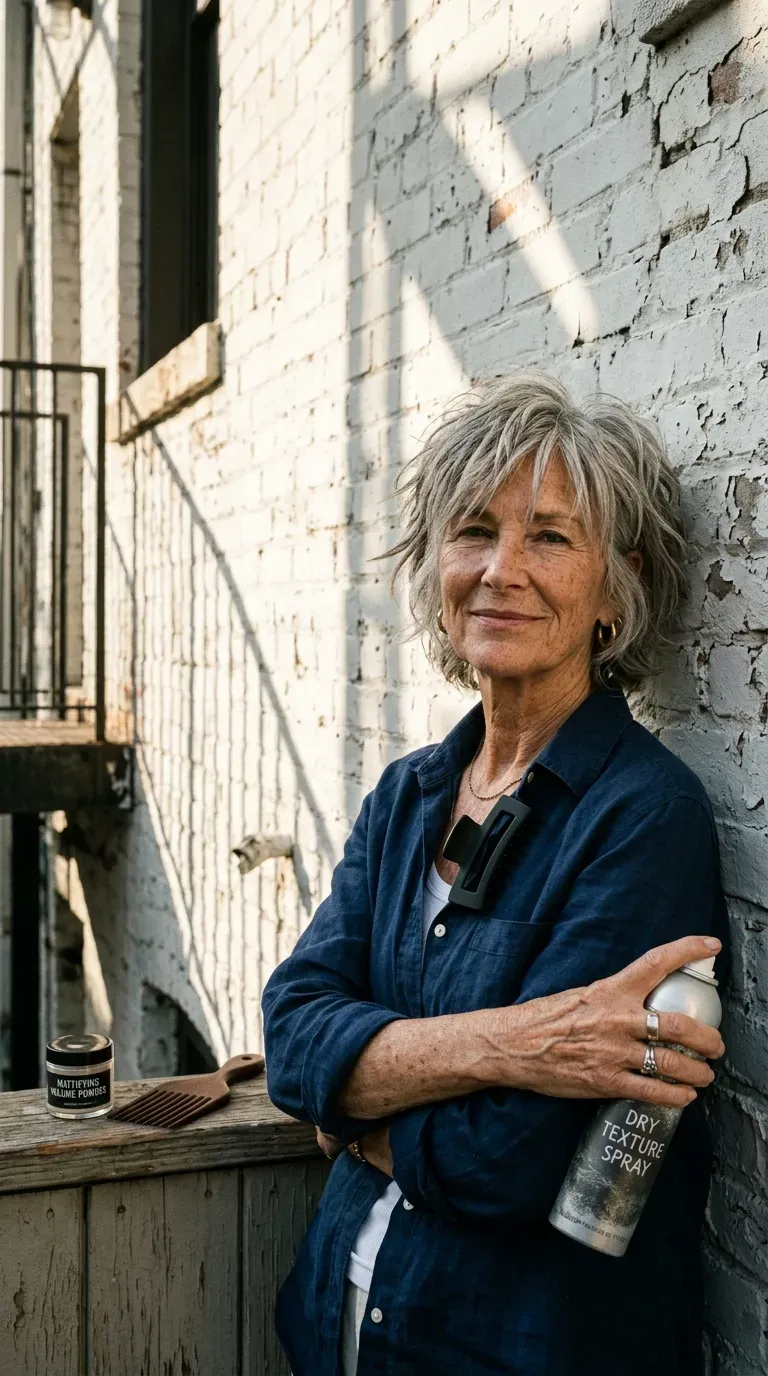
Vibe: Relaxed — the opposite of set, styled, and sprayed into place.
Why it works: Dry texture spray deposits a light silica and polymer grit that swells the hair shaft and creates friction between strands. On front layers specifically, that grit stops the shorter pieces from slipping flat against the face, which is the main reason face-framing layers disappear by lunchtime.
How to get it: Spray from eight inches away at the mid-lengths of the front sections only, then scrunch upward once — never comb through after.
💡 Quick Win: Tap mattifying powder at the front hairline instead of spraying. It holds volume in humidity far better than mist.
Shop The Look
- Dry texturizing spray
- Mattifying volume powder
- Large matte claw clip
- Curved vent styling pick
- Light-hold texture cream
15. Diagonal Front Layers to Soften a Square Jaw
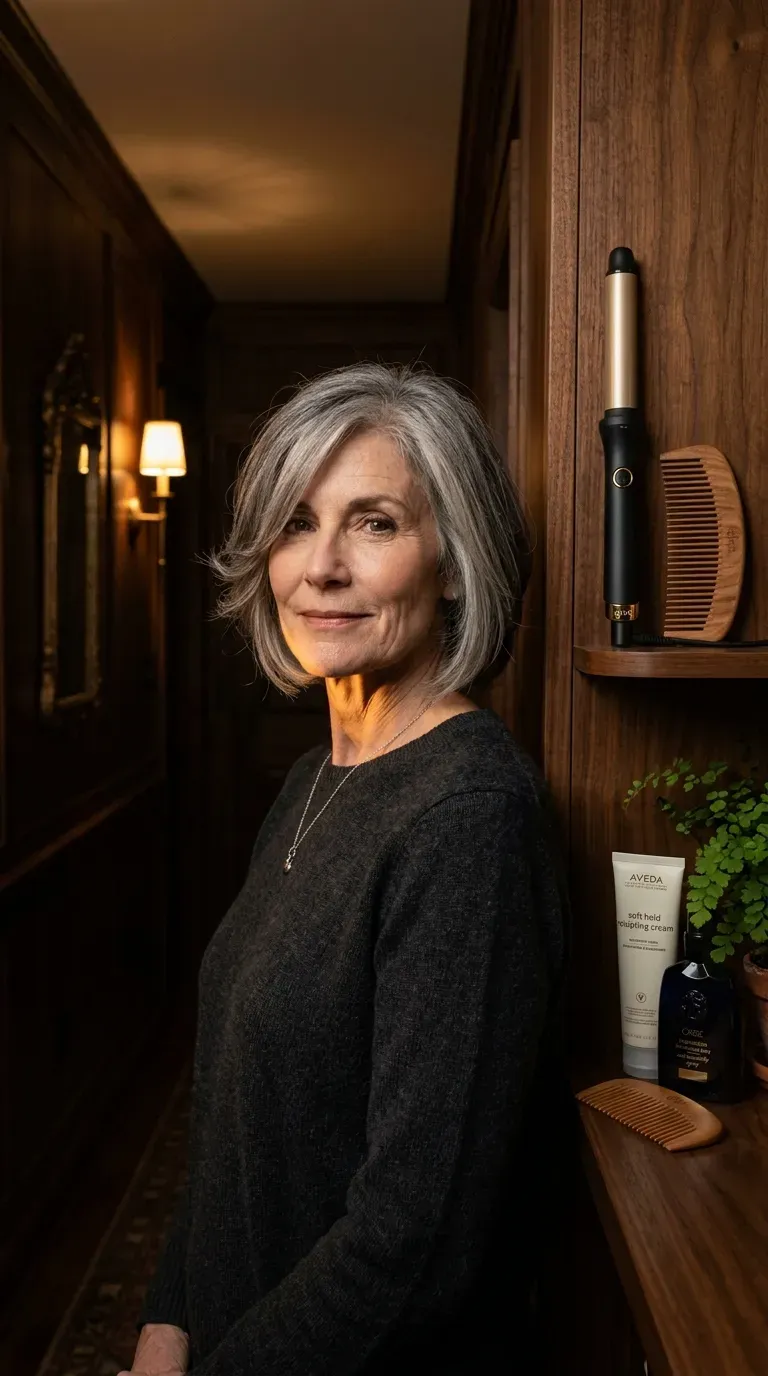
Vibe: Softened — angles balanced by curves rather than hidden.
Why it works: A square jaw needs a diagonal, not a horizontal. Cutting the front layers on a forward diagonal that finishes just below the jaw corner, then curling those ends inward, replaces a hard right angle with a rounded line. Layers that stop at the jaw do the opposite and emphasise the width.
How to get it: Ask your stylist to cut the front on a diagonal-forward section and to keep the shortest point at the top of the ear, never at the jaw.
Shop The Look
- Soft-hold sculpting cream
- Cordless 1-inch curling wand
- Curved styling comb
- Humidity-blocking finishing spray
- Collagen-infused conditioner for mature hair
How to Ask Your Stylist for Front Layers
Start with one sentence: “I want face-framing layers, shortest piece at the corner of my mouth.” Naming the exact landmark is the move that anchors everything else — it removes the guesswork about how short “short” means, and every other decision in the cut hangs off that first point.
The most common mistake is asking for layers all over when you only want them in front. Full layering removes weight from the interior and perimeter at once, and on hair that’s thinned since your fifties, that produces wispy, see-through ends within two washes. The fix is specific language: “front layers only, keep my baseline blunt.”
Three things under $20 that change the result immediately: a 6oz can of volumizing mousse for fine hair, a 2-inch boar bristle round brush, and a dry texturizing spray in a travel-size can.
Expect a trim every eight to ten weeks to keep the frame defined, at roughly $45 to $90 at a mid-range salon. Daily styling is a five-minute round-brush job at home; re-cutting the layer graduation is not a DIY project.
Frequently Asked Questions About Front Layer Hairstyles for Women Over 60
What is the difference between front layers and a curtain fringe?
Front layers are cut from the cheekbone down, usually finishing somewhere between the jaw and collarbone, and they frame the face without covering the forehead. A curtain fringe is shorter — it starts at the brow and parts down the middle. Many women over 60 wear both together, with the fringe blended into the layers so there’s no visible step. If you want softness but aren’t ready for a fringe, start with layers alone.
Do front layers suit fine or thinning hair after 60?
Yes, but the placement matters more than the cut itself. Ask for invisible internal layers or a maximum two-inch graduation so the perimeter keeps its density. Heavy layering on fine hair removes the very weight that makes the ends look full. If your crown has thinned noticeably, adding volume at the root with mousse will do more for you than adding more layers.
How much does a front layer haircut cost?
At a mid-range salon in most US cities, expect $45 to $90 for a cut with face-framing layers, rising to $120 or more at a senior stylist in a major metro. Adding face-framing brightness usually adds $80 to $180. At-home maintenance is genuinely cheap — a mousse, a round brush, and a texture spray together run under $60 and last several months.
How often do front layers need to be re-cut?
Every eight to ten weeks keeps the frame defined. Because the front pieces are the shortest hair in the cut, they lose their shape first — usually around week nine, when the shortest layer drops past the jaw. A grow-out-friendly version with only two inches of graduation can stretch to twelve weeks. Between appointments, a dusting of the ends is enough.
Which product works best for styling front layers?
A lightweight volumizing mousse applied to damp roots is the single most useful product for this cut. It gives lift at the front hairline where mature hair tends to sit flattest, without the weight of a cream or the stiffness of a gel. Pair it with a dry texturizing spray for a second-day refresh. Avoid heavy oils anywhere above the mid-lengths.
Ready to Try Front Layers?
Across these 15 front layer hairstyle ideas for women over 60, you’ve seen the full range — curtain cuts and graduated bobs, invisible internal layering, silver waves, diagonal framing for a square jaw, and the grow-out-friendly versions that hold their shape for months. Finding the version that suits you usually takes two or three appointments, and that’s not indecision, that’s how good haircuts get built. Today, do one small thing: save two of these photos to your phone and put them side by side so you can see what they have in common. What you’ll notice after the first cut isn’t the layers — it’s that you stop tucking your hair behind your ear every five minutes. Pin the ones that made you tilt your head, especially the silver and the soft-sweep versions, and bring them with you.